You can add branching in Microsoft Forms very easily. Users can add unlimited branching, add any section under the Google Forms. It will also allow users to add branching in question or any text under the section.
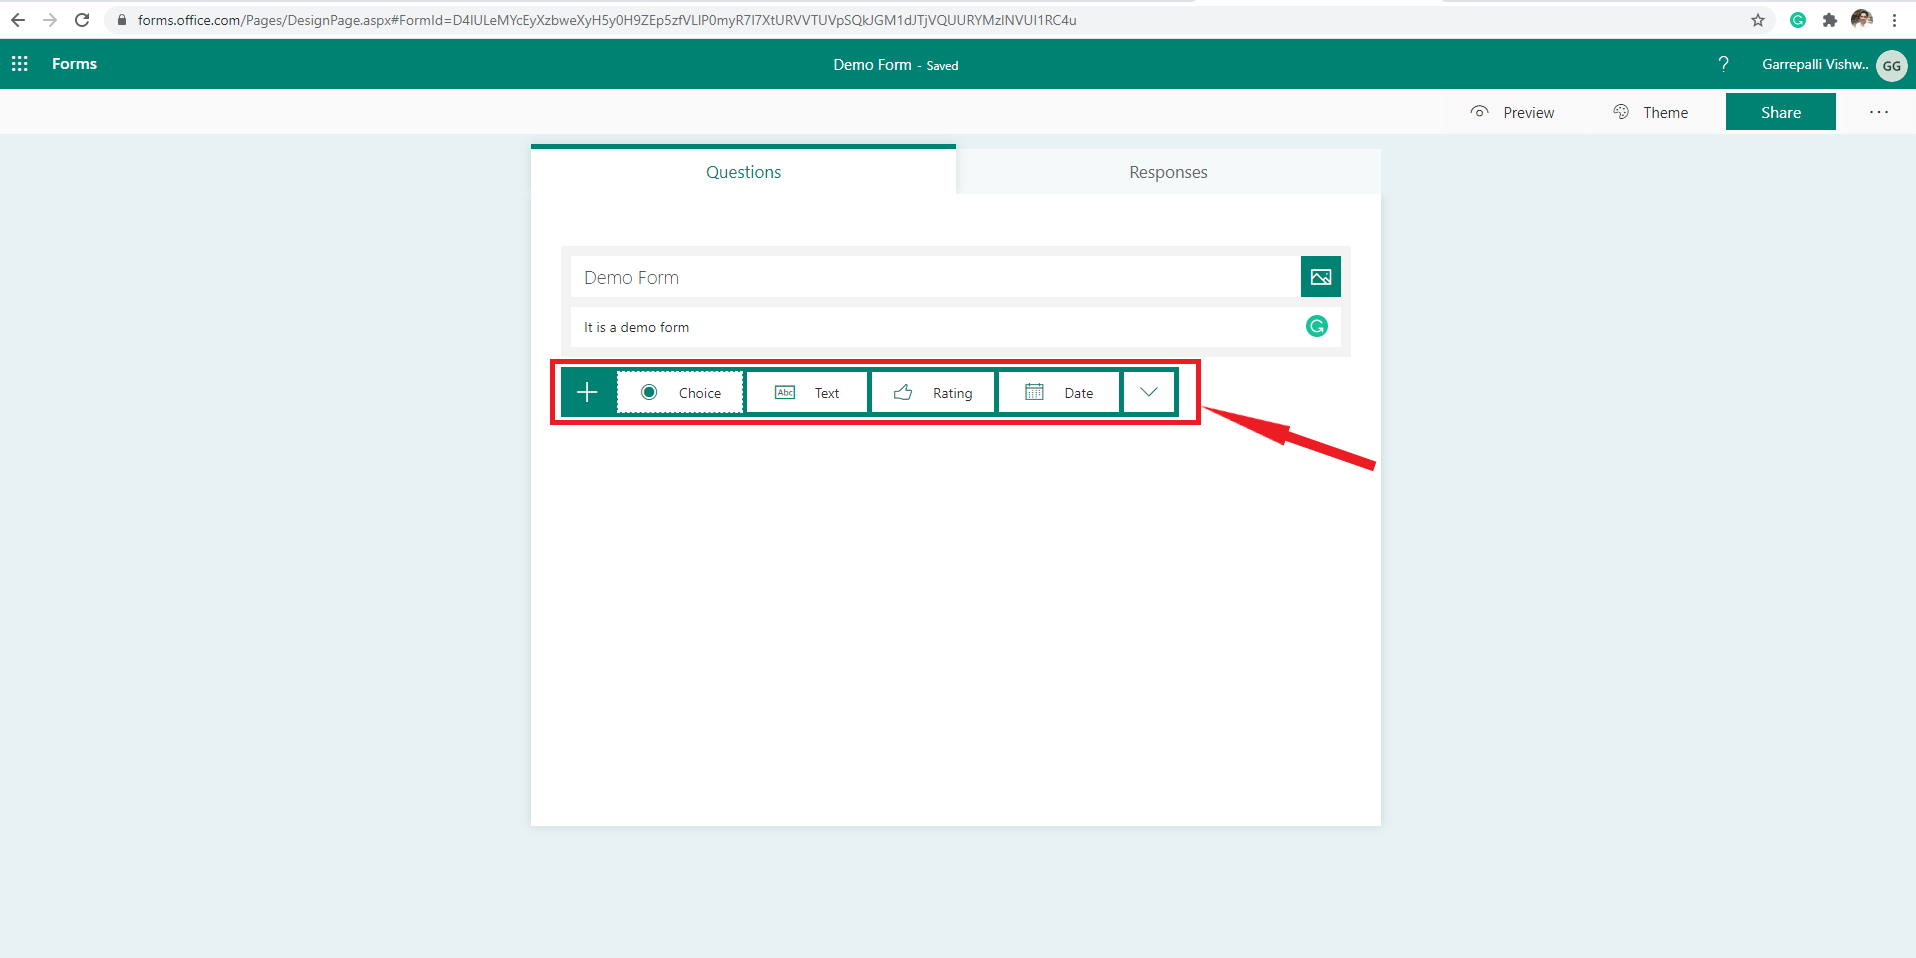
Microsoft Forms have been majorly used in professional and educational sectors. We can conduct quizzes, registrations, polls, and surveys using Microsoft Forms. In this, we can have various types of questioning patterns where users can choose multiple-choice, Rating, Text, Date, and many more types of questions. These are mainly used for registrations, examinations, and feedbacks.
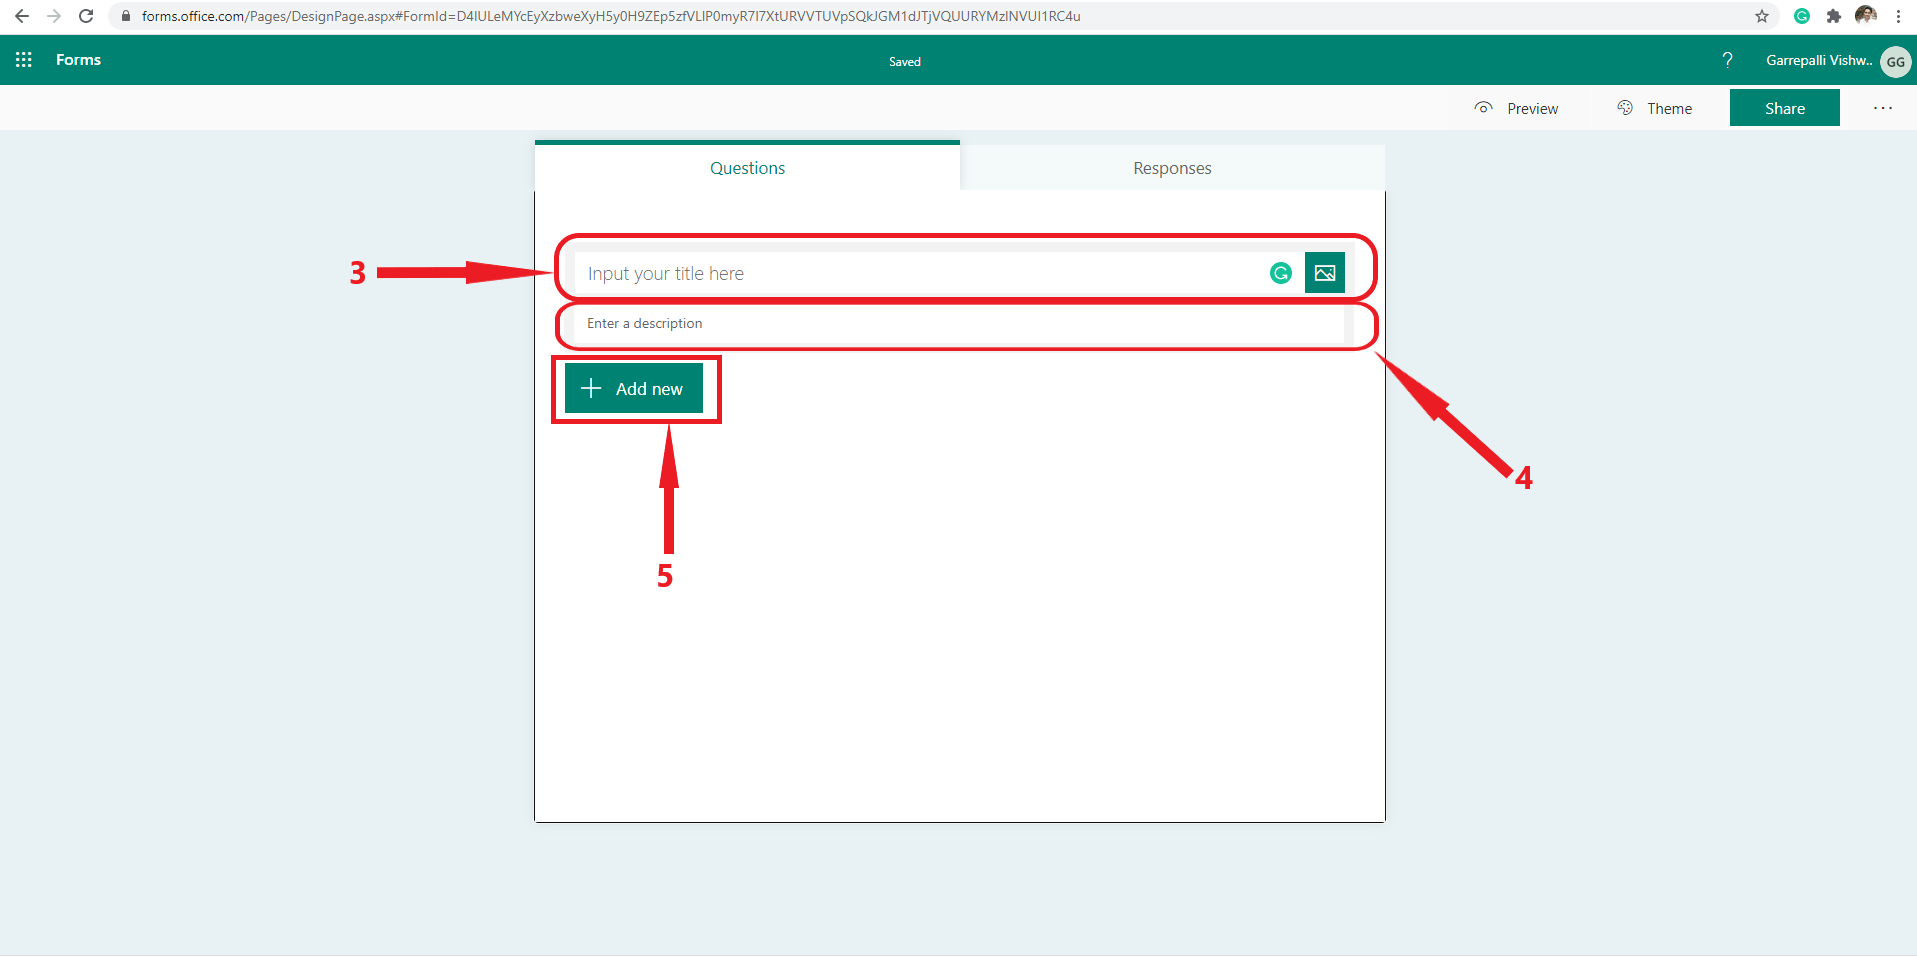
Starting with Microsoft Forms, there are lots of features provided to users for making their forms more reliable and flexible. Branching is one of the best features that was introduced by Microsoft Forms, where users are shown questions based on their preferences or answers selected initially.
Read more: How to Create a Form in SharePoint
Now let’s see an example of an overall idea of how branching works. Let us consider that a convent is planning to conduct a tournament where students have to register in their interesting games or sports. To do so instead of creating different forms for indoor and outdoor, we can do both the things in a single form by adding branching into it.
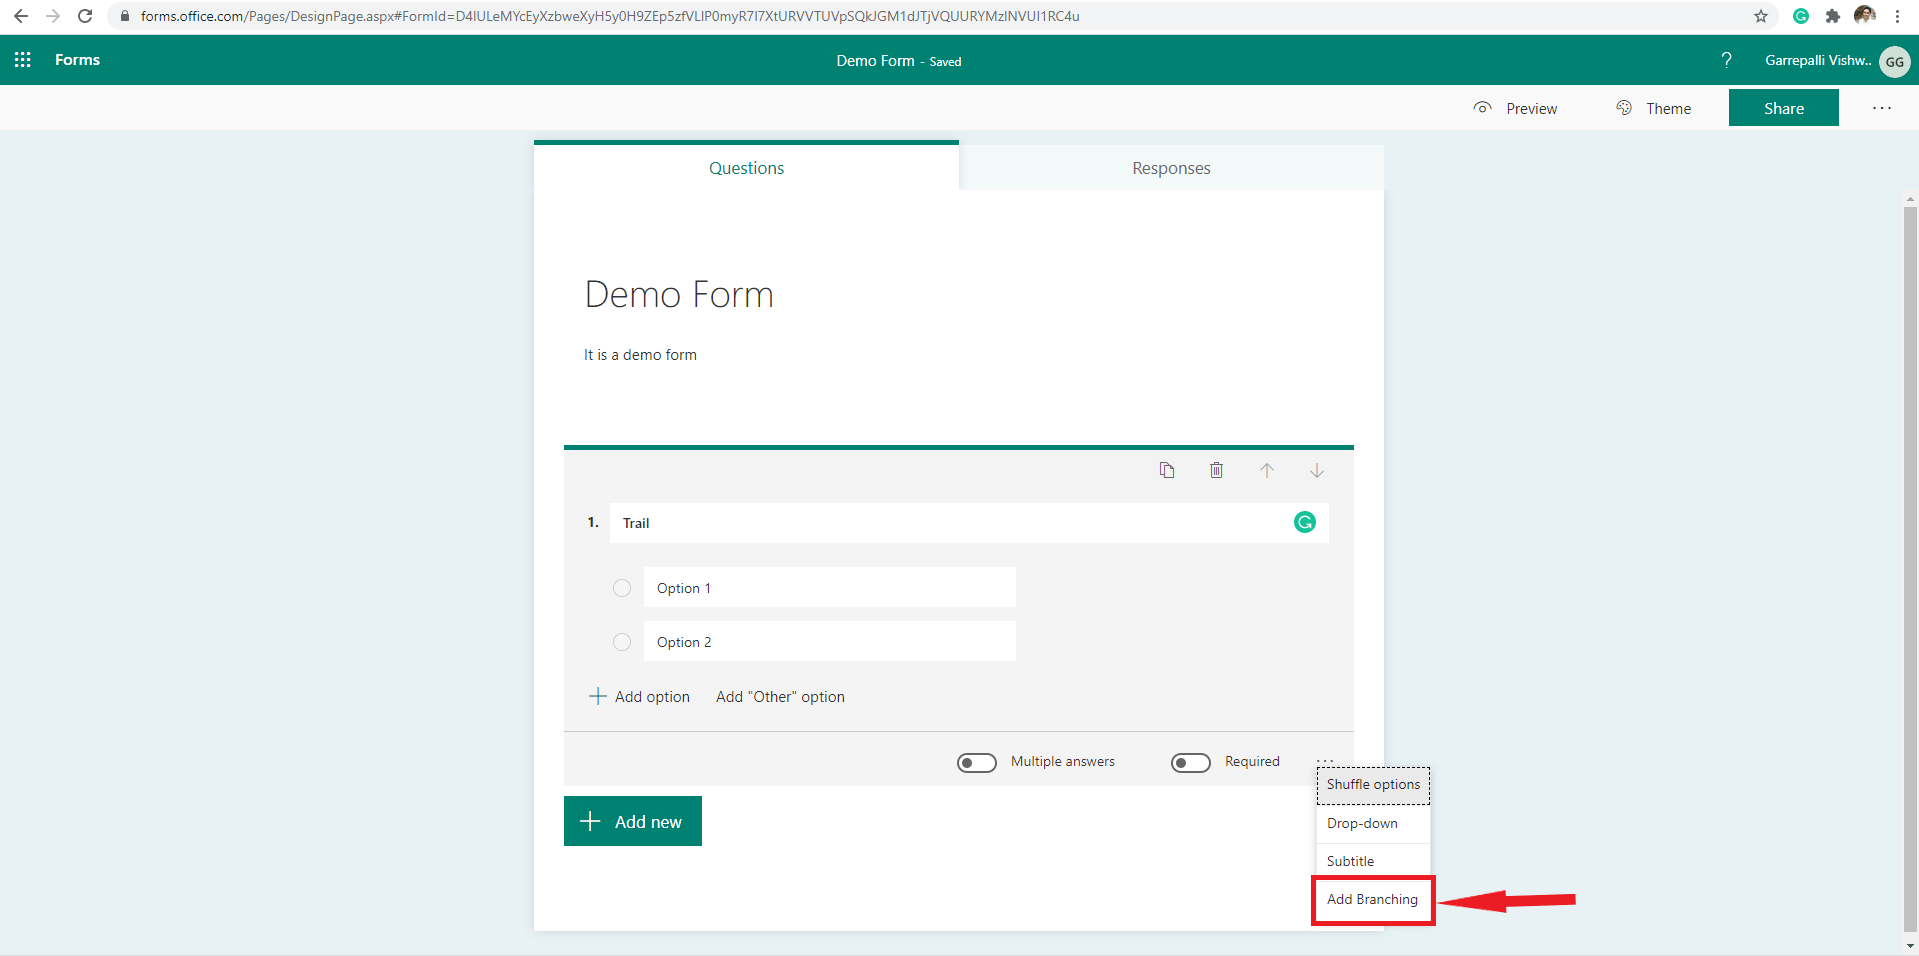
That’s it, your form with branching is successfully finished.
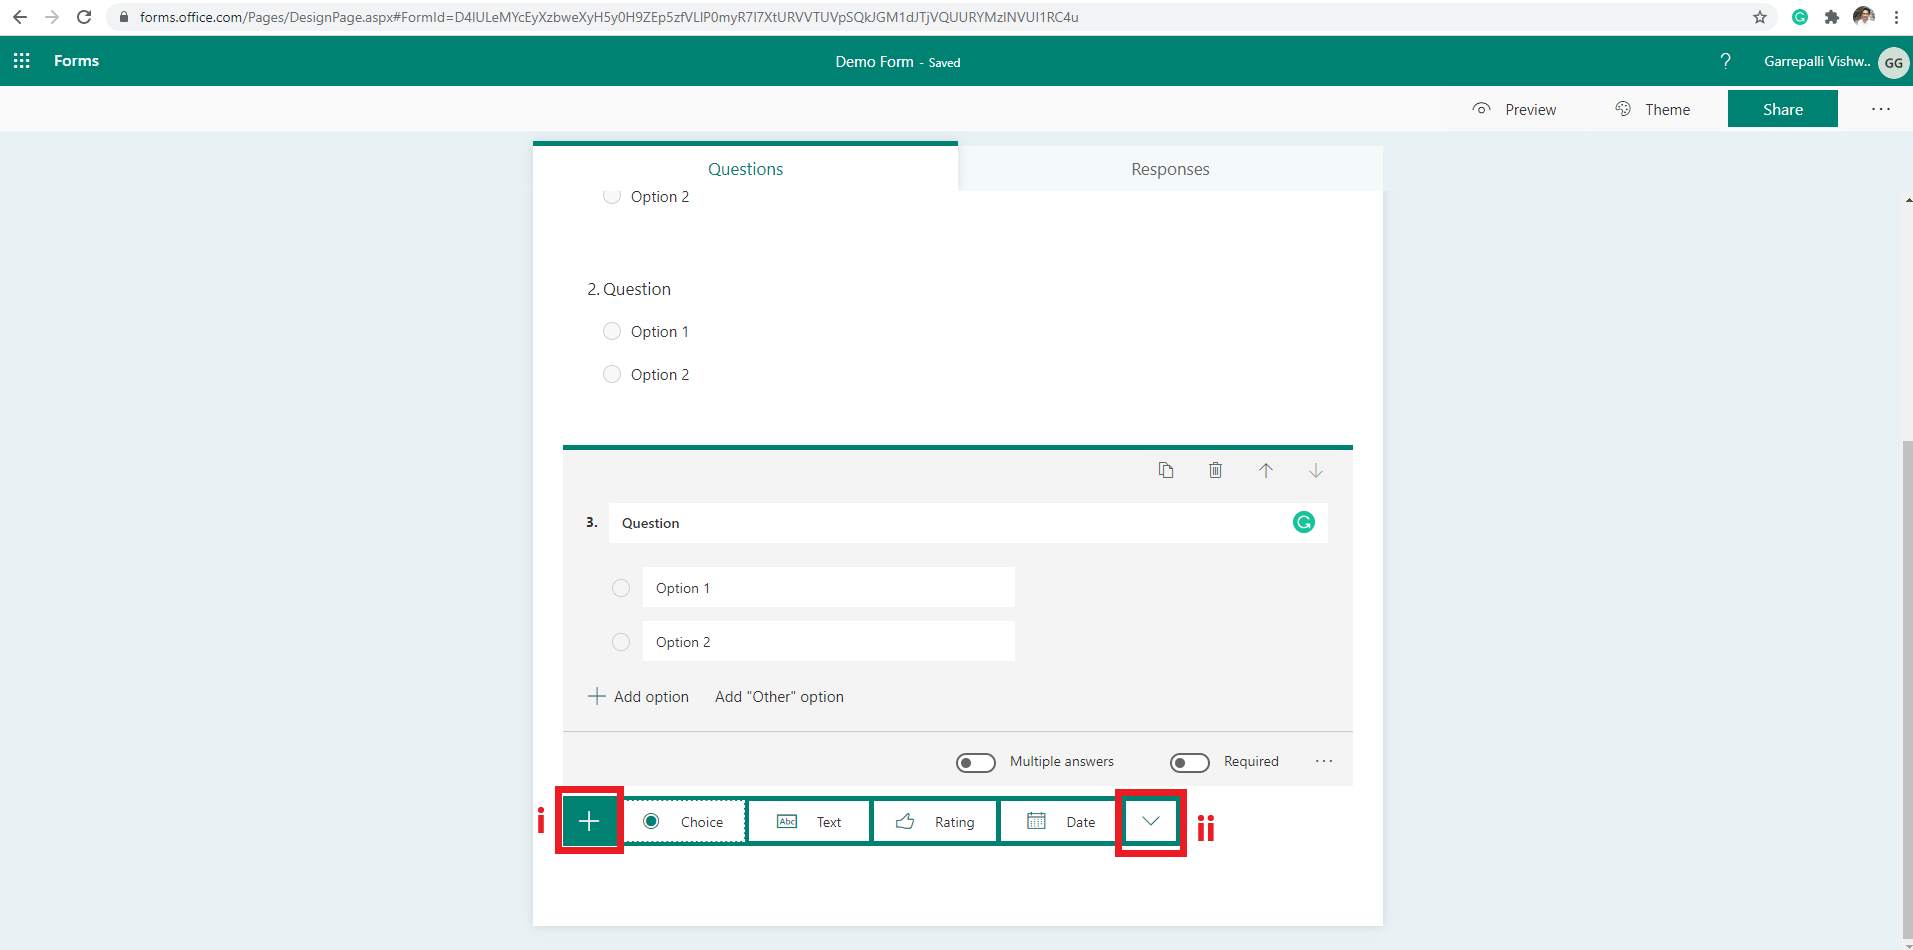
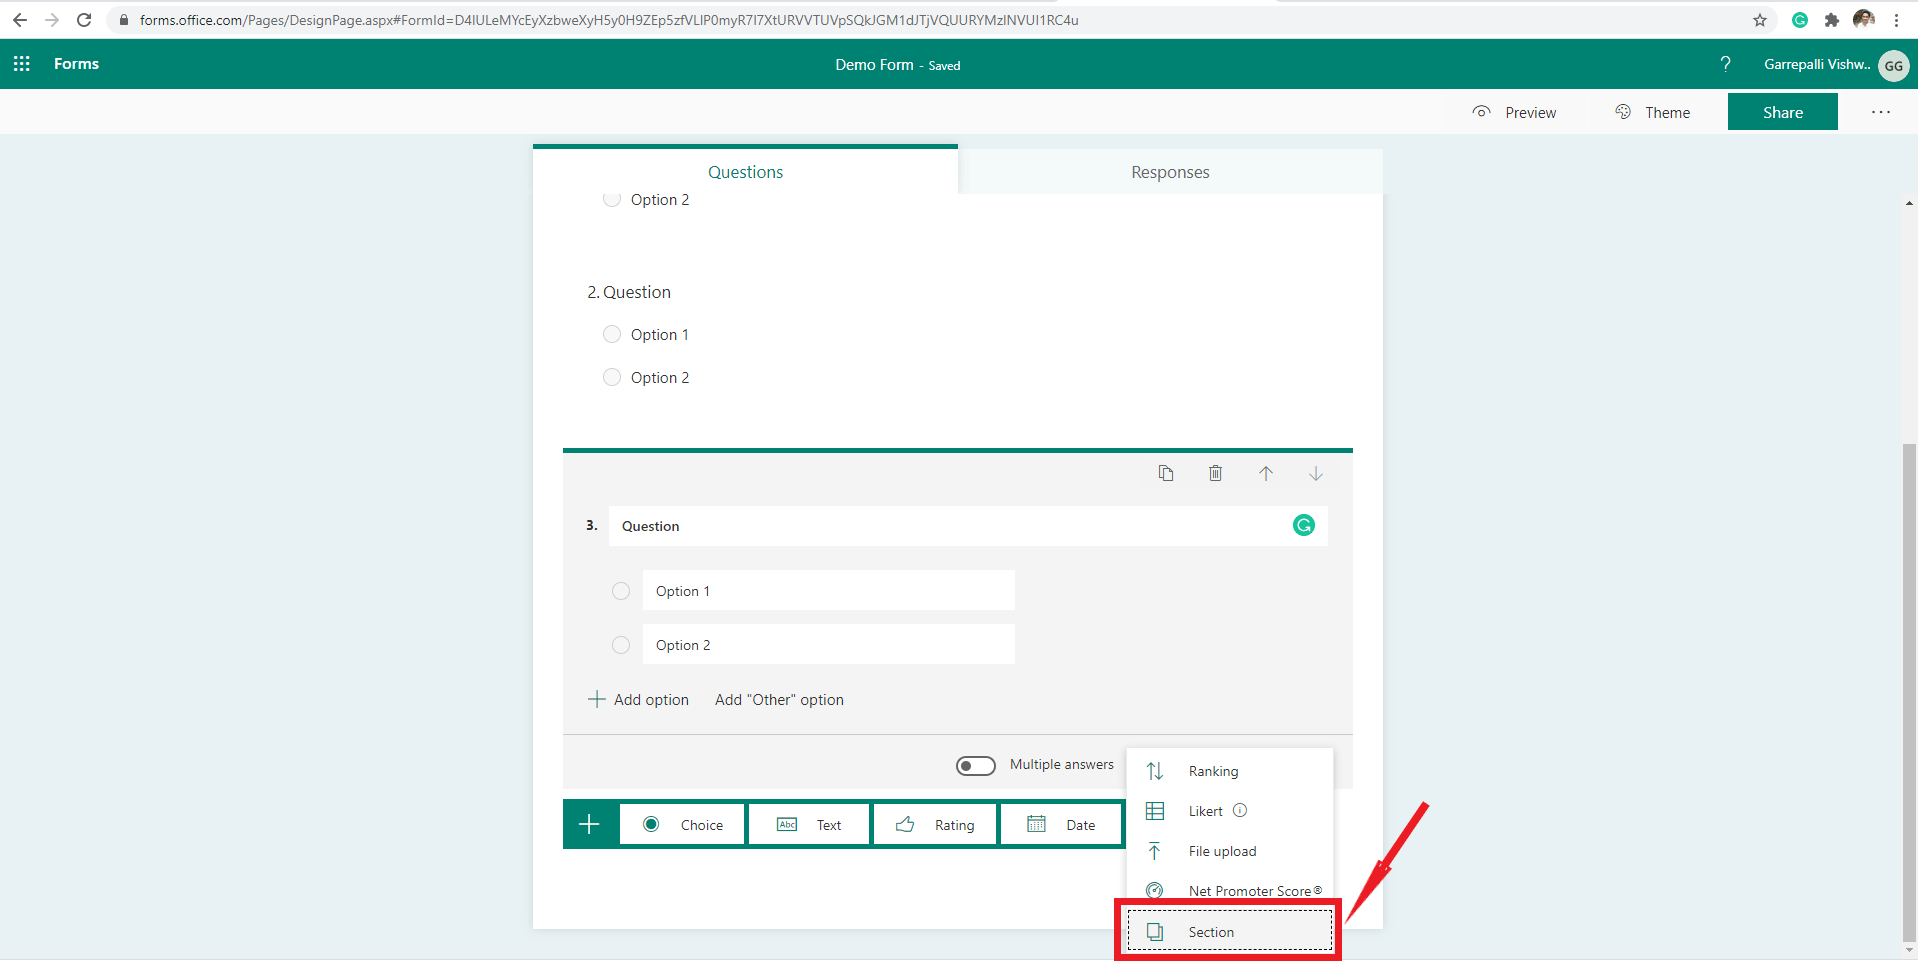
Not only this but you can also add branching in Microsoft forms using Sections also. Now let’s see how we can add branching using section.
Read more: How to Convert Currency in Excel
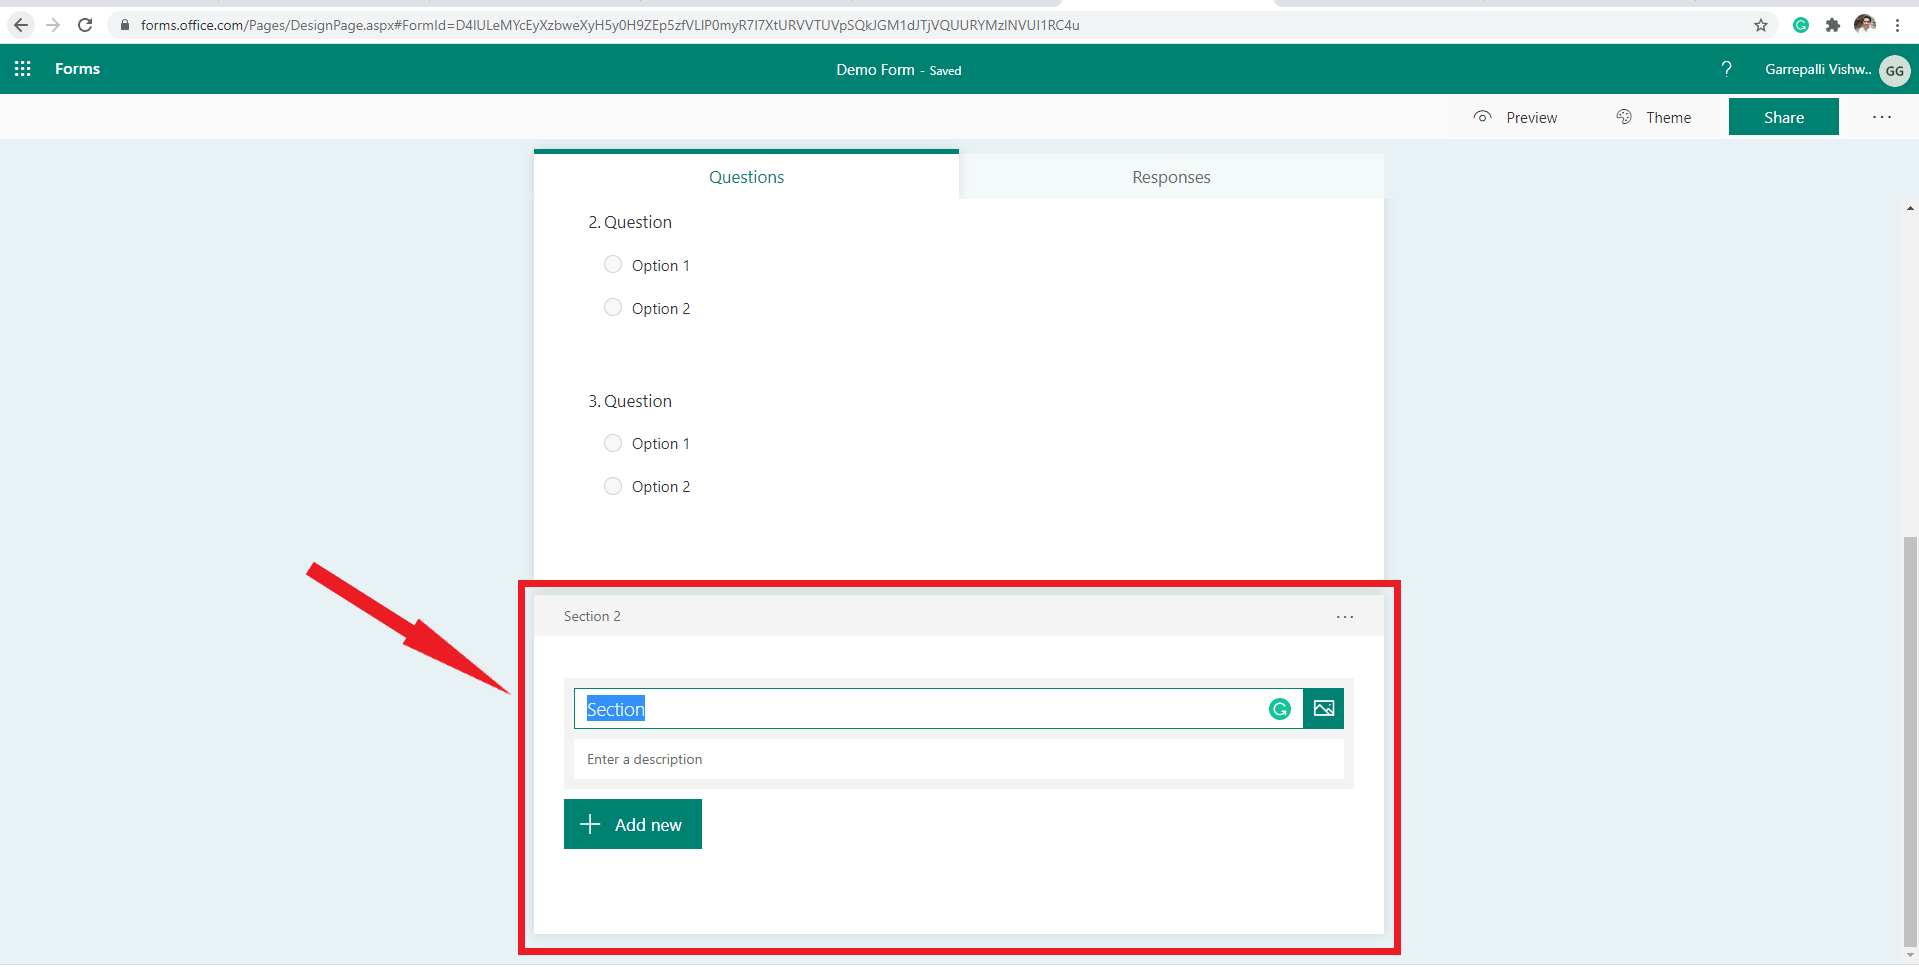
Users can also add branching to their forms using sections. This section feature will provide a better experience to their users as it helps users to split a form into several parts. By using this feature, users can have separate headings and descriptions for every section. For example, if you are running a college and want the students’ information to update it in the hostel, college, and lab register separately, then you can use sections and prepare a form, and it makes your work easy.
That’s it, your branching form with different sections is ready to publish.
Read more: How to Group Worksheets in Excel
We hope that we had mentioned clear instructions on how to add branching in Microsoft forms. By using this branching feature, we hope that your forms will look much more official rather than displaying all the types of questions to every single user. Here, by using this, you can display only selected questions for a particular category.
This post was last modified on June 19, 2020 23:46
Learn how to increase virtual memory in Windows 11, which in turn will improve system…
Learn how to remove OneDrive from File Explorer in Windows 11 with account unlinking, Group…
Learn how to find largest files on Windows 11 with File Explorer, Storage Settings, and…
Learn how to turn off OneDrive on Windows 11 by going to sync settings, unlinking…
Learn how to insert calendar in PowerPoint with templates, tables, or Excel. Present professional and…
Learn how to create templates in Outlook, which in turn will save you time, improve…
This website uses cookies.