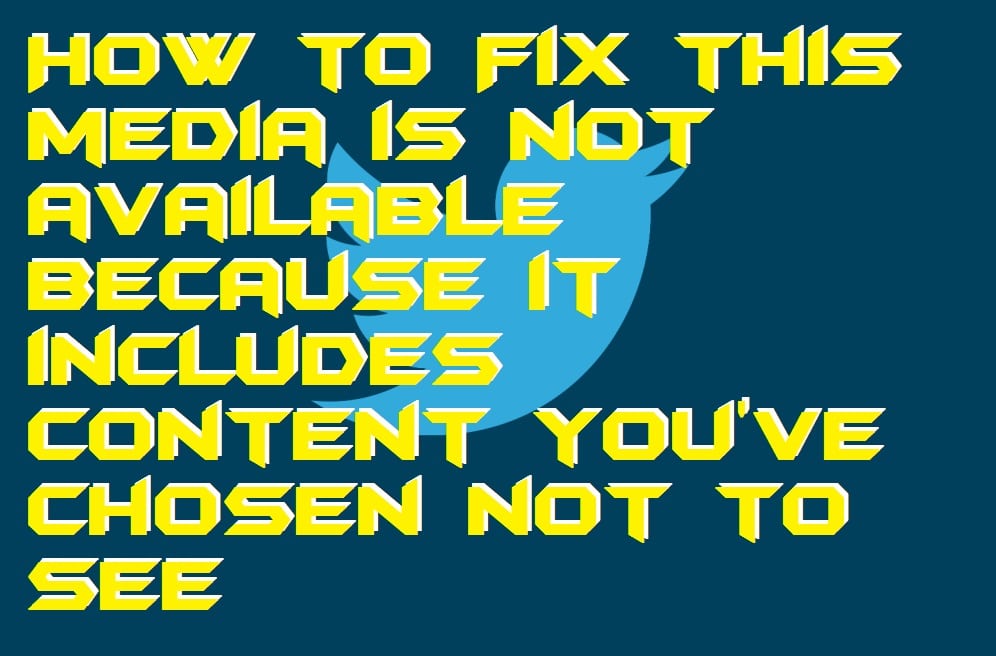
Hello friends, Today I will share a method to Fix Media is not available because it includes content you’ve chosen not to see. You will be able to view the content, and in the future, you will also able to bypass this error message from your Twitter account.
Twitter is a world most famous social media networking website where, most of the time, public figure, celebs, and others tweet their words. Twitter has always been strict to the words which the people are saying and the contents which they upload. Recently, Twitter has taken a big step by blurring the media, which is not appropriate to the viewers. Viewers will face a common error “this media is not available because it includes content you’ve chosen not to see” whenever the unsuitable content will appear.
Twitter is a big social media platform where a lot of people tweets their word or media. Because Twitter has become a big brand now so it does not want to get blacklisted because of doing some small mistakes. So, Twitter by default, set this kind of settings to their loving users (every Twitter user). In fact, according to the surveys, it is claimed that this kind of features is very helpful for users who are light-hearted. This is similar to the dark mode feature, which helps the less eyesight having peoples by reducing the eye strain.
Read more: How to Delete a Twitter Account Permanently
Twitter by default, set the settings to every user account, which hides the potentially sensitive content. That is why the user’s faces “this media is not available because it includes content you’ve chosen not to see” warning. But there is an official way available to view every content or media which is potentially sensitive without warning. Twitter let the users do so by using a simple and straightforward settings option. I have mentioned the step by step guide for you guys so that you can fix “this media is not available because it includes content you’ve chosen not to see” issue. You can read this article if you don’t know where is the account settings on Twitter.
This is how you can fix “this media is not available because it includes content you’ve chosen not to see” warning. If you are a light-hearted person, then I will suggest you not to do so. Why? Because sometimes it happens with us that a sensitive image may appear in front of us, we feel sophisticated. Thus, this can let you feel uncomfortable, and anything wrong can happen with you. However, if you have decided to do so, then I hope using this article you have done the same in a proper manner. If you want to share this article with someone other then you can do so it will let inform others as well. I have also posted an article regarding the top five best Twitter bot detection tool which you must read it out.
Learn how to increase virtual memory in Windows 11, which in turn will improve system…
Learn how to remove OneDrive from File Explorer in Windows 11 with account unlinking, Group…
Learn how to find largest files on Windows 11 with File Explorer, Storage Settings, and…
Learn how to turn off OneDrive on Windows 11 by going to sync settings, unlinking…
Learn how to insert calendar in PowerPoint with templates, tables, or Excel. Present professional and…
Learn how to create templates in Outlook, which in turn will save you time, improve…
This website uses cookies.
View Comments
It worked so fine, very easy. Thanks
Your welcome.
Thanks its working
great!
I'm revievlcing the massage that states media i5 available because it contains sensitive material
Lve troubleshoot now Lake thetinn
Maybe you are trying to watch 18+ content. For that you need to login and confirm your age.
Yes its working, now can see.
do share with your friends too :)