Users can insert multiple rows in Excel by following several methods. You can use these methods in 2016, 2013, 2010 and other version. You can use this method on both Windows and Mac.
Whenever data analysis and documentation are involved, Excel is an invaluable tool. ”Cells” are defined as the interactions between a column and a column and a row in the spreadsheet application. The cells in the database include a single piece of data or piece of knowledge.
This method simplifies the task of identifying relevant information and allows the extraction of new information from dynamic data automatically. It is used to organize and calculate data. It is also capable of performing data analysis, calculating statistics, generating tables, and displaying data as graphs and charts.
The various methods to insert multiple rows in Excel.
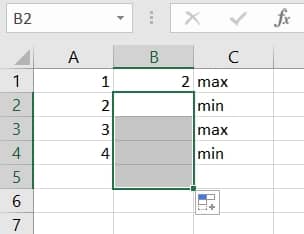
The process to Insert Multiple rows in Excel is one of the endless tasks you have to perform on regular basis i.e by dragging the cursor.
Read more: How to Use Exponents in Excel
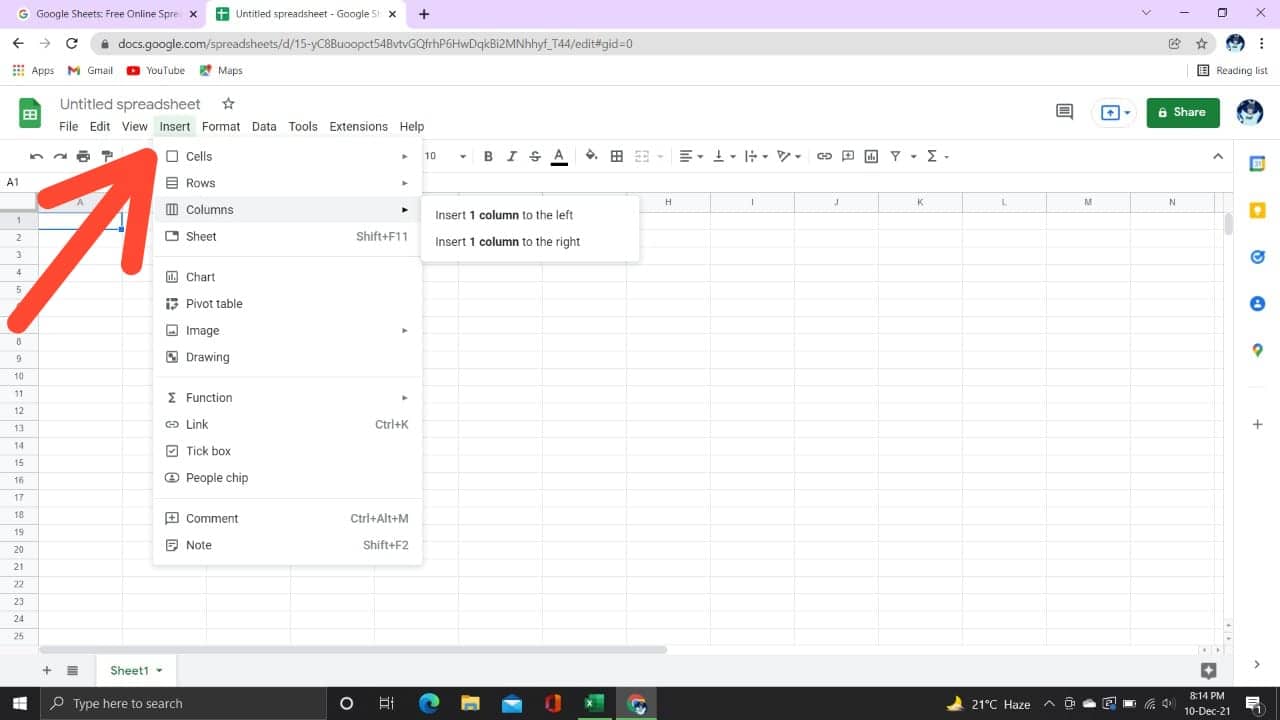
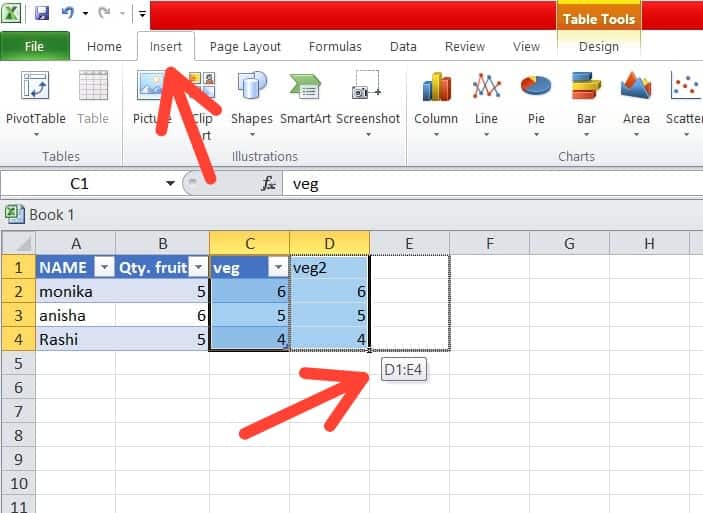
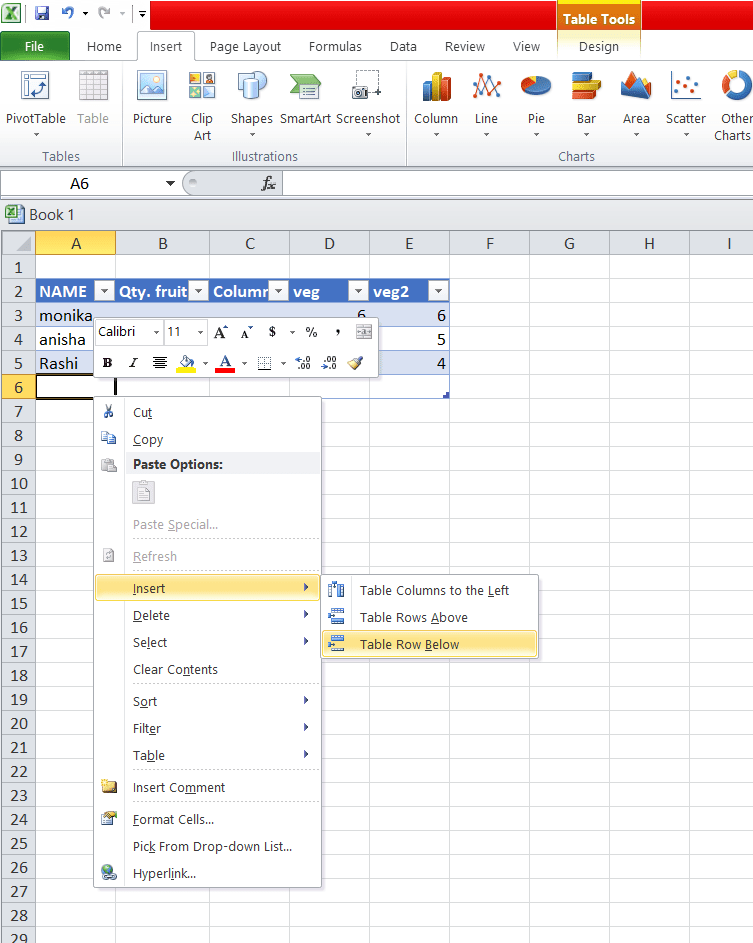
By using the Insert column buttons, you can add rows above selected rows and columns to a selected column. Inserting blank rows above or to the left of the actual operating row on a spreadsheet is also an option.
Read more: How to Export Outlook Calendar to Google
Read more: How to Group Worksheets in Excel
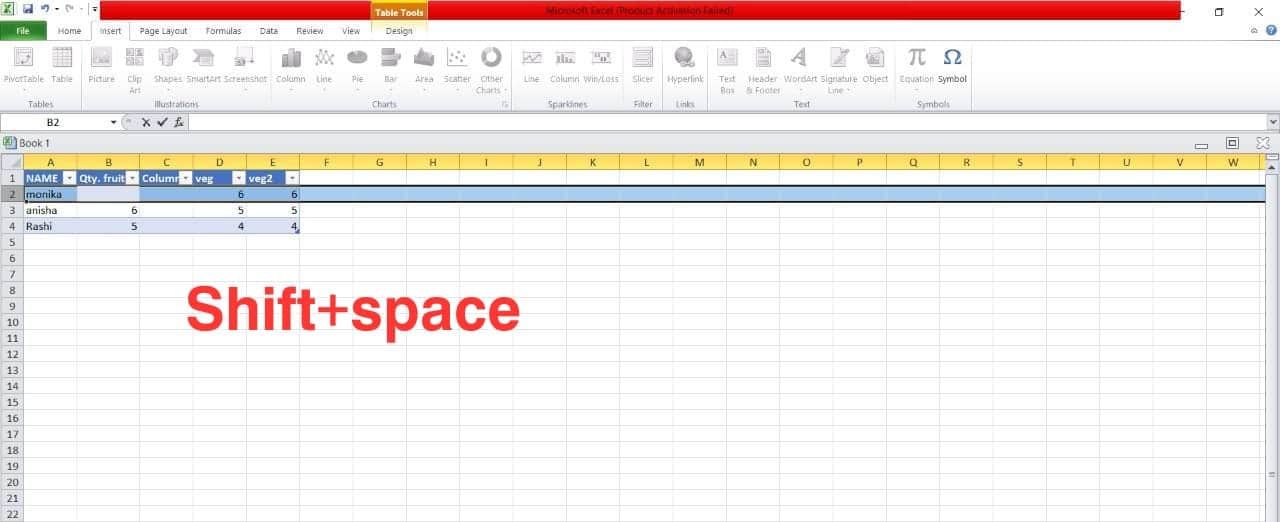
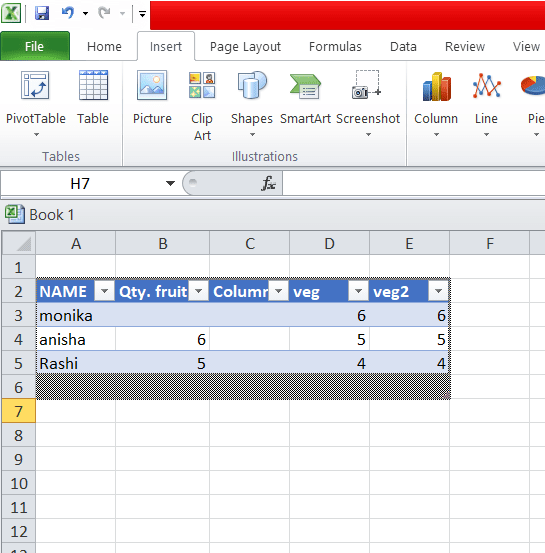
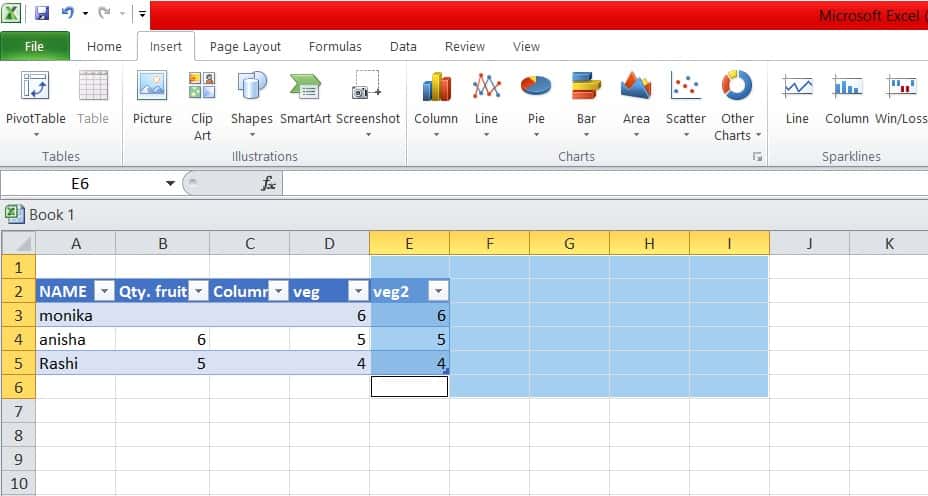
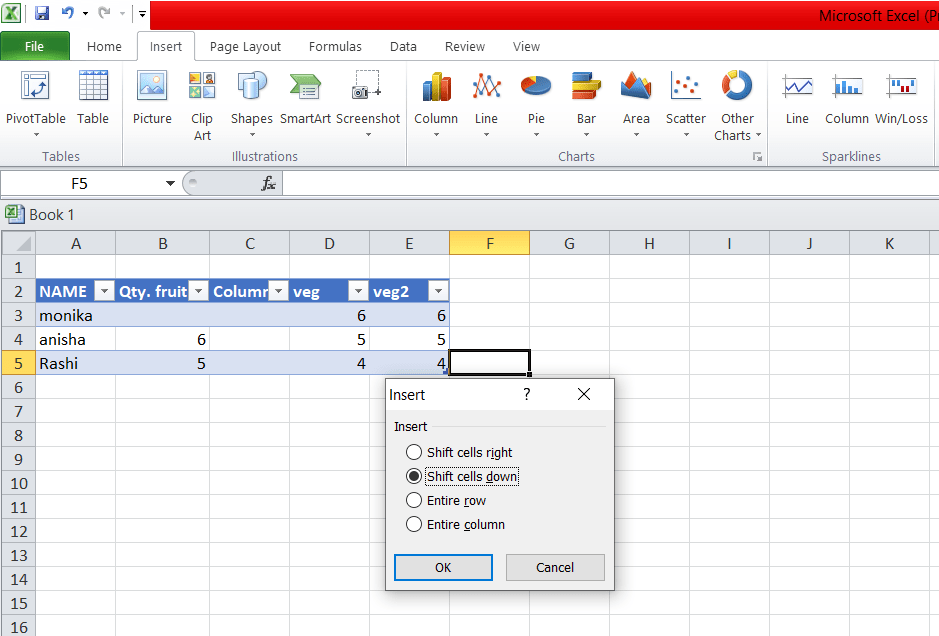
you may add or Insert multiple rows in Excel:
Read more: How to Convert Currency in Excel
Although you might not enter significant numbers, the number pad might still be beneficial. In the example below, I show how to insert a row in Excel by pressing the Plus key on the number keypad.
Read more: How to Create a Template in Excel
Read more: How to Select Multiple Cells in Excel
A spreadsheet’s rows and columns will undoubtedly change depending on whether you’re creating a simple list of names or a complex financial model. Several small chores concerning the grid are required, including the ability to insert multiple rows in Excel and delete them, as well as the ability to alter column widths and create outline groups.
This post was last modified on December 10, 2021 22:16
Learn how to insert calendar in PowerPoint with templates, tables, or Excel. Present professional and…
Learn how to create templates in Outlook, which in turn will save you time, improve…
Learn how to delete old addresses on Amazon with simple step-by-step instructions. Also, you will…
Learn how to make Reddit account private, which includes simple privacy settings, hiding your online…
Learn how to unshare a Google Doc, also how to remove user access, restrict link…
Learn how to delete a draft on TikTok with easy step-by-step instructions. Remove the unwanted…
This website uses cookies.