You can backup text message in Gmail by following these three methods. Users can save any type of text message directly in their Gmail and keep it save for future.
The storage capacity of your phone prevents you from keeping all of your SMS conversations on the device. However, in such a case, whether you’re going to reset your Android phone or upgrade to a new one, backing up your data is a critical step you cannot overlook.
There are various options for backing up text messages on Android if you don’t want to lose those incredible messages. Moreover, Text message backup to Gmail is so straightforward. It also makes your text messages searchable in the Gmail archives.
Read more: How to Curve text in Canva Online
There are many Android apps that can help you back up your text messages. However, With SMS Backup+, we can keep track of our text messages in an easy-to-read format while Gmail works well with it. XML is another format used for Android phone backups. These applications are completely trustworthy.
Let’s just have these steps outlined in more detail now.
Read more: How to Use a Different Text Size for iPhone
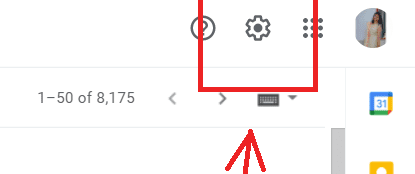
We will now check out the Gmail account that we plan to use with the program.
Read more: How To Access To Someone’s Text Message
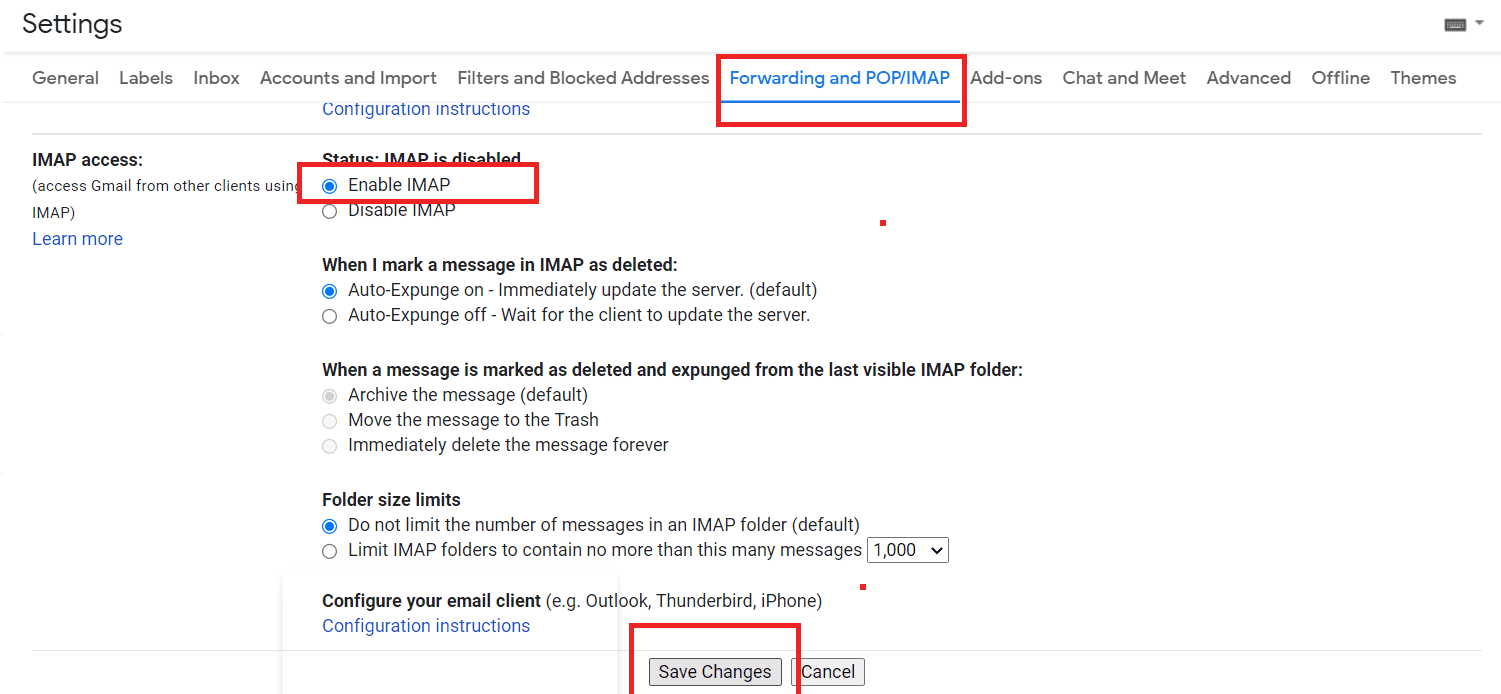
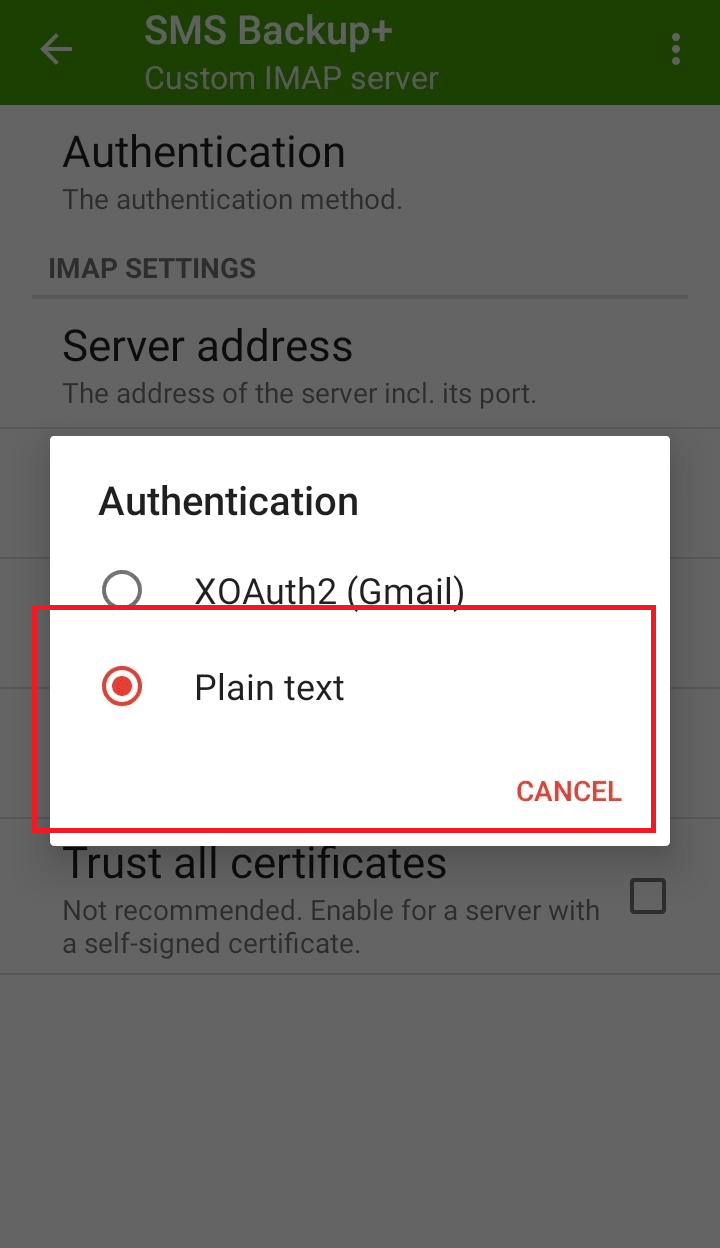
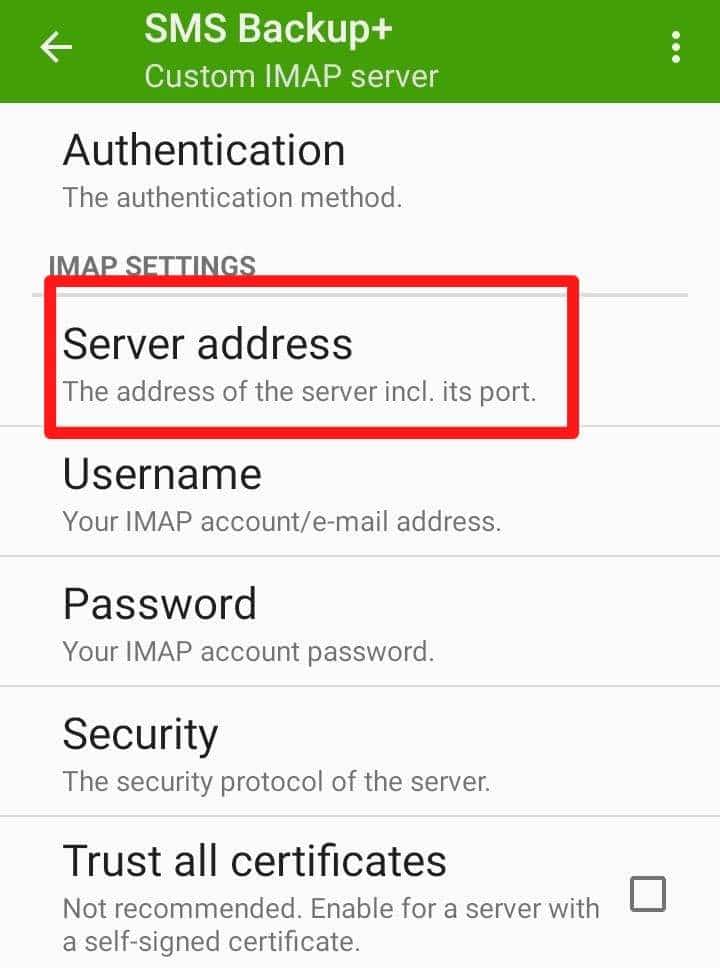
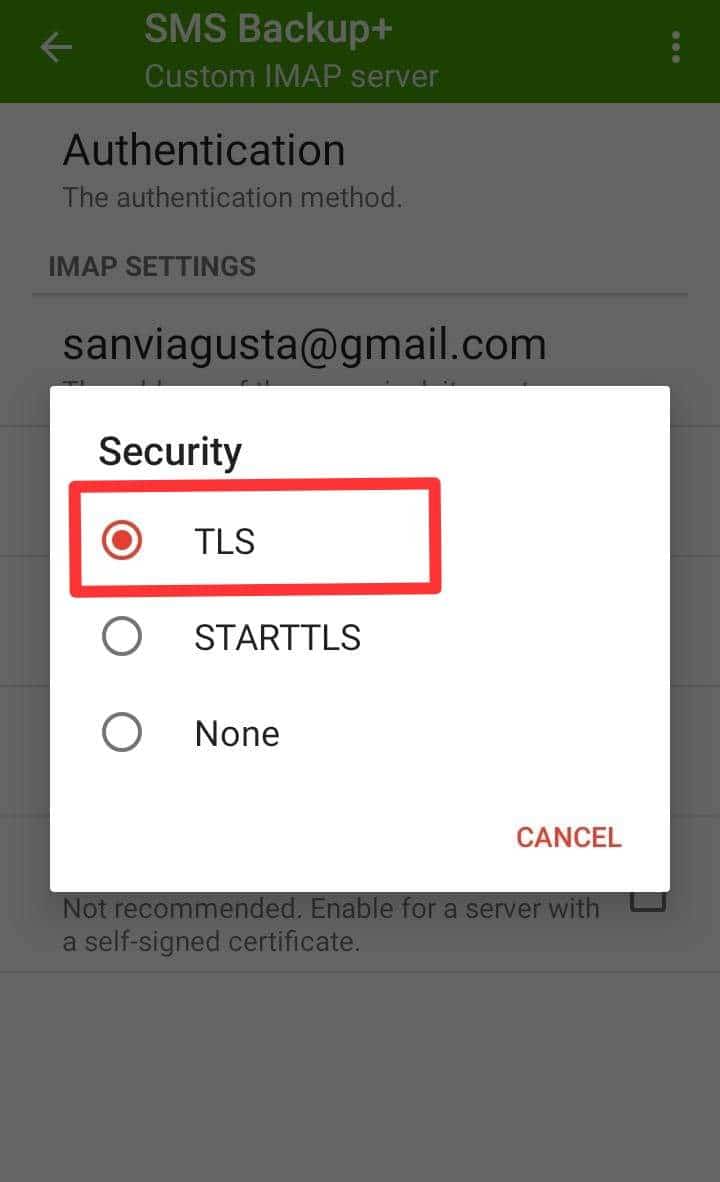
Since we’ve enabled IMAP functionality in our Gmail account, we should install SMS Backup+ now. This app is available on Google Play. You can install it from there. After the application has been downloaded and installed, it is time to continue setting it. Once done with configuring, open the app and continue with the following steps to backup text message in Gmail.
Read more: How to Add Text Over an Image in Google Docs
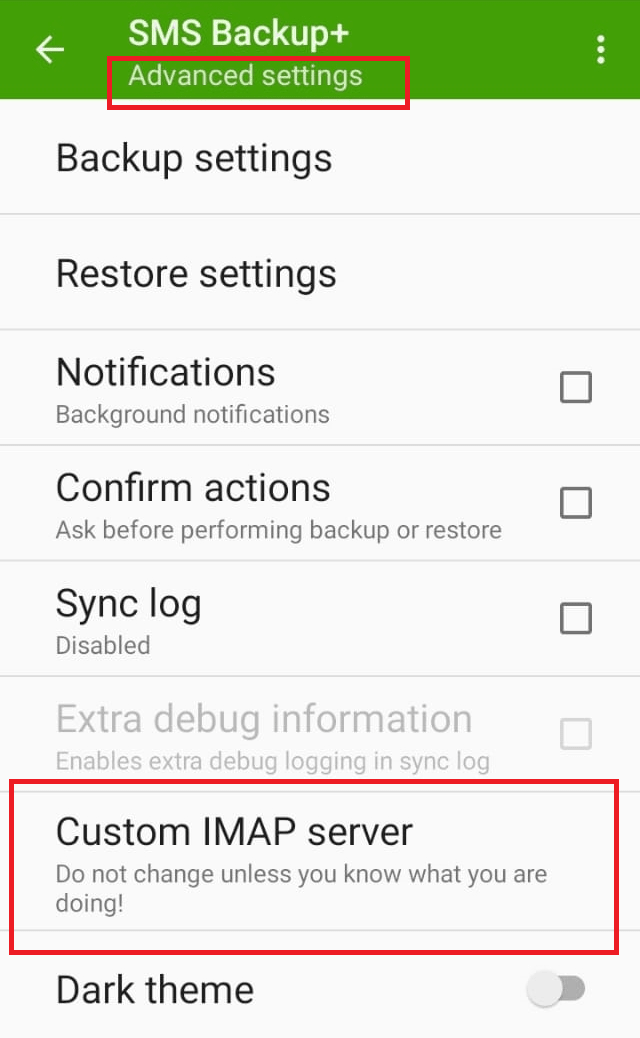
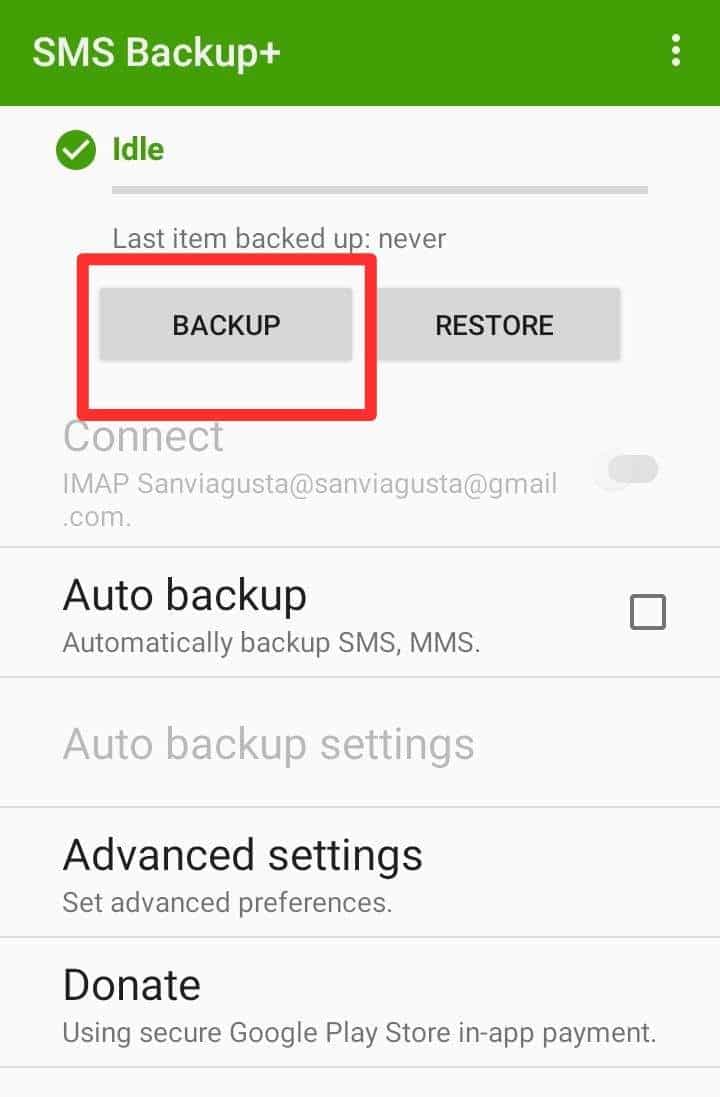
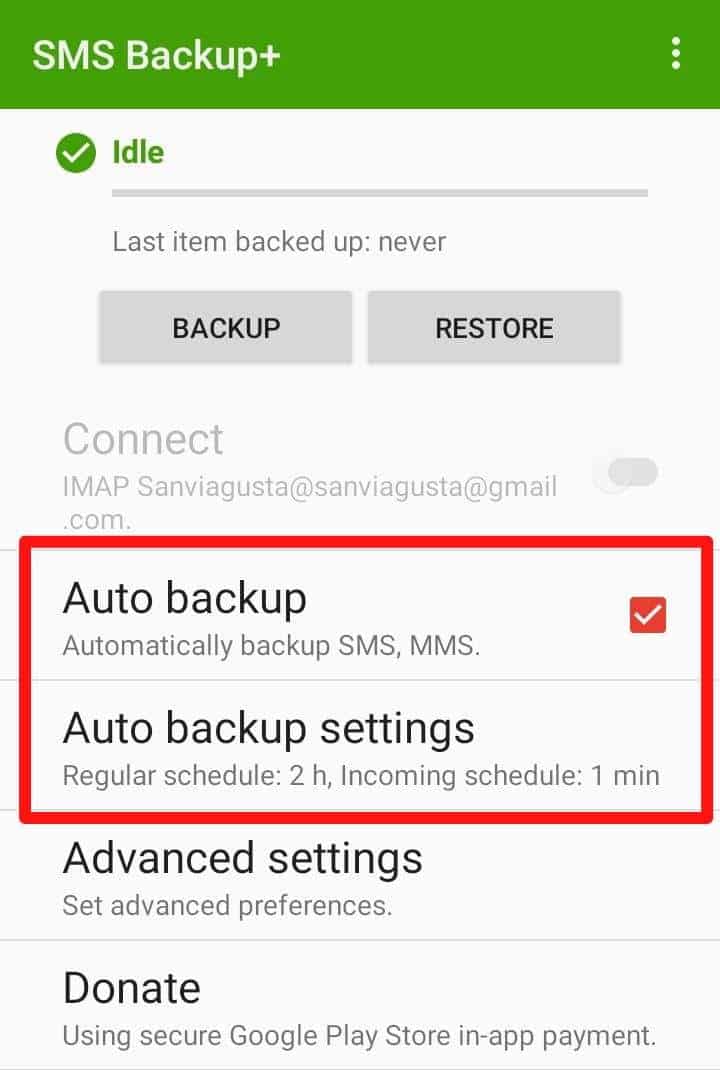
It is essential that you activate the automatic backup feature before leaving this discourse. Allowing automatic backups is a proven method to overlook important data and backups. It is one of the best and auto method to backup text message in Gmail.
You can turn it on or off by clicking the “Auto backup” button on the screen. On the “Auto backup settings” screen, you can determine the schedule. Now yes, that’s exactly it! the work is complete.
Read more: How to Translate Text using Gboard to any Language
As SMS Backup+ keeps your messages in Gmail, each contact in the message thread is assigned a thread within the message. Using Gmail’s stars, you can quickly determine which conversations are useful to restore by telling SMS Backup+ only to restore the contacts who have been starred.
You can therefore search your text messages and even download attachments from Gmail so that you can easily restore them to your handset when needed. Thus, I conclude my blog in the hope that now your confusion will be over. Also, for any further queries, do let me know in the comment section below.
This post was last modified on March 20, 2022 19:15
Learn how to use the Expert RAW app for professional photography. We have included features…
Compare which plan is right for you by looking at Peacock Premium and Premium Plus.…
Learn how to turn on shaders in Minecraft in easy steps using OptiFine. Improve your…
Learn how to turn off Siri reading texts feature on your iPhone through these easy…
In this guide, we present to you how to use VLC Frame by Frame, which…
Here is how to easily sign out of Gmail on iPhone, which can be done…
This website uses cookies.