You can create slicers in Excel by following these methods. You can create a slicer of numbers or any format in an appealing way. These methods will work in 2013, 2016, and 2019.
Essentially, a slicer is an on-screen tool for filtering data in a spreadsheet’s table rows and columns. You can filter tables or PivotTables using Slicer keys. Moreover, slicers show the current state of the filtering, making it easy to see what is currently being presented.
Read more: How to Increase Size of Taskbar in Windows 11
For example, suppose you have a data table containing information about different countries. In that case, you can create a slicer that will only display records whose country is the United States of America (USA). Slicers, however, allow you to filter data while keeping track of what’s being filtered in your Excel. So, in this article, we’ll show you how to create slicers in Excel.
Read more: How To Combine Two Columns in Excel
There are two ways to create slicers in Excel. These are
Read more: How To Combine Two Columns in Excel
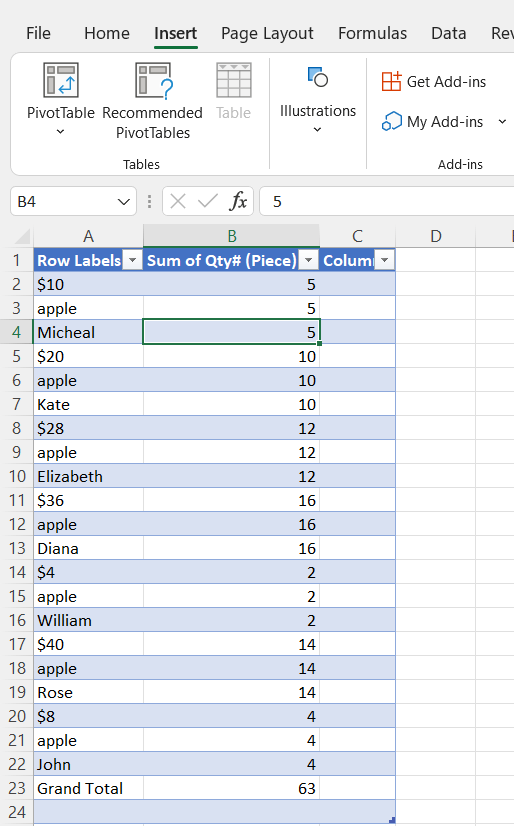
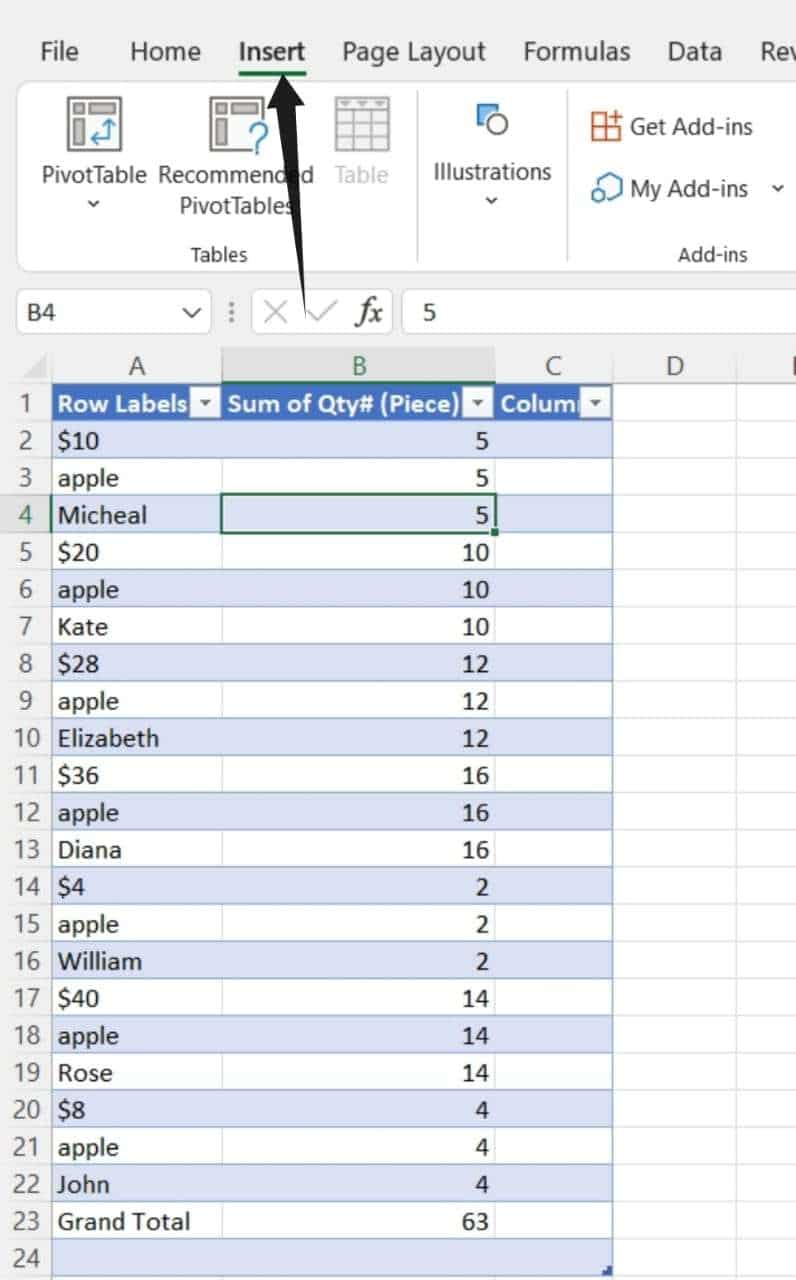
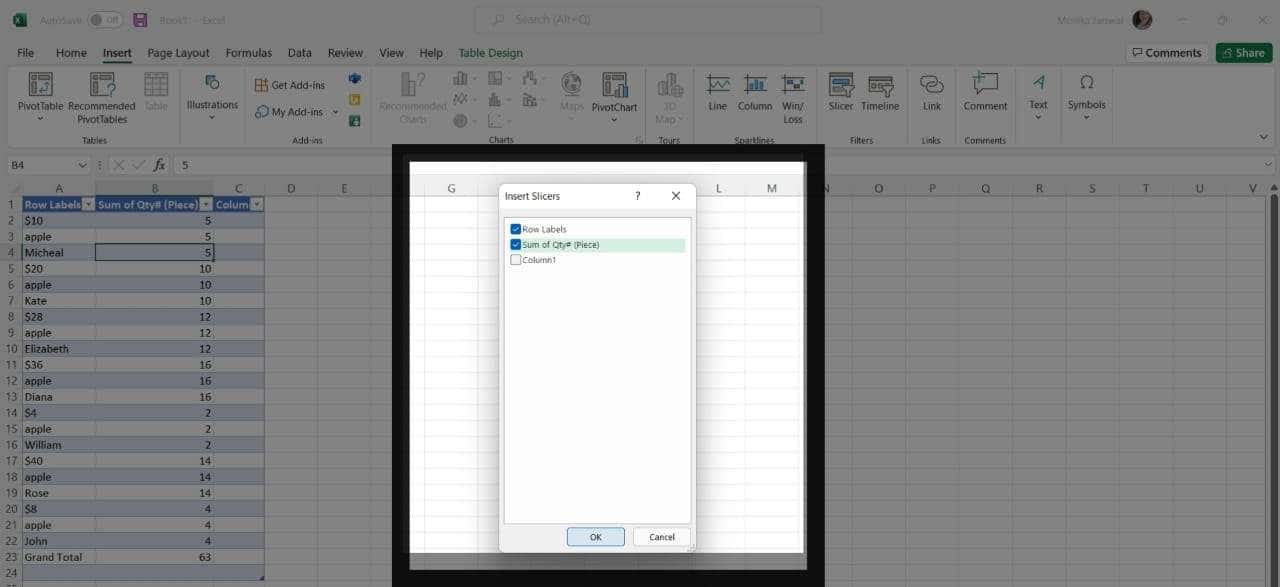
To process to create Slicers in Excel using Insert tab are as follows:
Read more: How to Add a Secondary Axis in Excel
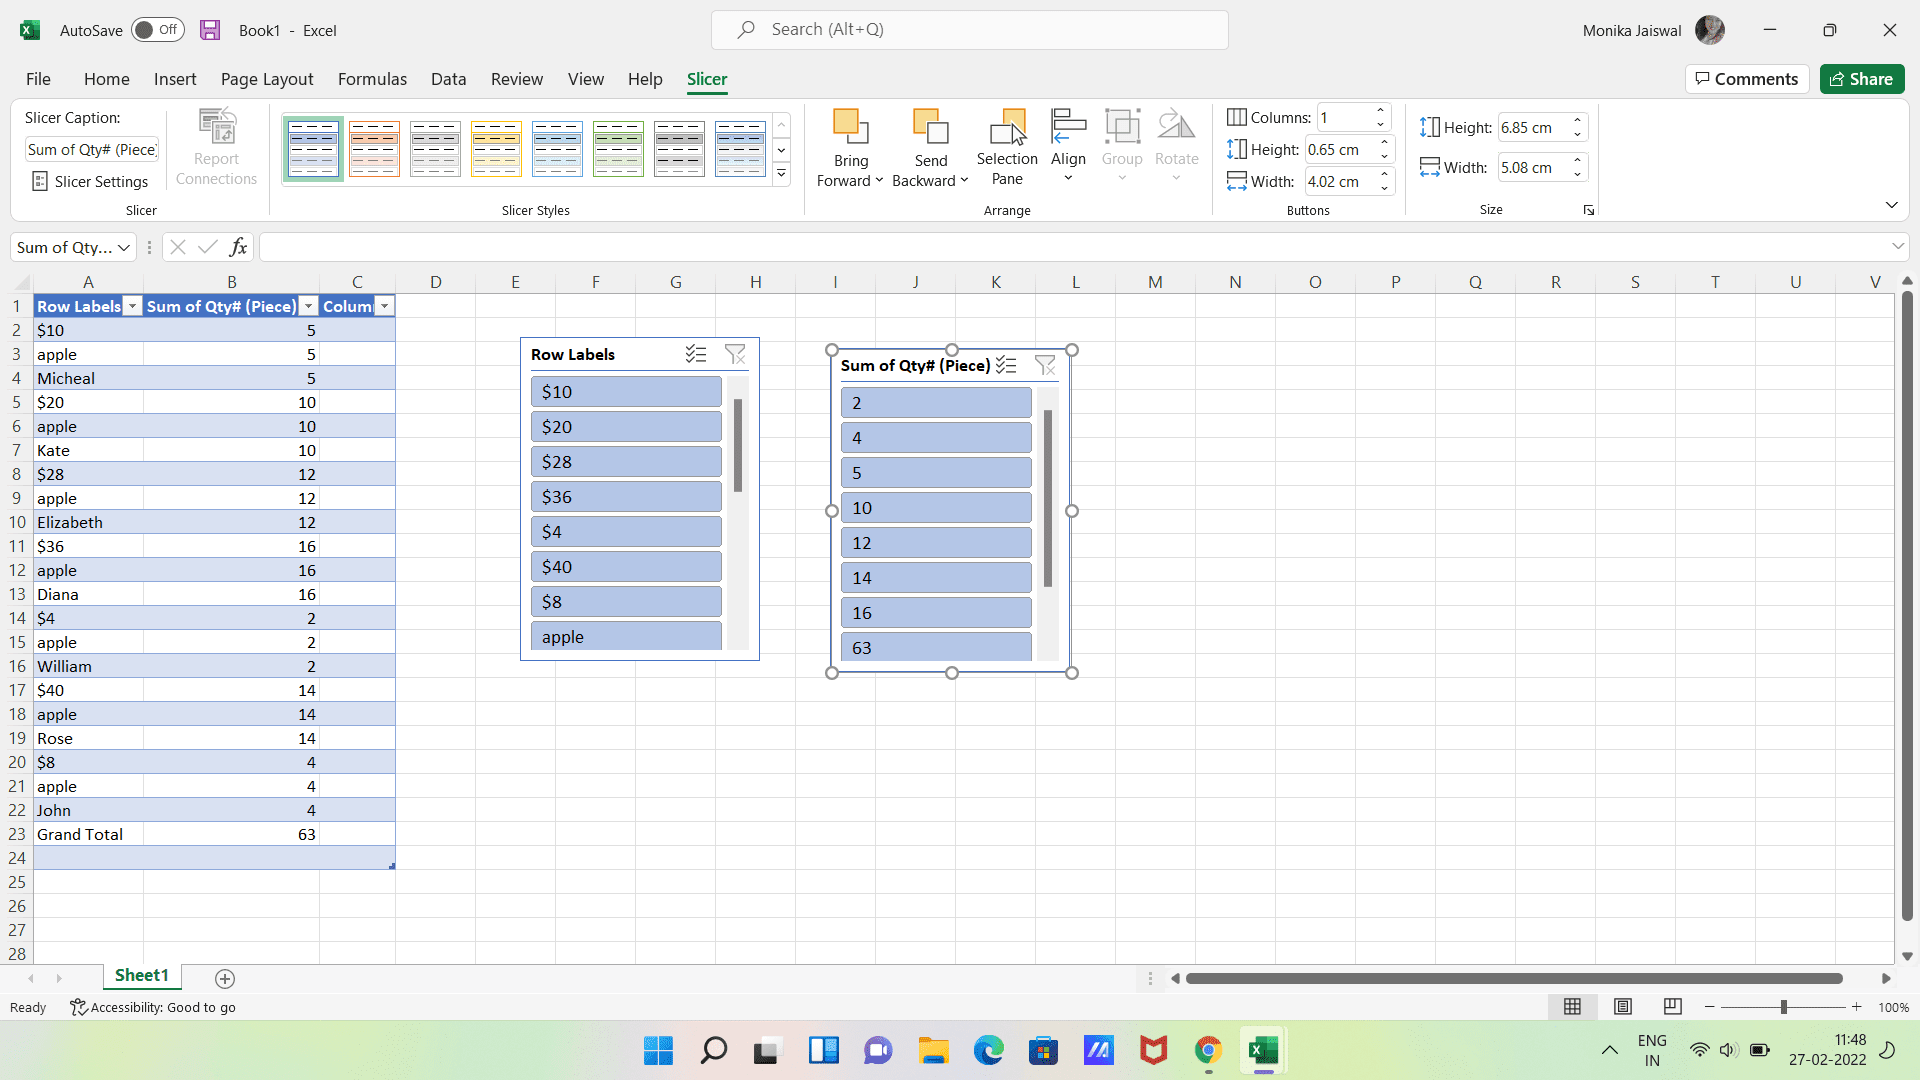
Alternatively, you can view the same list of fields under the PivotTable Analyze tab. Well, I’ll guide you through how to use the PivotTable analysis tab to create slicers in Excel.
Read more: How to Insert Multiple Rows in Excel
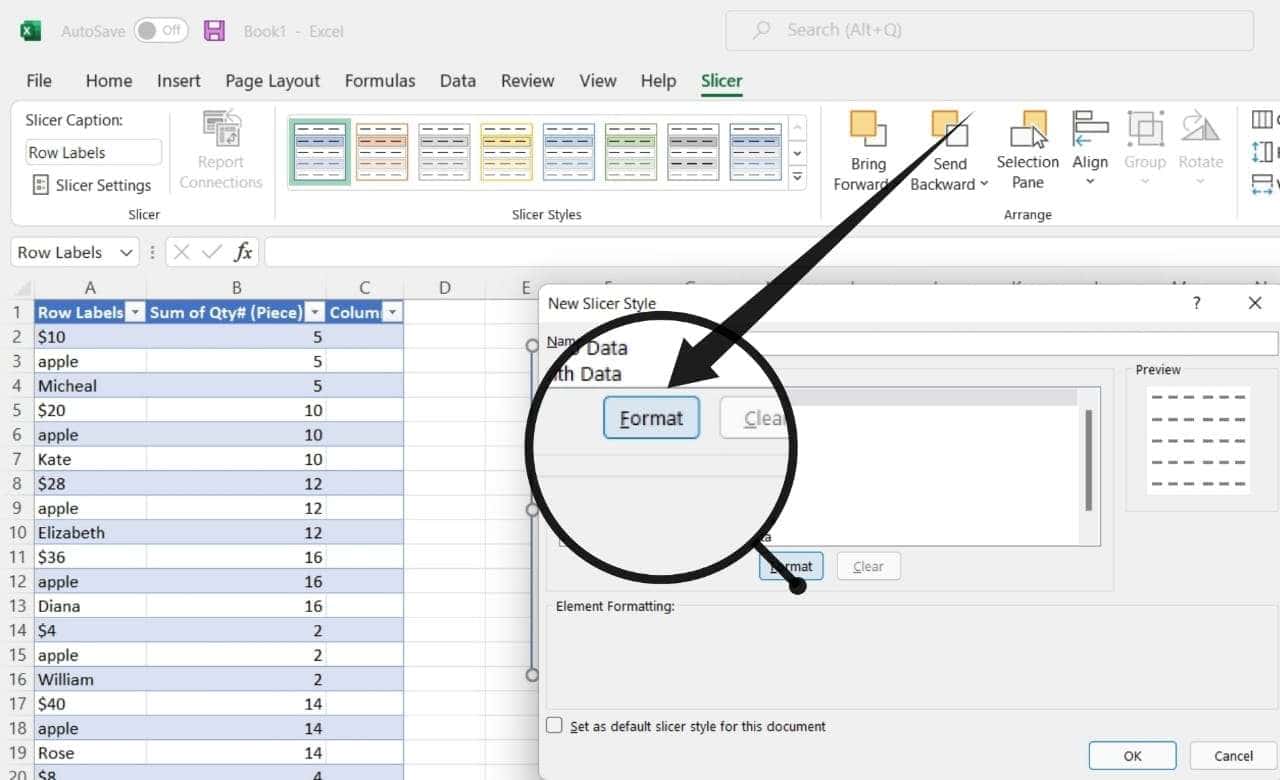
Are you searching for something more than Excel’s built-in slicer styles? You can create your own! Here’s a step-by-step guide.
With Excel 2010, you can only use a slicer to work with pivot tables. Whereas, In Excel 2013 and later, you can add a slicer to either pivot tables or conventional tables, depending on your preferences.
Read more: How to Use Exponents in Excel
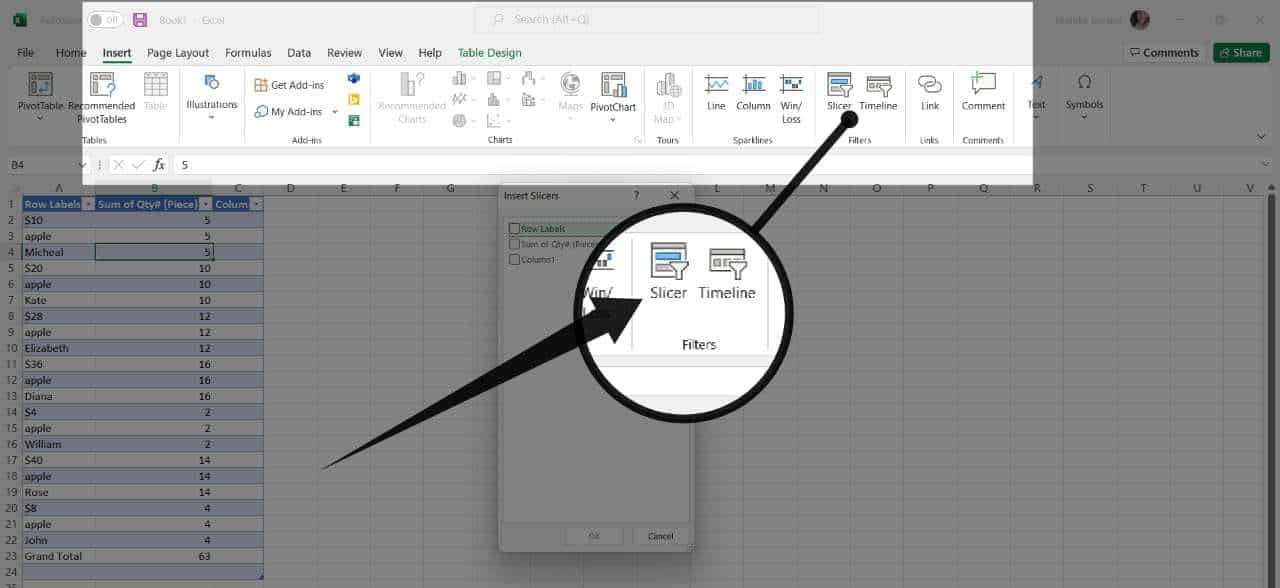
The Insert Slicers window is beneficial because several slicers can be simultaneously inserted into various fields. Using slicers, your Excel reports will have a professional appearance. They’ll also give a wonderful level of interactivity to your otherwise static panels. In most cases, adding Slicers to a pivot table is straightforward. However, if the pivot table was created in an older version of Excel, you may need to upgrade. Finally, I’d like to conclude my blog post here by conveying my hope that you found this article to be helpful.
This post was last modified on February 27, 2022 18:38
Learn how to check PowerPoint version history, also what files in OneDrive are saved in…
In this guide, we are going to walk you through step-by-step methods to change your…
Learn how to fix DISM Error 87 in Windows by command errors, permission issues, and…
Learn how to check open ports on Windows, which in turn will help you to…
Learn how to use Grayscale on iPhone, which will reduce distraction, save battery, improve focus,…
Learn how to change home address on Apple Maps. We have a simple guide for…
This website uses cookies.