You can upload photos to Instagram from PC by following these methods. You don’t need any third-party apps. I have shared a straight way to upload pictures using your Windows PC/Laptops or Mac.
While you may view Instagram on your desktop or laptop using a browser, the Instagram desktop website did not previously provide a mechanism to submit photos. This has now changed. Given that Instagram is a mobile-centric service, it is heavily geared toward allowing you to upload your images through its Android and iPhone mobile applications.
However, While the majority of individuals now access their virtual worlds through their smartphones, there are still some compelling reasons to do particular chores using a laptop or a PC. If you edit all of your photos on your computer anyway, posting to Instagram falls into this category.
Read more: How to See who Saved your Instagram Post
There are the top two methods to upload photos to Instagram PC/Laptop.
Read more: How to Post Multiple Pictures on Instagram Story
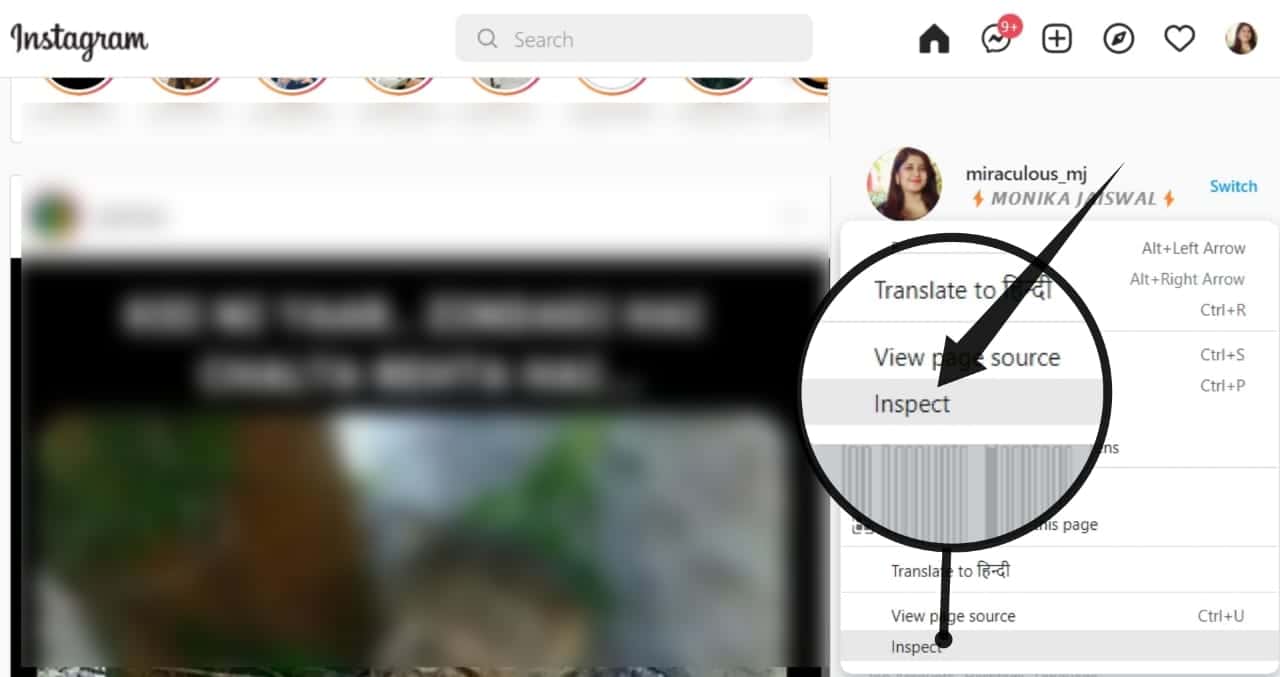
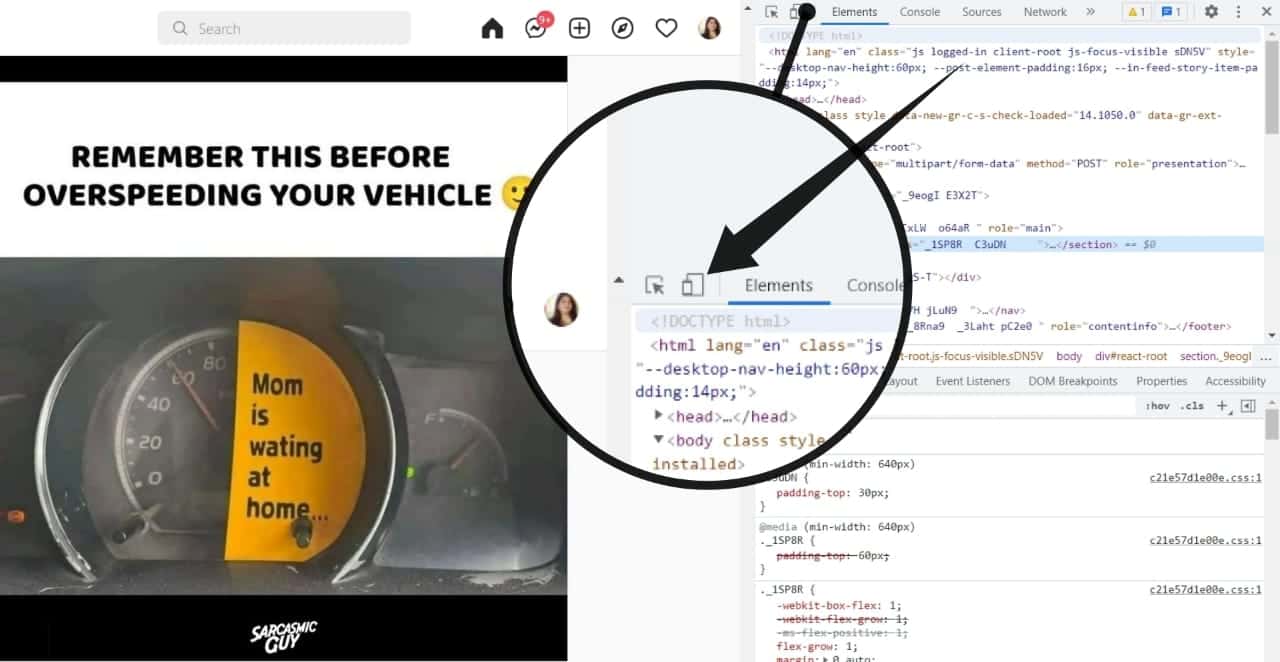
This is an easy and quick way to upload photos to Instagram from PC using Google Chrome as the web browser. Here’s how to get it done:
Read more: How to Turn On Business Account on Instagram
Hootsuite is another simple-to-use Instagram scheduling application that allows you to post photos to Instagram from PC/Laptop to your account. To begin, you must create a Hootsuite account and link it to your Instagram account. In this premium edition, numerous social media accounts can be scheduled to post at the same time. Now, proceed with the steps:
Read more: How to Block someone on Instagram
Since you won’t have to worry about downloading photos to your mobile device or juggling your business’s social media accounts on your own device, you’ll be able to grow your Instagram following more efficiently. Because of these alternatives, you no longer have to rely on it while to upload photos to Instagram from PC.
A new desktop version of Instagram allows you to publish photographs regardless of your browser or operating system. However, if the official way ceases to function and you require a workaround, it is simple to upload to Instagram using this Chrome technique as well.
This post was last modified on March 2, 2022 01:03
Learn about Twitch Error 2000, what causes it, and we also go over 9 simple…
Learn How to Fix iPhone not Receiving texts. We have a list of 10 solutions…
Learn how to Insert emoji in Outlook for Windows, Mac, and Outlook Web. We have…
Flash drive not showing up in Windows or macOS? We have 9 solutions for you,…
Compare Batocera vs RetroPie to see which is the best retro gaming OS for your…
This website uses cookies.