Google Docs

How to Make a Timeline on Google Docs

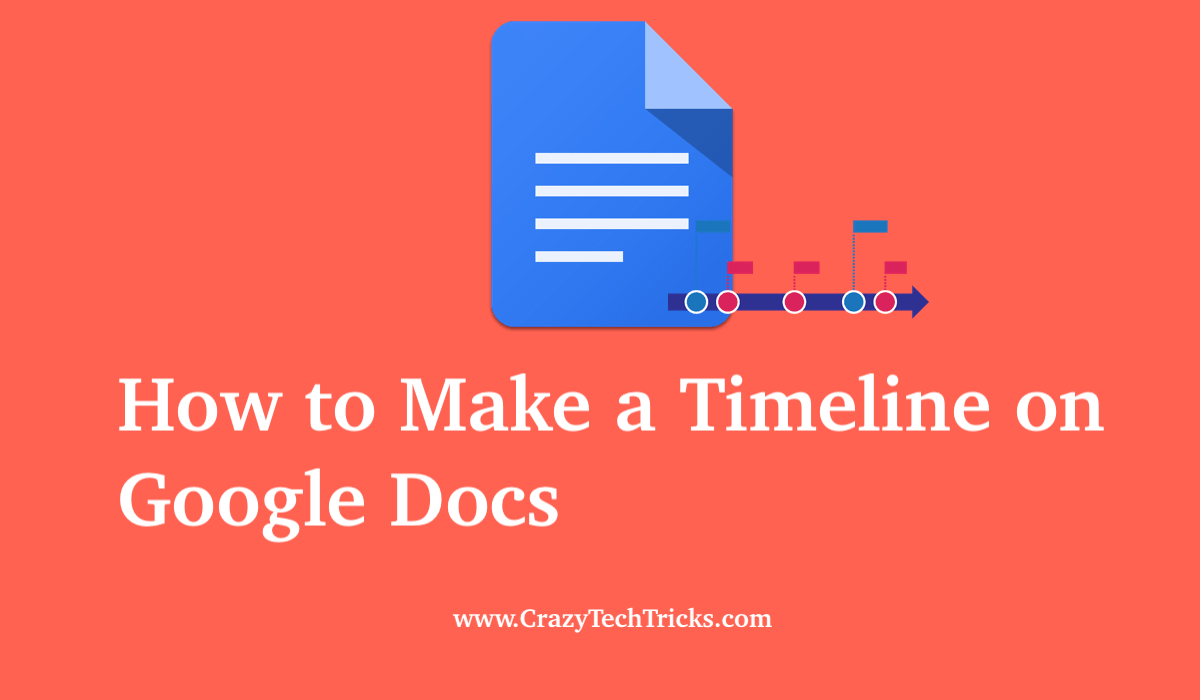
Hello friends, Today I will share a method on how to make a timeline on Google Docs. Users can insert the timeline in Google docs and keep a track record of anything. You can even create a milestone using Google docs. Use the drawing tool and create timeline tracking.

Google Docs is a web application provided by Google included in the Google Suite. It is used to make documents file and is used to store these documents on the Google Cloud Platform. Docs is an excellent web application that provides a flexible working environment and system flexibility. Anyone can work on a Google Doc from anywhere around the world.

Read more: How to Add Page Numbers in Google Docs

Google Doc provides different tools that you can use to increase your productivity for your project. One of the tools that you can make on Google Doc is a timeline. You can import or create your own timeline on google docs by going through the method given below.

How to Make a Timeline on Google Docs

Timeline is used to track the progression of a project over a designated time that you can make to keep track of the project that you are working on. It helps in determining possible changes in the project. Timeline is an essential aspect of a project, and you can follow the method given below to make a timeline on Google Docs.

  1. Open up a document on Google Docs.
  2. Click on the “Insert” option on the “Menu” bar.
  3. Click on the option for “Drawing” and click on “+ New” option from the drop-down menu.
    This will open up a new window with the heading of “Drawing“. This is basically a graph sheet that you can use to make a timeline on Google Docs.
    Note: Now, you will use this drawing window to make a timeline on Google Docs.
  4. Use the “Arrow” option from the Menu bar and make a horizontal line on the window.
  5. Add another Arrow from the “Line Start” option on the opposite end to make the horizontal line an infinite expansion line.
  6. Use the option of “Line Width” or “Line Weight” to make a dominant bottom line or x-axis of your timeline.
    You can also use the “Line Color” option for changing the colour of the horizontal arrow. It allows you to personalize your timeline and make it more engaging.
  7. Add periods in your timeline by using the ‘Text Box” option. Use this to make your time periods of your timeline and map them out. You can use the font options that pop-ups and customize the shape and font of your text inside the “Text Box“. Use this feature to improve the impact of tasks in relations to the timeline.
  8. Add horizontal lines to the timeline that denotes the work associated with that time period.
    This helps you to keep track of the whole workflow of the project along with the timeline associated with it.
  9. The step is used to write down the designated work or plan that you have set in the different time periods.
  10. Use the “Text Box” option for this step. Write down or add images, whichever is necessary and keeps your timeline effective for yourself or your team. Using images and text is highly recommended to keep your timeline easy to go through.
  11. The final step is to close and save.
    It will move your timeline from the Drawing window to the document file which you can further edit according to your needs.

This concludes the steps required to make a timeline on Google Docs.

Must Read: How to Use Google Docs Track Changes


Conclusion

Google Docs is one of the most versatile web application that can be used for project management and collaborative work. It allows us to make and use different tools that can be utilized for better and efficient work. This tutorial helps you to make a timeline on Google Docs and use the timeline for your personal or professional work.

Was this article helpful?
YesNo

Ekaant Puri

I love to write about the latest technology. My work is to write on HowTo, Top 10 and tech solving topics.

Recent Posts

Why is Face ID Not Working on iPhone and How to Fix it – Best 7 ways

In this guide, we will go over the common Reasons for Face ID not working…

2 days ago

Difference Between Fitbit Inspire 3 vs Charge 6

This guide will go over the Fitbit Inspire 3 vs Charge 6 differences to help…

2 days ago

Can You Play PS3 Games on PS5

Do you play PS3 Games on PS5? This is a feature that many players have,…

2 days ago

How to Fix AirPods Microphone Not Working – 7 Ways

In this Article, I am here to tell you How to Fix AirPods Microphone Not…

3 days ago

Top 10 Best USB C Charger for Fast Charging

This guide helps you out with the top 10 best USB C chargers, those that…

3 days ago

Top 10 Best Samsung Tablet for Work, Study, and Entertainment

In this guide, we will go over the top 10 best Samsung tablets and also…

3 days ago

This website uses cookies.