I will tell you a method on how to take a scrolling screenshot on Windows 10 PC/Laptop. Users can take scrolling screenshot. You can take an entire screenshot of your computer. Users can scroll down and take a complete screenshot of your PC/Laptops. It will help you to capture your entire screen even after scrolling down or upside. I have share free softwares to take a scrolling screen on Windows 7, 8, 8.1, and 10.
Read more: How to Rotate Screen on Laptop
Having Windows 10 PC and want to know that how to take a scrolling screenshot? Don’t worry. In this section, I have told you some methods by which you can quickly make a scrolling screenshot on your Windows 10 PC/Laptop. Mostly, we need to take a scrolling screenshot but, the thing is that we can not. Because we don’t know the way to make a scrolling screenshot on our Windows 10 PC, right? However, I am sure that after reading this entire article, you will get the whole idea about how to take a scrolling screenshot on Windows 10. You might be thinking that I am boring you, so without taking more time to let us start the guides.
Read more: How to Screenshot on Samsung Tablet
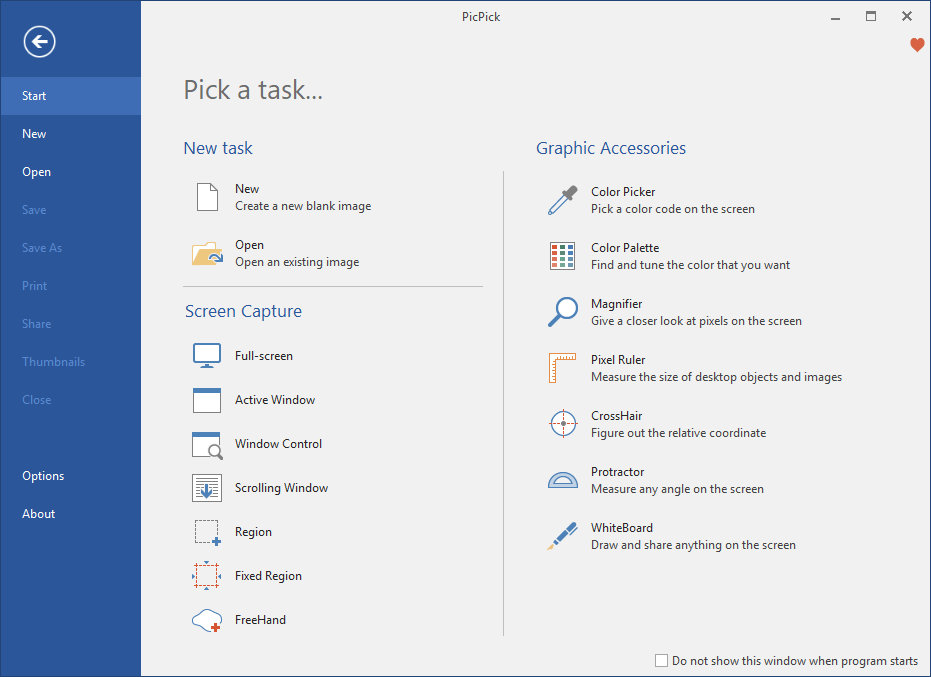
The PicPick software is a very popular software to take a screenshot, edit them, and to share them. It has a straightforward user interface so that the user feel very easy in using it, and that is why it is very popular. The size of PicPick is very less. It comes in two variants that are free and paid. If you are looking for a tool with an advanced feature, then you can use the paid feature; otherwise, use the free version. The method is below, which I have shared with you guys to know how to take a scrolling screenshot using the PicPick software.
Read more: How to Screenshot on iPhone X
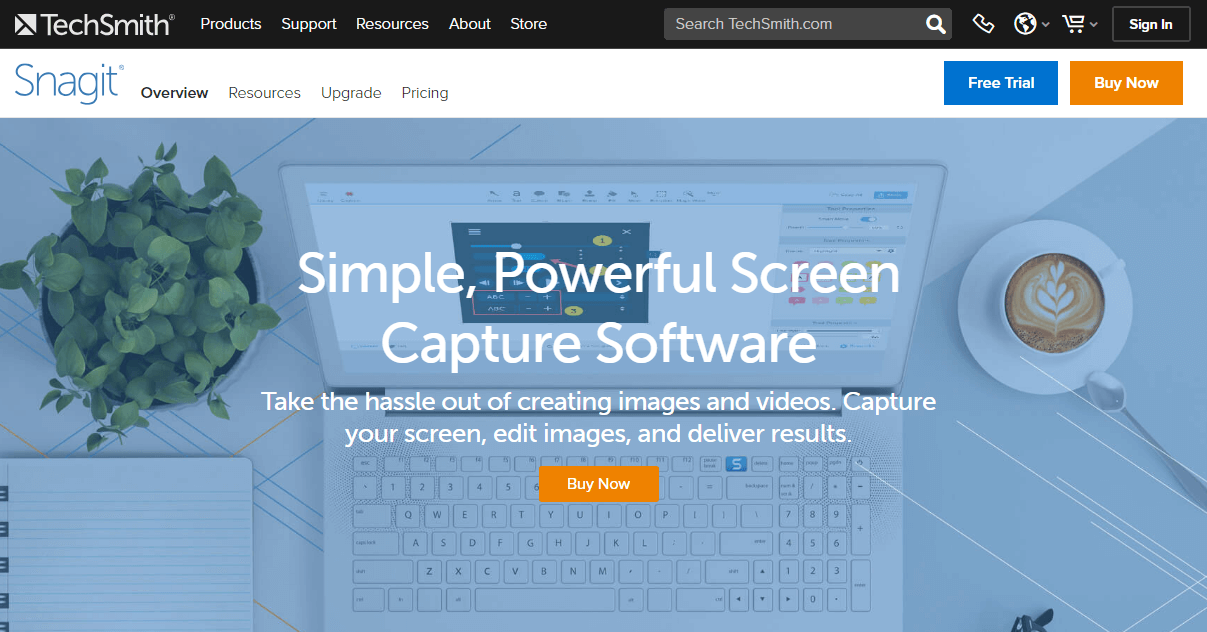
Snagit software is the best software to take a screenshot of any page or of any situation you want. The size of the app is approx 200MB, but the working of Snagit is very great. Once you use it, then you will start loving it. You can get the Snagit for free of cost. However, it offers more features as compare to PicPick software. So, let us explore the steps by which we can know how to take a scrolling screenshot using Snagit software.
Read more: How to Take a Screenshot on iPhone 6
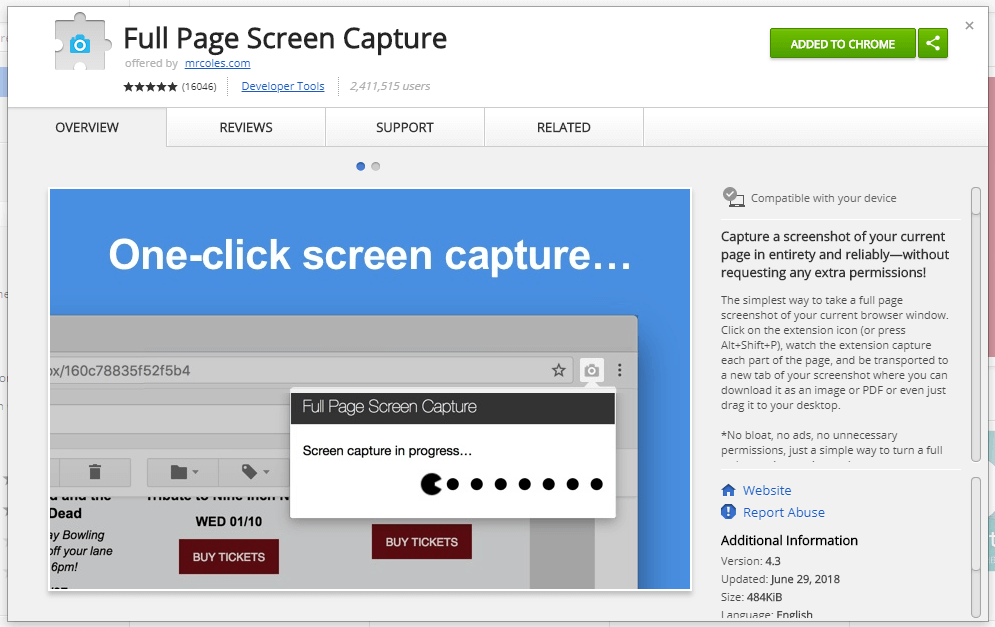
Full Page Screen Capture is a Google Chrome extension by which any Google Chrome web browser user can take a scrolling screenshot. This chrome extension is free to use by ay Chrome browser user. However, you might be thinking about how to use it, right? So let me tell you that I have explained the method, which is below, so that you can tell the help of it to know how to take a scrolling screenshot using Full Page Screen Capture Chrome extension.
Read more: How to Take a Screenshot on a Chromebook Without any Software
These are some phenomenal ways to know how to take a scrolling screenshot in Windows 10 PC/Laptop. You can see that two of the methods are having a software where one has a Chrome extension. I have used the chrome extension because almost every people use the Google Chrome web browser. So that after reading that method, they can now get to know about how to take a scrolling screenshot on Windows 10. However, the software which I have used are free of cost to be used by any Windows user. Even you can use it any other Windows version as well. Share this article with your colleagues to let them know about how to take a scrolling screenshot on Windows 10.
Trending: How to take Screenshots on Windows 10
This post was last modified on February 8, 2022 00:15
Compare Proton Mail vs Gmail on issues of privacy, security, features, storage, and usability. Which…
Explore the difference between Visible vs Verizon in the wireless carrier world. We look at…
Learn how to use Vanilla Gift Card on Amazon in easy steps. See how you…
Learn how to check PowerPoint version history, also what files in OneDrive are saved in…
In this guide, we are going to walk you through step-by-step methods to change your…
Learn how to fix DISM Error 87 in Windows by command errors, permission issues, and…
This website uses cookies.