Learn how to add a new drive in Windows 11 with Disk Management. Also, you’ll be able to create a new partition, organize files better, improve storage management, and see an increase in PC performance.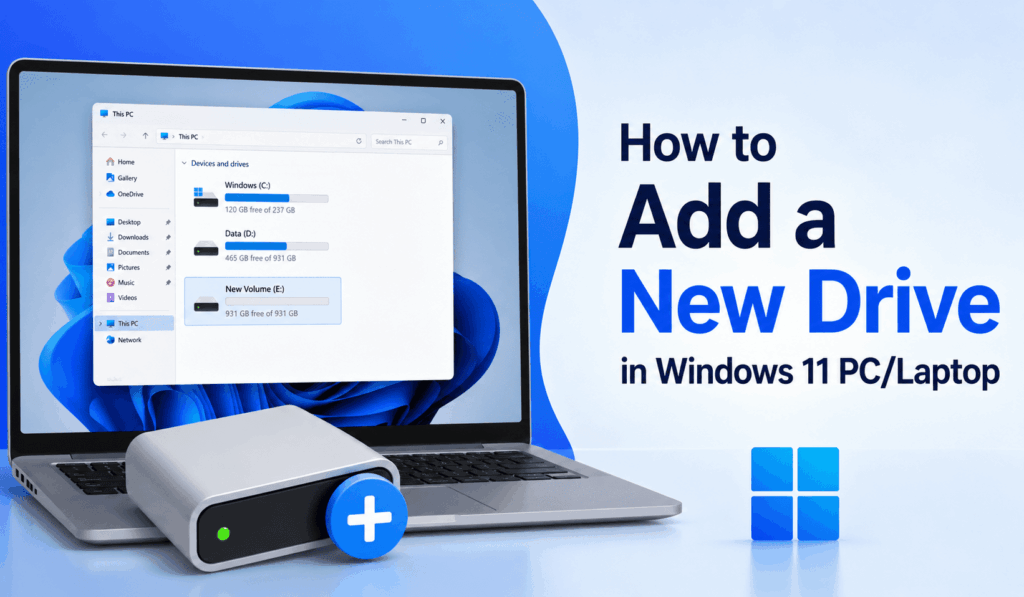
How to Add a New Drive in Windows 11 PC/Laptop
If your hard drive is full, you may wish to add a new drive in Windows 11, which in turn will organize your files, games, videos, and documents better. Adding a new drive is a simple way to increase storage on a Windows 11 PC or laptop.
Read More: How to Hide or Unhide a Drive in Windows 11 PC
Why Add a New Drive in Windows 11?
In Windows 11, storage is limited. When you add a new drive in Windows 11, you can:
- Store personal files separately
- Improve file organization
- Keep important files managed properly
- Manage storage more efficiently
- Create a separate area for games, videos, or office work.
Adding to the storage helps keep your system clean and organized.
Read More: How to Transfer Google Photos to External Hard Drive
Steps to Add a New Drive in Windows 11
Windows 11 includes a feature in the OS that allows users to create new drives with ease.
Step 1: Open Disk Management
Click the Windows + X key combination on your keyboard and then click Disk Management.
This tool presents an inventory of all storage devices and partitions in your PC.
Read More: How to Fix Flash Drive Not Showing Up
Step 2: Select a Drive
Find the primary storage drive in the Disk Management window.
Right-click on the drive and Select Shrink Volume.
Read More: How to Fix Driver Power State Failure in Windows 11
Step 3: Enter the Size of the New Drive
Windows will calculate available free space.
Enter the quantity of space you would like to allocate for the new drive. For example:
- 50000 MB = 50 GB
- 100000 MB = 100 GB
- Click Shrink.
After the Shrinking, you will see Unallocated Space.
Step 4: Create a New Volume
Right-click on the unallocated space and go to New Simple Volume.
The New Volume Wizard will open.
Step 5: Assign a Drive Letter
Choose a drive letter, such as D:, E:, or F:
This step will guide you successfully to add a new drive in Windows 11.
Step 6: Format the New Drive
Select:
- File System: NTFS.
- Allocation Unit Size: Default.
- Volume Label: New Drive.
Click Finish.
Windows 11 will now create a new drive successfully.
How to Check the New Drive
After you add a new drive in Windows 11, open File Explorer and click This PC. You will find the new drive in the list of your present storage drives. You can now transfer your files, folders, games, and videos to the new drive.
Benefits of adding a new drive in Windows 11
When you add a new drive to Windows 11, you get which include:
- Better Organization: You may also separate files and folders.
- Improved Performance: Keeping your storage in order will improve Windows performance.
- Easier Backup: You may keep your important files separate for easy backup.
- More Storage Management: Extra storage, which in turn makes file management easier.
Important Tips Before Adding a New Drive to Windows 11
- Backup key files before changing partitions.
- Keep free space on the main drive.
- Do not create very small partitions.
- Use of NTFS format for best compatibility.
These are to avoid storage issues and also improve performance.
Conclusion
Learning to add a New Drive in Windows 11 is easy for all PC users. What this does is improve storage organization and also makes file management a simpler task without the need for extra hardware.
If you are having trouble with storage organization, at this time, it is a great opportunity to add a New Drive in Windows 11 and put your files in order.
Leave a Reply