Hello friends, Today I will tell you a method on how to fix LogiLDA.dll error. I have shared two methods to fix LogiLDA.dll error. You can try any method to resolve this error. This method will work on Windows 7, 8, 8.1 and 10. Users can fix errors related to their external hardware like mouse or Logitech devices.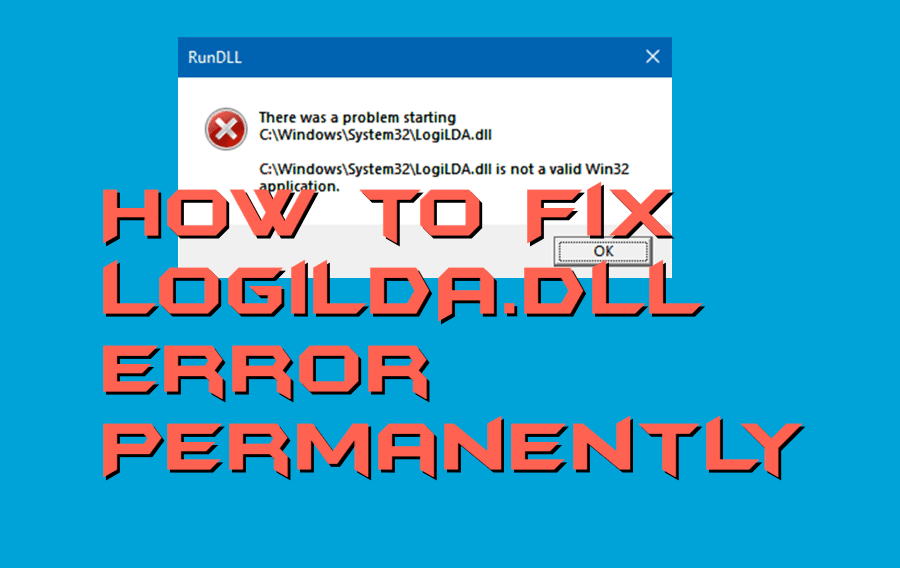
It happens with some of us that when we start our PC or laptop, then we face a DLL error or logilda.dll error. When it arises at the startup, then we get shocked that what happened to our PC or laptop. Because we don’t know the exact reason behind its appearance, and we get tensed. In this article, we are going to talk about how we can fix logilda.dll error from our PC or laptop so that we can feel relax.
What is LogiLDA.dll
I want to tell you guys that logilda.dll error is related to the Logitech Download Assistant. It is raised when this DLL file is either missing or unable to start on your PC or laptop. This error can arise when you have Logitech Mouse, and it is unable o get connected with your PC/laptop. Most of the users who have reported this issue says that it found happening mostly when user upgrade from Windows 7 to Windows 10. This logilda.dll error arises when we start our PC, and the home screen appears.
How to Fix LogiLDA.dll Error Permanently
If you will ask me that is it possible to fix logilda.dll error permanently, then I will genuinely say yes, definitely it is possible. Basically, there are two different methods to fix logilda.dll error permanently from your PC or laptop very easily. To fix logilda.dll error, we can either disable logida or can reinstall the Logitech device driver. Somehow, if you are unable to follow the first method then definitely the second one will easily help you.
Read more: How to Fix Driver_Power_State_Failure Blue Screen Error on Windows 10
Method 01: Disabling LogiDA
As we discussed earlier, LogiDA starts up automatically when your PC or laptop is turned on. You guys might have ever listened to an application called Task Manager. Task Manager is the preinstalled app that shows up all running programs on your PC or laptop. It also allows users to turn them off from starting up at boot time. So, using it, we will be disabling the LogiDA application. Also, we will use the Registry Editor in order to fix it permanently.
- Open Run using Windows + R key.
- Now, type taskmgr in the input field.
- Then, go to the Startup tab.
- After that, select the LogiDA app and right-click on it.
- Then, click on the Disable tab.
- Now, again open Run and type regedit.
- Go to the path under Registry Editor: HKEY_LOCAL_MACHINE\Software\Microsoft\Windows\CurrentVersion\Run
- Now, right-click on Logitech Download Assistant and click Delete.
Method 02: Reinstalling Logitech Device Drivers
Reinstalling Logitech Device Driver is the easiest method to fix logilda.dll error from your PC or laptop. We will use the pre-installed application called Device Manager by which we can do it easily. However, I would like to recommend that while using this method, make sure you have a good speed internet connection. Definitely, this method is almost impossible to do so because it requires an internet connection. Once you have it then you can follow up the method from scratch.
- Open Run using Windows + R key and type devmgmt.msc
- Now, under Mice and other pointing devices click on Logitech.
- Right-click on it and click the Uninstall device.
- Now, restart your PC to save changes.
Know more: How to Fix Error 651 in Windows
Conclusion
This is how we can fix logilda.dll error using two different ways. There may be more possible ways to fix logilda.dll error. But, trust me guys the two different ways that I have mentioned here are the best and easiest ways to fix it. It may be possible that somehow they are unable to help you so of course, you can try any else method. However, I hope using this article your problem has been sorted out. If yes, then you should share this article with someone else who really needs to sort it out.
Leave a Reply