Use this method to add or remove fonts in Google Docs. You can add several type of multiple fonts in one Google Docs and remove all your fonts to default. Users can even select a phrase to add or remove fonts.
Google Docs is a really helpful cloud based application from the Google Suite that you can use for various purposes such as writing an article, creating a roadmap and collaborating with other individuals.
There are a lot of customization that is provided to you on the Google Docs and the ability to add or remove fonts in Google Docs is also included. Let’s take a look at the steps that are required in order to add or remove fonts in Google Docs.
How to Add Font in Google Docs
Sometimes you start a project and during the development of the process, you decide that the font used is not appropriate for the project or simply is just not looking appealing. To facilitate this customization, there is option provided by the Google Docs to customize and add font that will go according to your project. Let us take a look at the steps required in order to do so.
- Login with your account and open the document or the project on Google Doc.
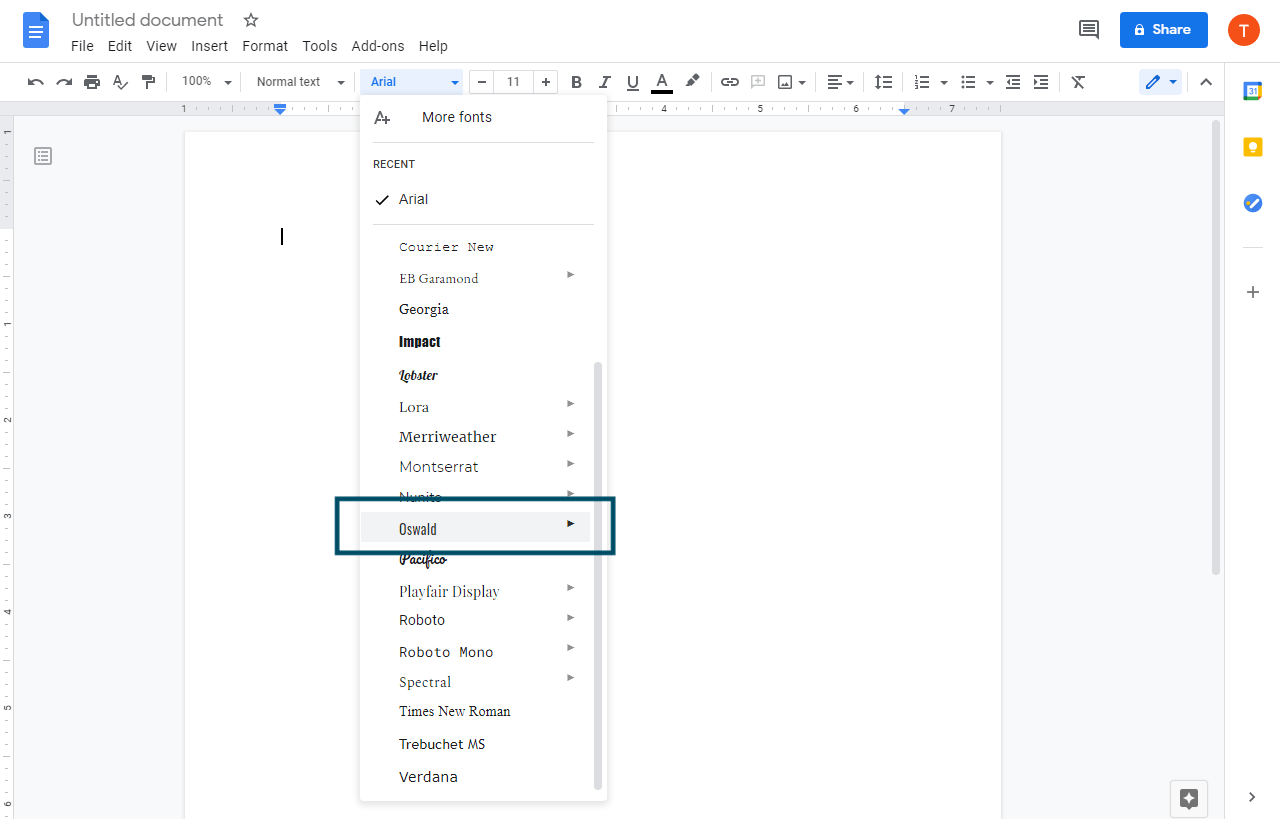
- Locate the “Font” dropdown from the Tool Bar and then click on the Arial.
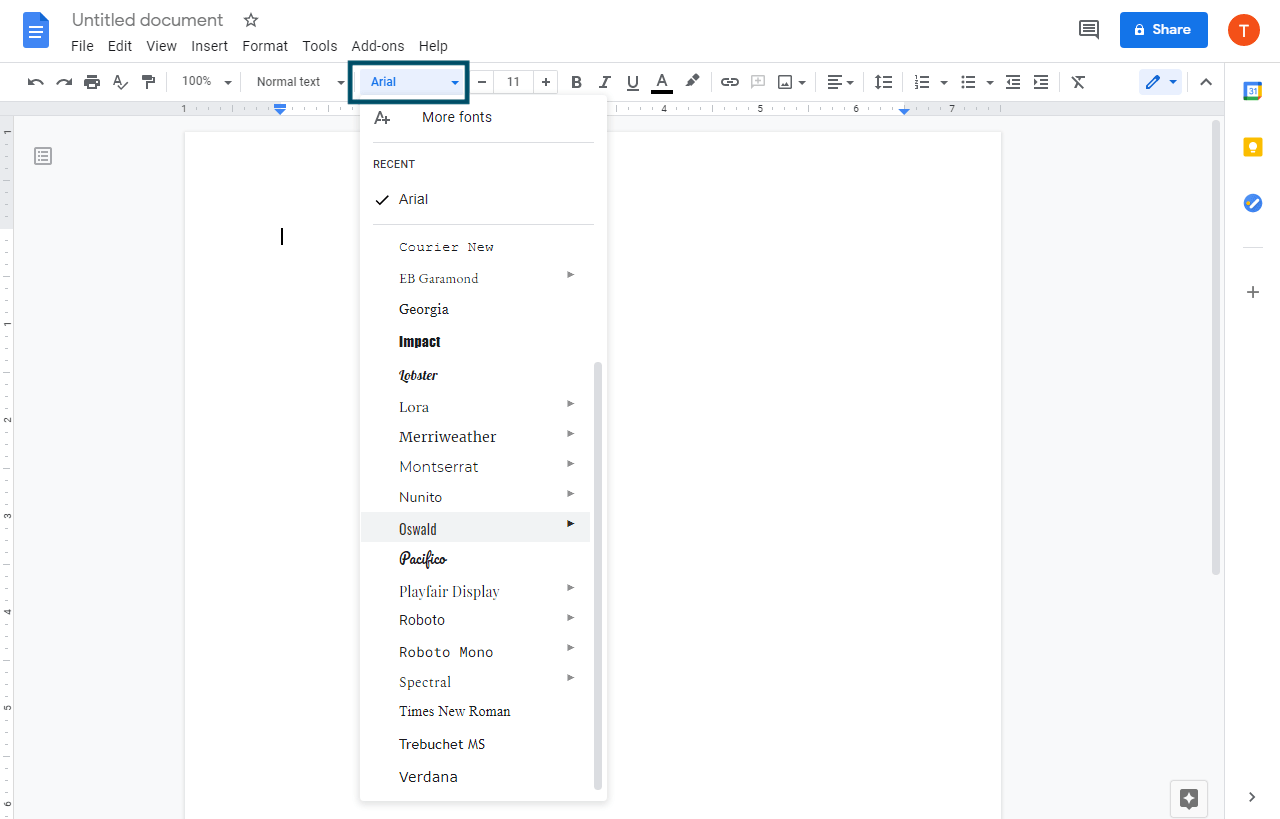
Here you will find the list of fonts that are already available to your project. - Select the first option of “More fonts” from the drop down menu.
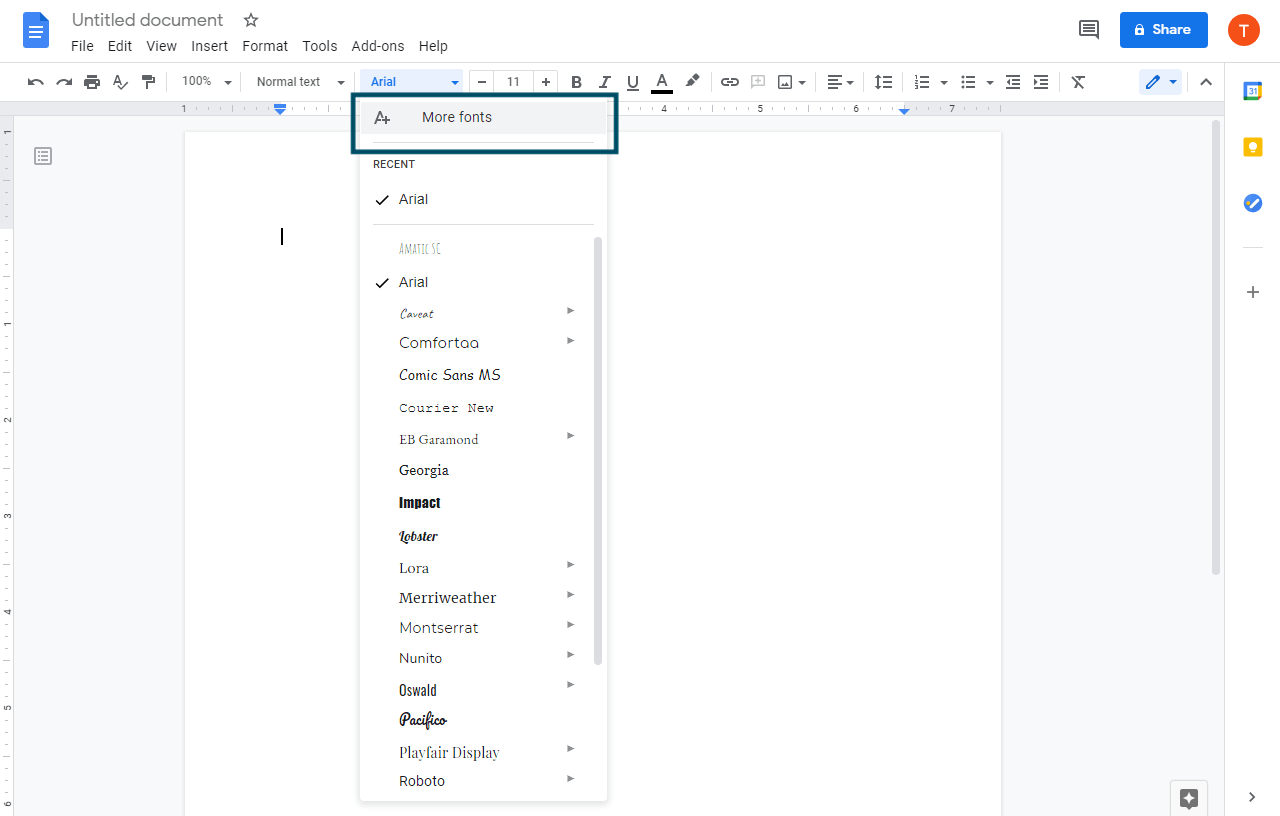
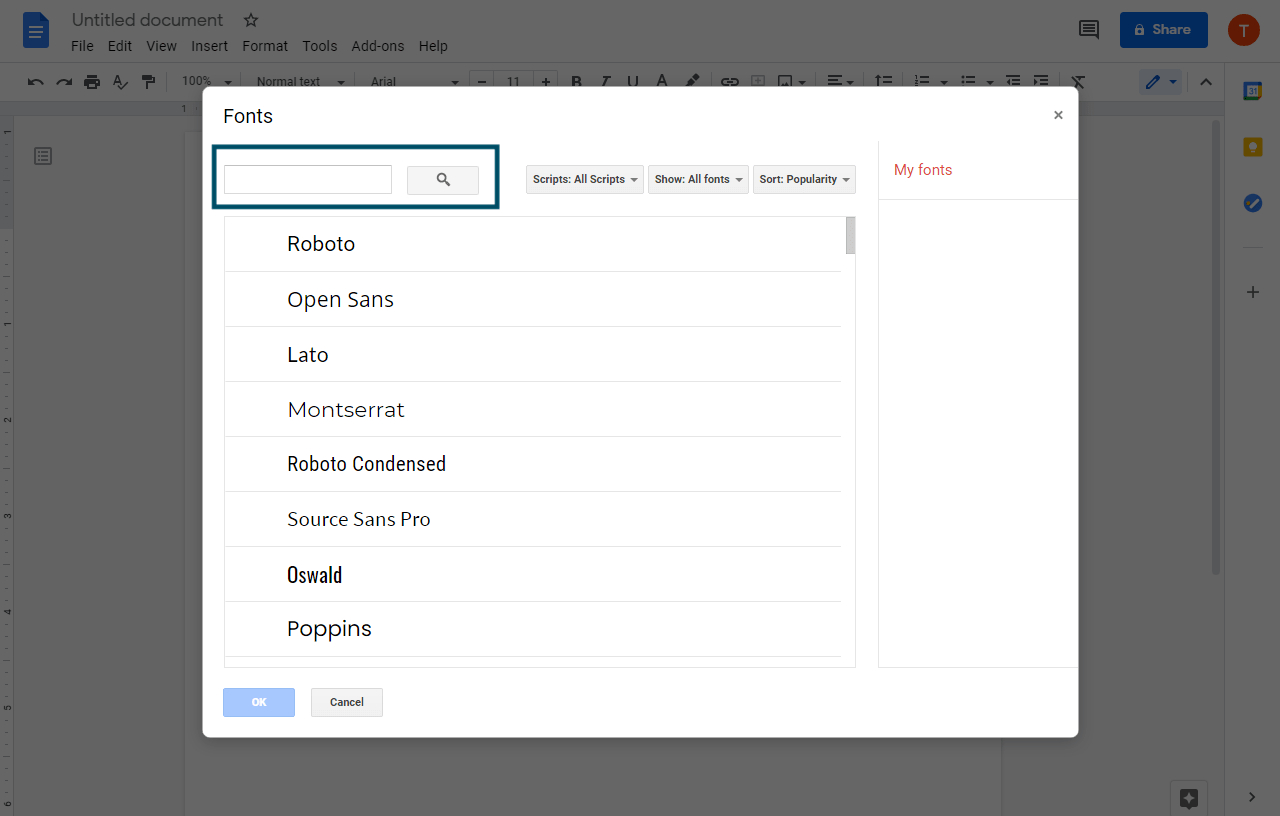
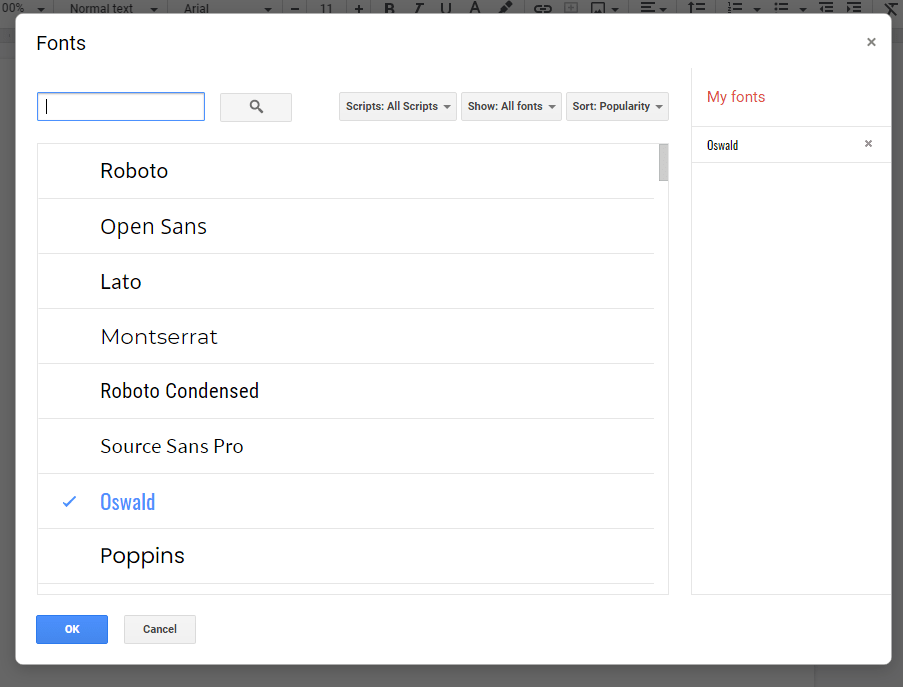
This opens up a “Fonts” window with different options. - In the top left corner of the window, you would find the search bar. You can search the font style that you want from there.
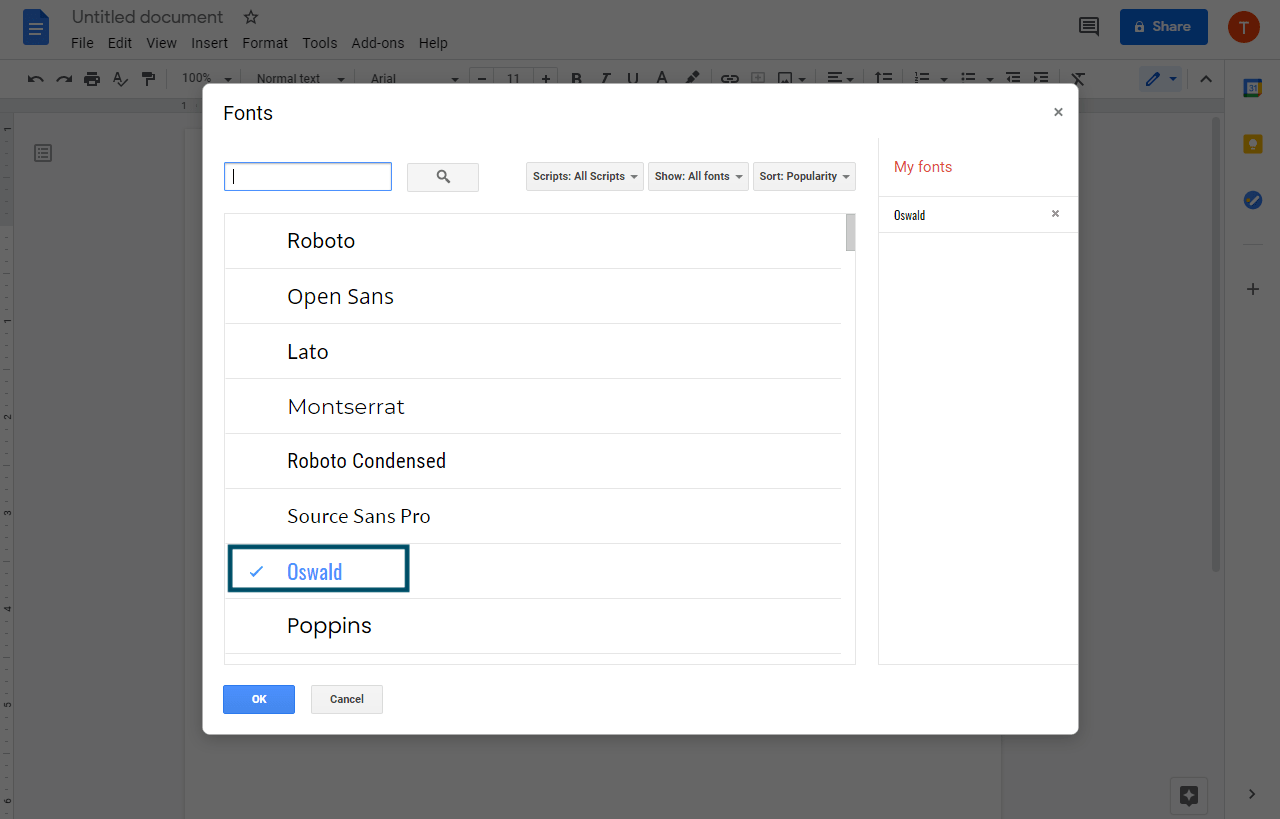
- As you search, you would be shown in the bottom menu if that particular font is present or not. If it is present, then click on the font and the font will be added to the “My fonts” section of the window.
- After adding, you can close the window and then again click on the “Font” dropdown.
- Now, locate the added font from the dropdown list and then use the font in your project.
There are some extra options that the “Font” window gives you. That are the option of filtering on the basis of “Scripts“, “Show” and “Sort“. These options are provided in order to make your search more precise and save your time and effort while doing so.
Read here: How to Add Text Over an Image in Google Docs
You can use the “Scripts” option to filter available fonts through different scripts of languages. You can use the “Show” option to filter through different types of fonts. And finally you can use the “Sort” option to sort through different options such as Popularity, Alphabetical, etc.
Now that we have added the fonts we required, we can also remove fonts in Google Docs that are not required. Let us take a look at how we can do the same.
How to Remove Fonts in Google Docs
If somehow you don’t like the fonts you have added in your Google Docs then you can remove them easily. You can even restore the default fonts of Google Docs.
- Open your project on the Google Doc after logging in to your account.
- Now, locate and click on the “Fonts” button in the menu top bar.
- Select the option of “More Fonts” from the dropdown menu that opened up.
In the window opened, you would see a list of fonts that you have added in the rightmost window. - From the rightmost window, you can delete a particular font by clicking on the “cross” button on the right of the font name.
- Click on the cross and your added font will be deleted.
Once you remove fonts in Google docs. It will be changed and you need to again add fonts by following the first method.
Read here: How to Make a Timeline on Google Docs
Conclusion
There are several extension to add fonts in Google docs. These extension are good if you add but sometime can be difficult to remove fonts from your Google docs. So make sure you always use official Google Docs fonts.
Leave a Reply