Learn how to remove OneDrive from File Explorer in Windows 11 with account unlinking, Group Policy, Registry Editor, or full uninstallation.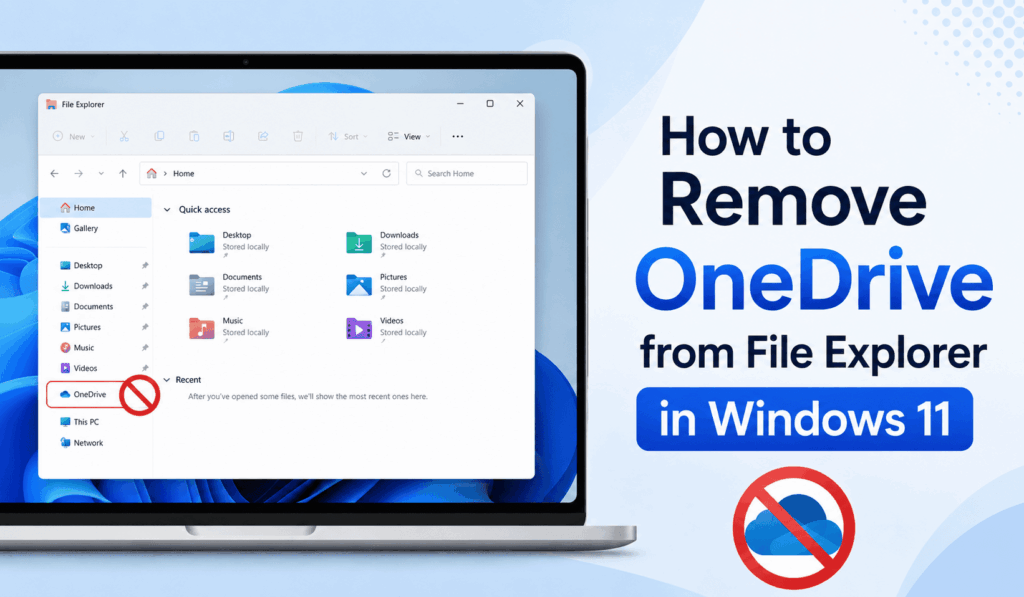
How to Remove OneDrive from File Explorer in Windows 11
Many Windows 11 users report using Microsoft OneDrive for the cloud storage and sync feature. But that isn’t for all. If you use a different cloud storage service instead, or you prefer a simpler File Explorer experience, you may want to remove OneDrive in Windows 11. Also, you have a few options to do this, which won’t touch your local files.
Read More: How to Turn Off OneDrive on Windows 11
Why Remove OneDrive from File Explorer in Windows 11?
OneDrive is included with Windows 11 by default, which puts it in the File Explorer navigation pane. Although this feature is handy for some users, others find it to be an intrusion or distraction. By removing OneDrive from File Explorer in Windows 11, you can improve navigation, reduce clutter, and also create a more personal experience.
Read More: Top 10 Google Photos Alternative
Method 1: Unlink Your OneDrive Account
One in which you may remove OneDrive from File Explorer in Windows 11 is to unlink your Microsoft account from OneDrive.
- Click on the OneDrive icon in the tray.
- Select Settings.
- Go to the Account tab.
- Click Unlink this PC.
- Confirm your selection.
After disassociating from your account, OneDrive will stop file sync, and you may notice it’s less present in File Explorer.
Read More: How to Check PowerPoint Version History
Method 2: Disable OneDrive with Group Policy
Windows 11 Pro users may access the Group Policy Editor to remove OneDrive from File Explorer in Windows 11.
- Press Windows R, type gpedit.msc in and press Enter.
- Navigate to: Computer Configuration > Administrative Templates > Windows Components > OneDrive.
- Click to open Double instead of using OneDrive for files.
- Select Enabled and click Apply.
- Restart your computer.
This method disables OneDrive out of function.
Method 3: Remove OneDrive Using the Registry Editor
In Windows 11, you can also remove OneDrive from File Explorer by editing the Registry.
- Press Windows R, type in regedit, then press Enter.
- Navigate to: HKEY_CLASSES_ROOT\CLSID
- Locate the OneDrive registry key.
- Change the setting for what is visible in File Explorer.
- Restart Windows.
Before making any changes to the registry, do a backup which is to avoid system issues.
Method 4: Uninstall OneDrive Completely
If you don’t use OneDrive, you can remove it completely.
- Open Settings.
- Select Apps > Installed Apps.
- Find Microsoft OneDrive.
- Click the More Options button, then choose Uninstall.
- Follow through with the prompts for the removal.
This is how you can get out of having OneDrive in File Explorer in Windows 11 and, at the same time, free up system resources.
Conclusion
Learning to get rid of OneDrive in File Explorer in Windows 11 is for users who prefer a cleaner, more organized File Explorer. Whether you choose to disconnect your account, turn off OneDrive with Group Policy, edit the Registry, or do a full uninstall of the application, each method puts less stuff in your face and improves performance. By doing the steps above, you may fully remove OneDrive from File Explorer in Windows 11 and tailor your system to what you want.
Leave a Reply