Users can add text over an image in Google Docs. You can add png, jpg or any format image in your Google Docs slide. I have also shared several other methods to change the size of text, or Rotate it to any angle. Users can even add colour to the text in Google Docs.
Let’s assume you are writing a document, and you are placing some images which are your own. Somewhere in there, you get this feeling, what if someone might use my pictures without giving credits? What if they claim that the images are their own? Now you think of adding a watermark. But how do you add a watermark? You are working in Google Docs, a document editor, not an image editing software, right? But worry not, you can add text over an Image in Google Docs too.
How to Add Text Over an Image in Google Docs
I am going to share some simple steps which can help you understand how to add text over an Image in Google Docs. First things first, copy (Ctrl + C) that image which you want to use in Google Docs. Then paste (ctrl + V) the image in you document. If something seems not working, you always have the manual form of inserting images.
How to Insert Image manually in Google Docs
By using this method you can add image in Google Docs.
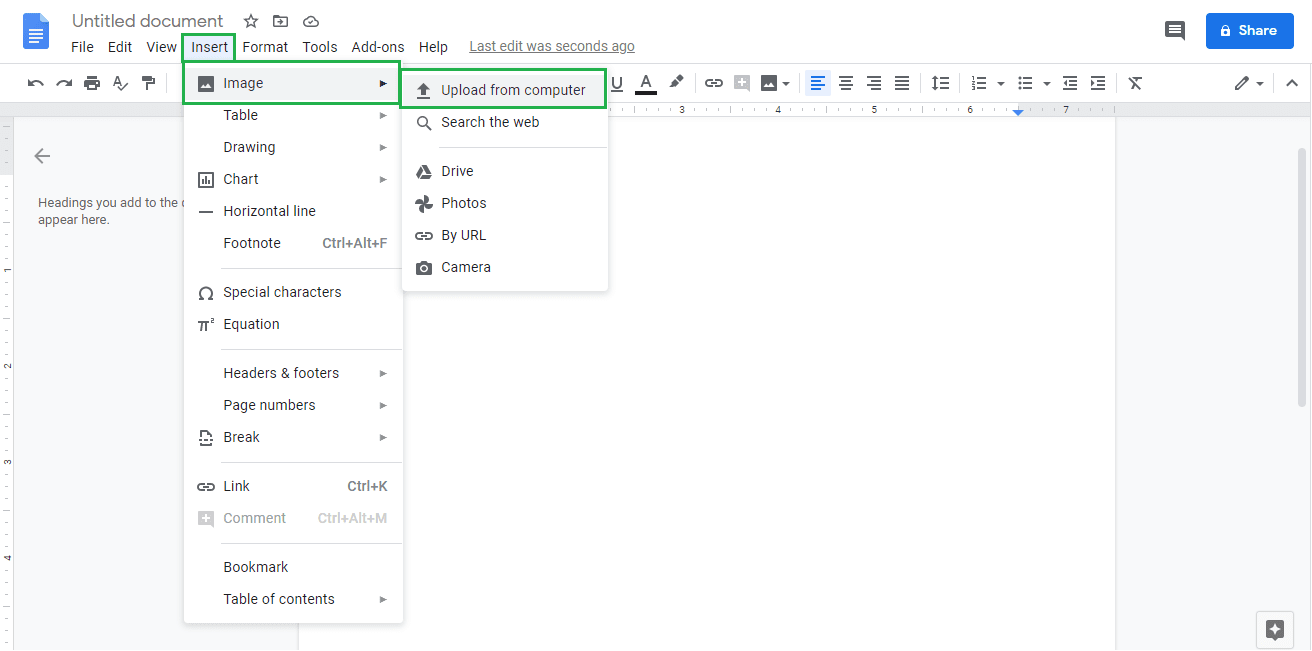
- Click on the Insert.
- In the extended dialog, click on Upload from computer.
- Select an image from your computer > click on open.
- Click on Insert > Drawing.
- Click on + New from the extended dialog.
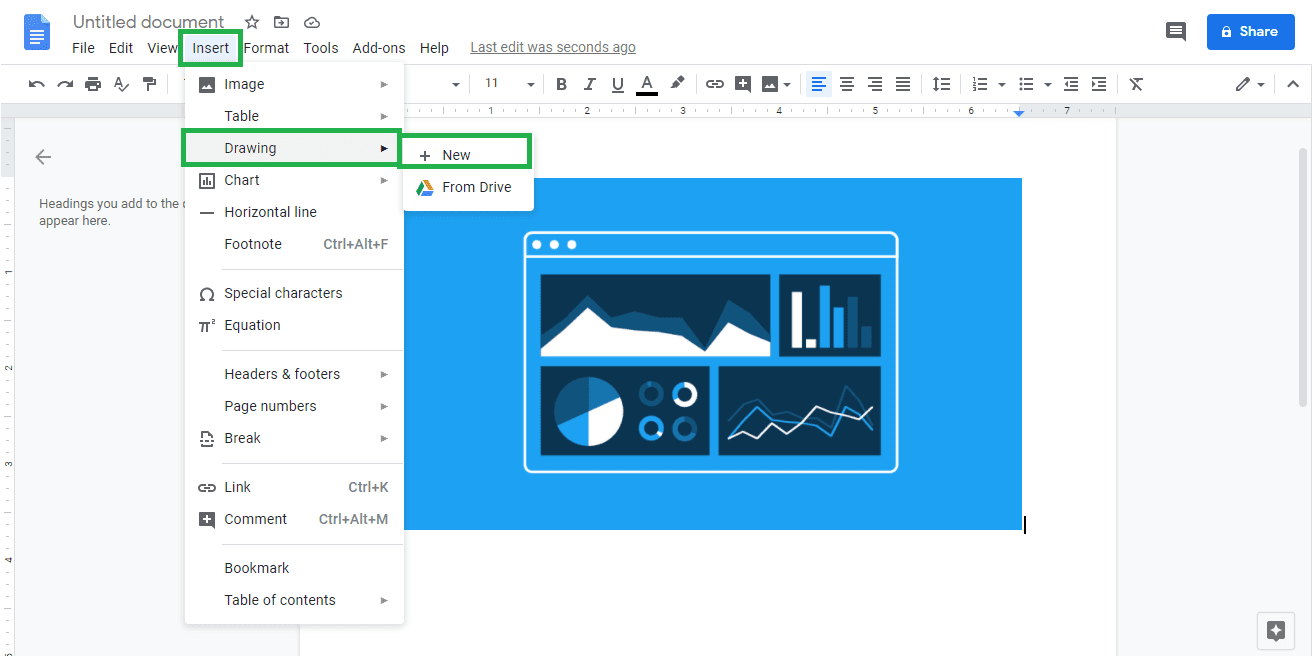
Now, a new dialog opens. The Drawing Application, here you must paste your image, which you had copied earlier.
Read more: How to Make a Timeline on Google Docs
How to Add Text over an Image
Users can use this method to add text on the image.
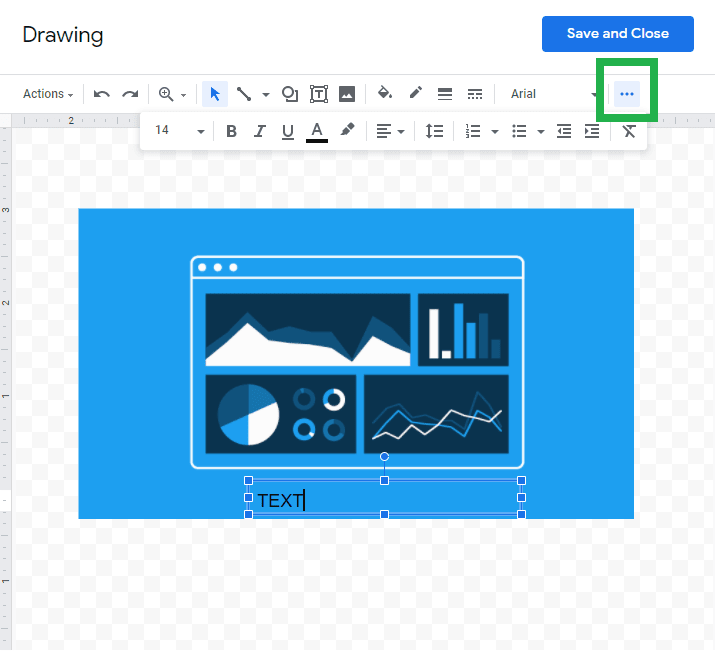
- Click on the icon which has T inside, and a frame enclosing it.
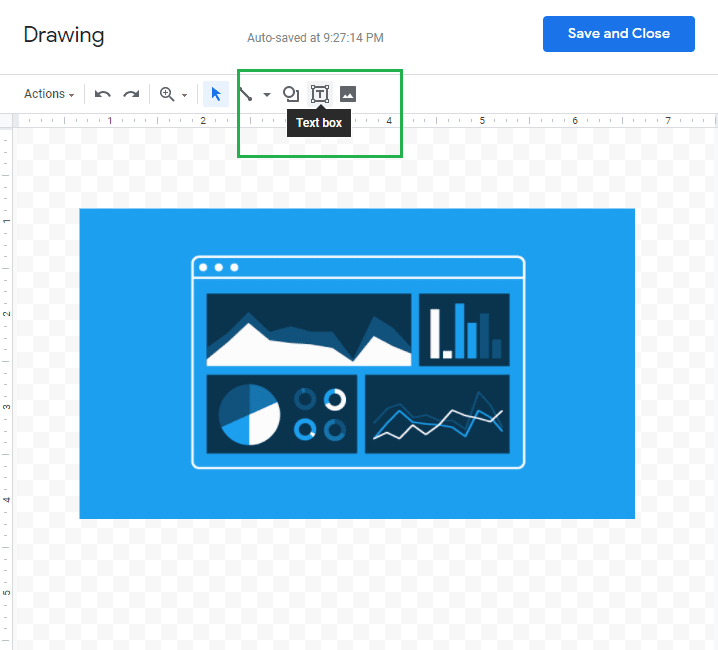
You will see that your cursor changes. It is the text box drawing tool. - Draw the text box at your desired place to add text over an image and start typing.
- Click on the three dotted icon on the top right end. You will get the editing tools.
Once you are done, you can edit the font too. Click on the three-dotted icon on the top right end. You will get the editing tools. If you are satisfied with the text. Click on the Save and Close. You will notice that your image has a text on it now. I am sure you might not have thought it is this simple to add text over an image in Google Docs.
Now comes the Bonus part.
You did add text over an image, But now you might want to resize your image, or you might want to adjust brightness etc, why do to another software to do that, you can edit your image right here. Wait, isn’t this a document editor? Yes, but you can edit pictures too.
Read more: How to Add Page Numbers in Google Docs
You are provided with a couple of editing tools, which are required to edit just as enough to make it presentable to the reader. Now let’s check out the editing tools which Google Docs gives us.
Size and Rotation
Well as the name says, you can adjust the image size and rotation in this option. Click on the Image Options. 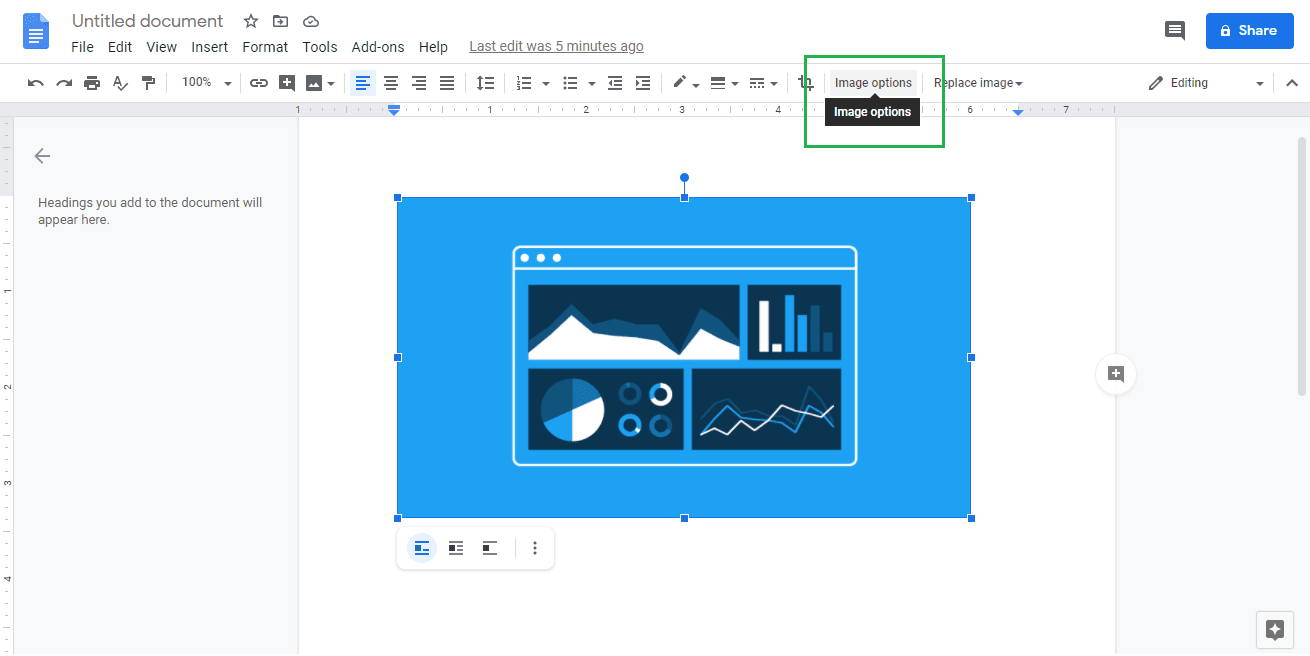 When you click on Image Options, a dialog opens up with the editing tools in it.
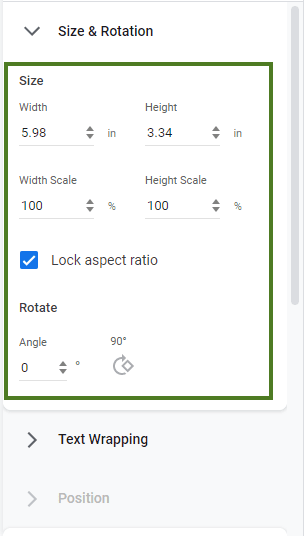
You can change the width and height according to your needs by putting values in width and height. If you are not really sure how much width and height of the image will be good, you can check the Lock aspect ratio, as it will resize the image’s width and height both accordingly when you change the either one.
Read more: How to Use Google Docs Track Changes
Text Wrapping
You can also choose the style which determines how the text is placed.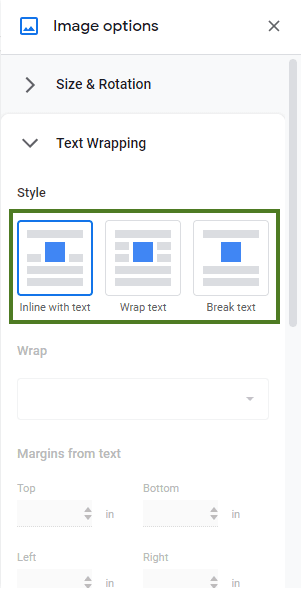 Unlike MS Word, you cant add text over an image while writing a paragraph. You only get three options here to choose from. Inline with text, which enables you to write from the bottom of the image.
Wrap text, which enables you to write text around the image. Break text, which enables you just to place the image, and continue writing below the picture.
Recolour
This cool feature, will enable you to recolour your image. 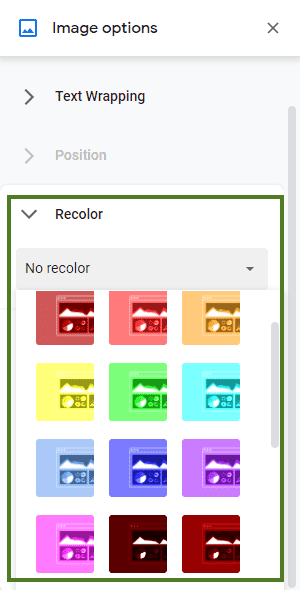 It basically identifies the colors in the image and shows you with some inbuilt presents, by changing some colors in the image.
Read more: How to Create and Add a Text Box in Google Docs
Adjustments
Under this tab, you can change the Transparency, Brightness and Contrast of the image.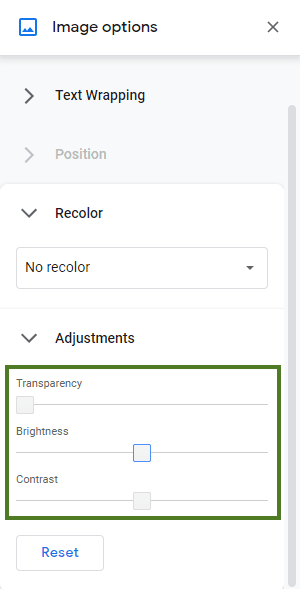
Conclusion
Lastly, you also have a reset button, which undo all your changes and bring that image back to normal. This option is the savior for many of us. Thank you for following along till the end of this article, i hope you will find it more easier to add text over an image in Google docs in the future.
Leave a Reply