You can easily move images in Google Docs. You can move images anywhere in the Google Docs slide. I have shared methods that will help you move photos online on PC or even on your phone.
An attractive document can be enhanced by including images. Thanks to the way Google Docs works with Google Search, it’s very likely that it will find a relevant image for you. Human brains are designed to be drawn to sights, and images are also an excellent way to emphasize a message. So, if you want to add a picture to a Google Doc, you can do so effortlessly.
Well, you’re wondering how to go about it? We’ll show you how to upload, search for, insert or move images in google docs in this blog. Using this guide, you can move images in Google Docs from the internet and the mobile app on Android and iOS.
How to Move Images in Google Docs
You can move images in Google Docs using either desktop or mobile applications. In addition, you can alter the appearance of the text surrounding your photos. It’s all in this presentation, which we’ll walk you through.
Read more: How to Make a Timeline on Google Docs
Move Images in Google Docs on PC/Laptop
In Google Docs, you can move your images on a desktop computer such as a Windows, Mac, Linux, or Chromebook. You can also move images in google docs to a different part of the document at any time. Although it is just a matter of drag and drop, there are various parameters you should know about to ensure that the image fits just right. Now, let’s just proceed with the steps:
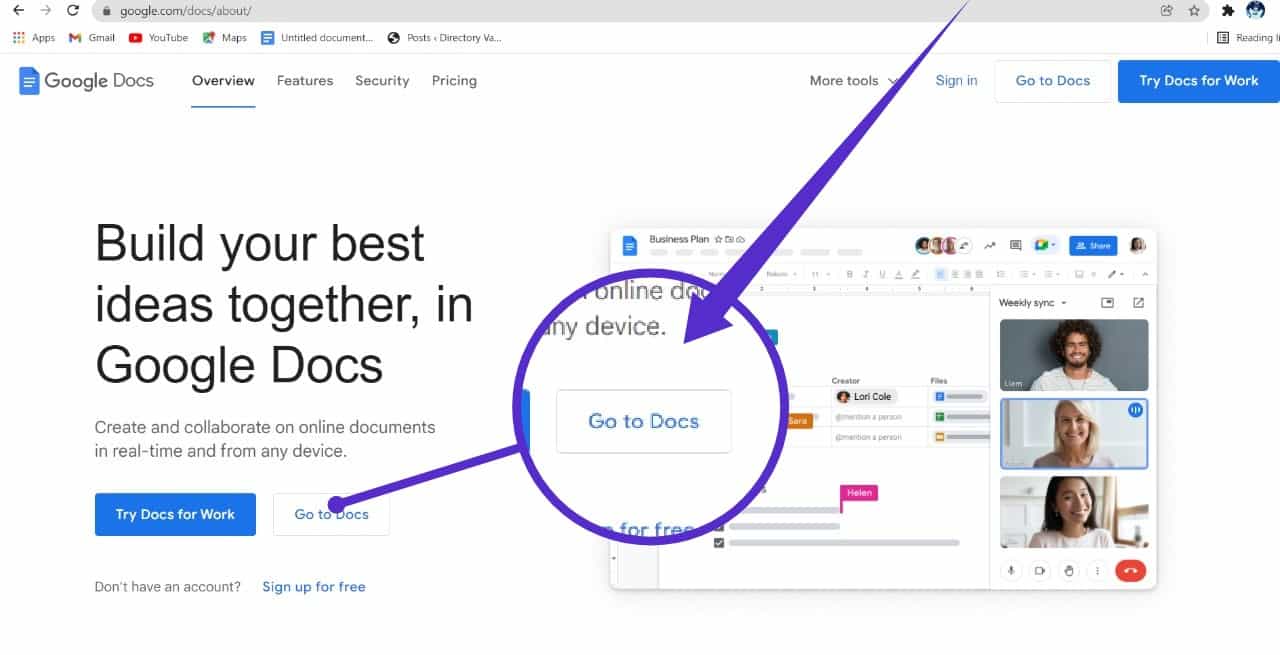
- Open a web browser on your computer and go to Google Docs link to get started.
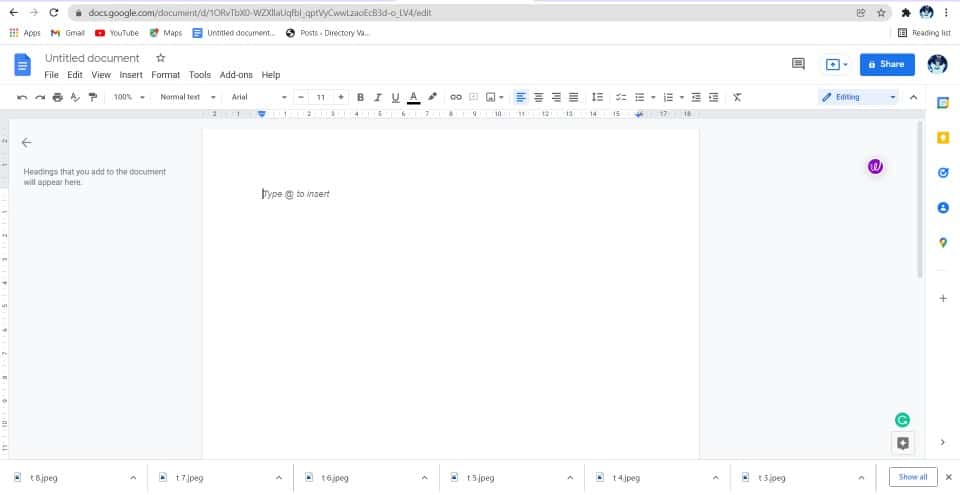
- Open the document in which you wish to move images.
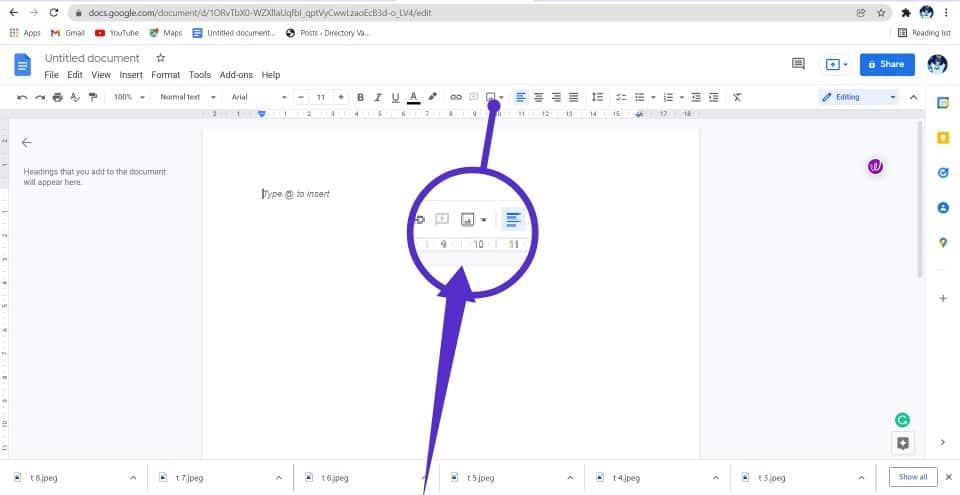
- Click on ”Insert image” option. You will various options there.
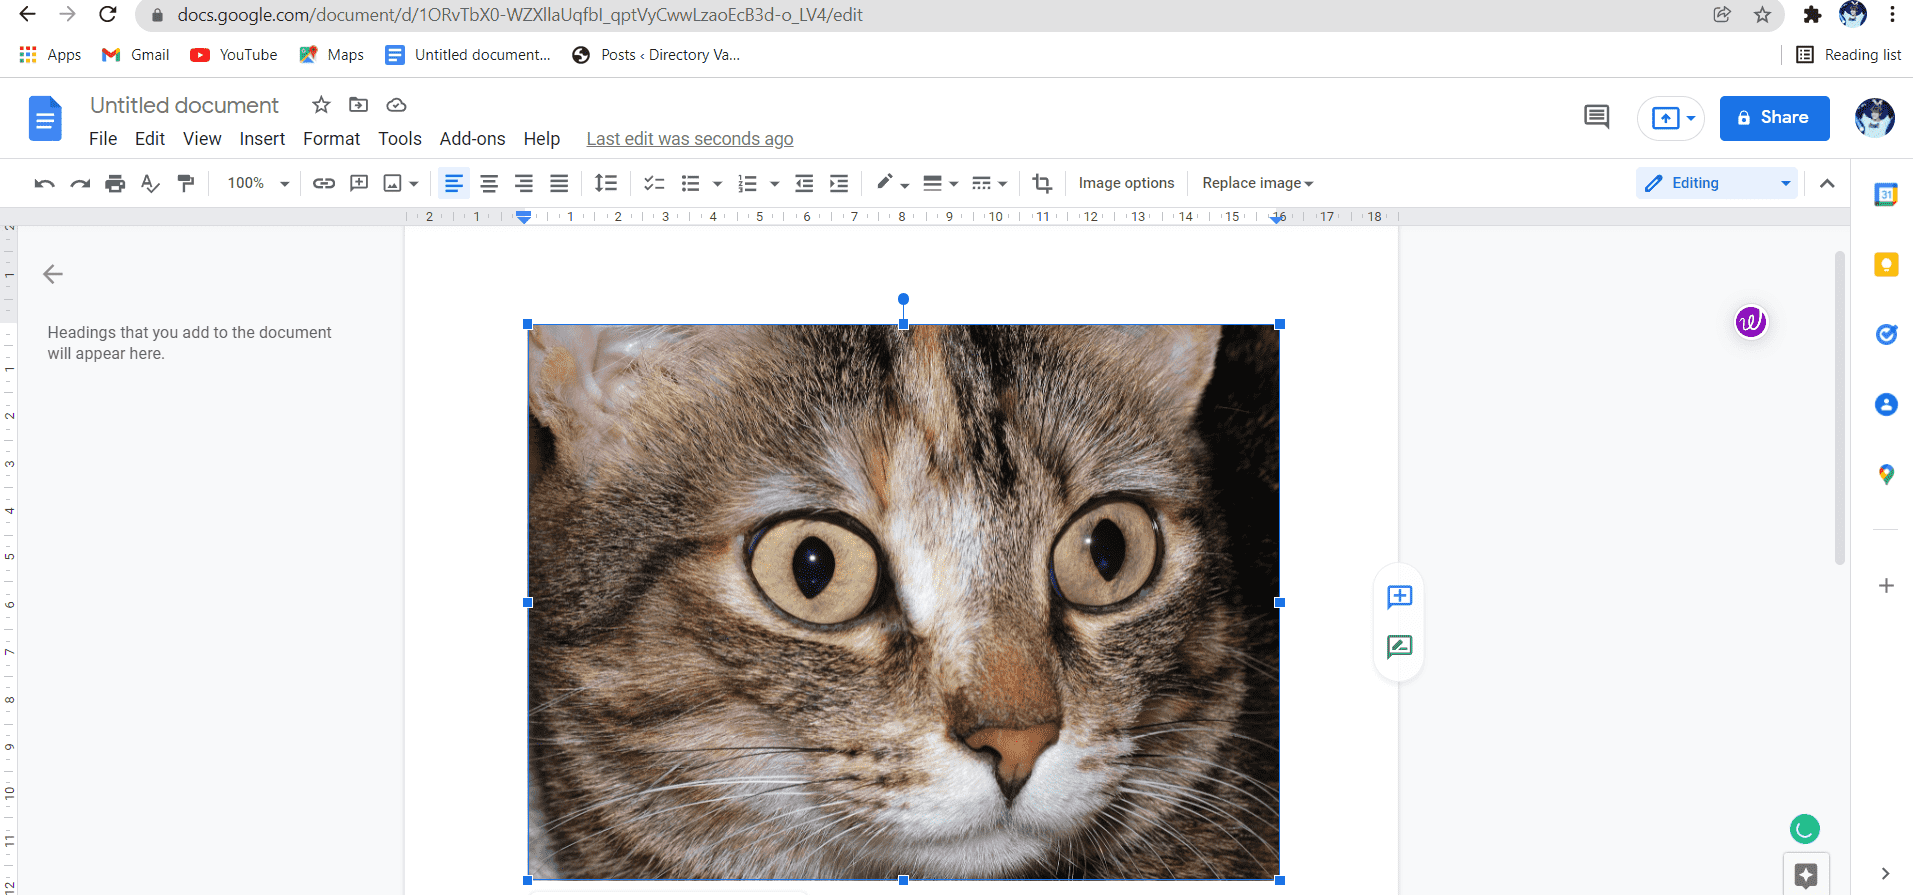
- Drag and drop a picture from the document’s editing screen. You can move the image by holding the left button while moving and dropping it in the place you want.
You can make the page look better overall by altering the layout of the text that encircles your image. Then, select the image you want to edit and you’ll see a selection of icons. When you place your pointer across an icon, you’ll see its name appear.
Read more: How to Add Text Over an Image in Google Docs
There are a few choices to pick from:
- Wrap text: Increases versatility significantly by essentially wrapping text around the image. With this choice, you have the choice of adjusting the image’s margins as well.
- Break Text: Use this setting to keep the text just above or below your image to prevent it from appearing either on the right or on the left.
- Inline: This option allows you to maintain both your image and text on the same page.
- Behind Text: This displays your words on top of an image.
Read more: How to Remove Fonts in Google Docs to Default
Move Photos in Google Docs on Android or iPhone
Using the Google Docs app on an iPhone, iPad, or Android, you can easily move photos around in a document.
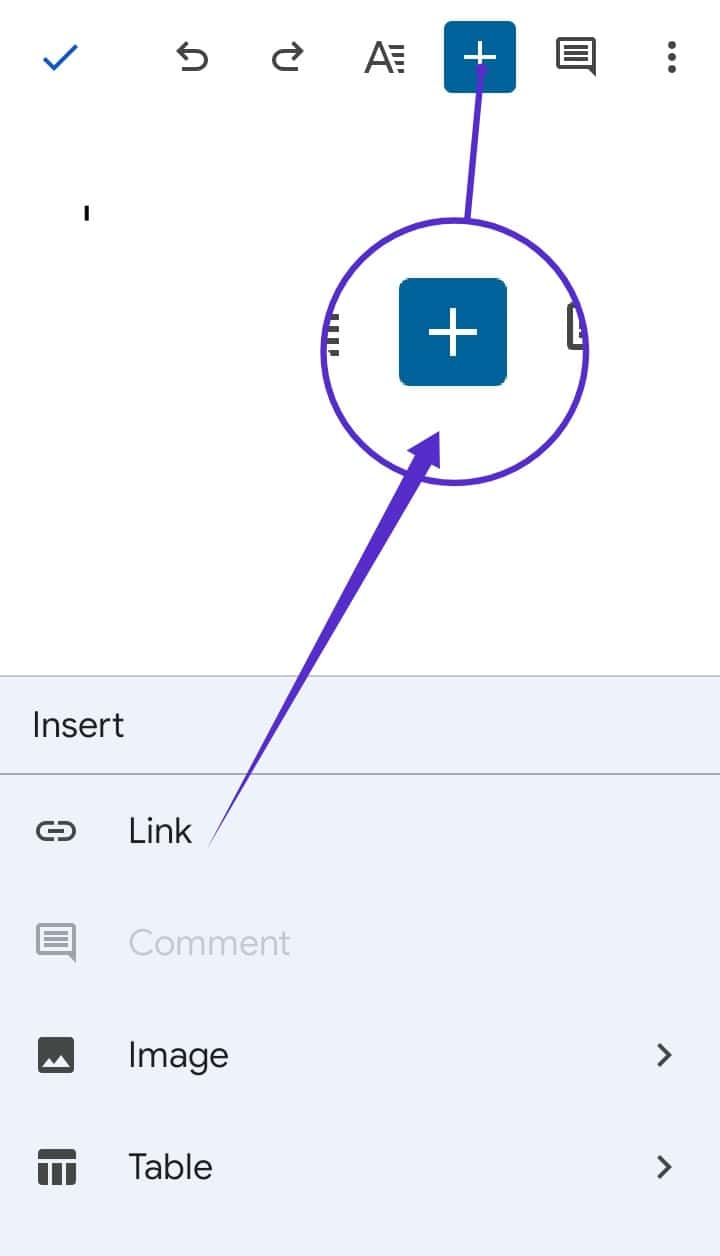
- Touch the spot where you want the image to go, tap the plus sign (+).
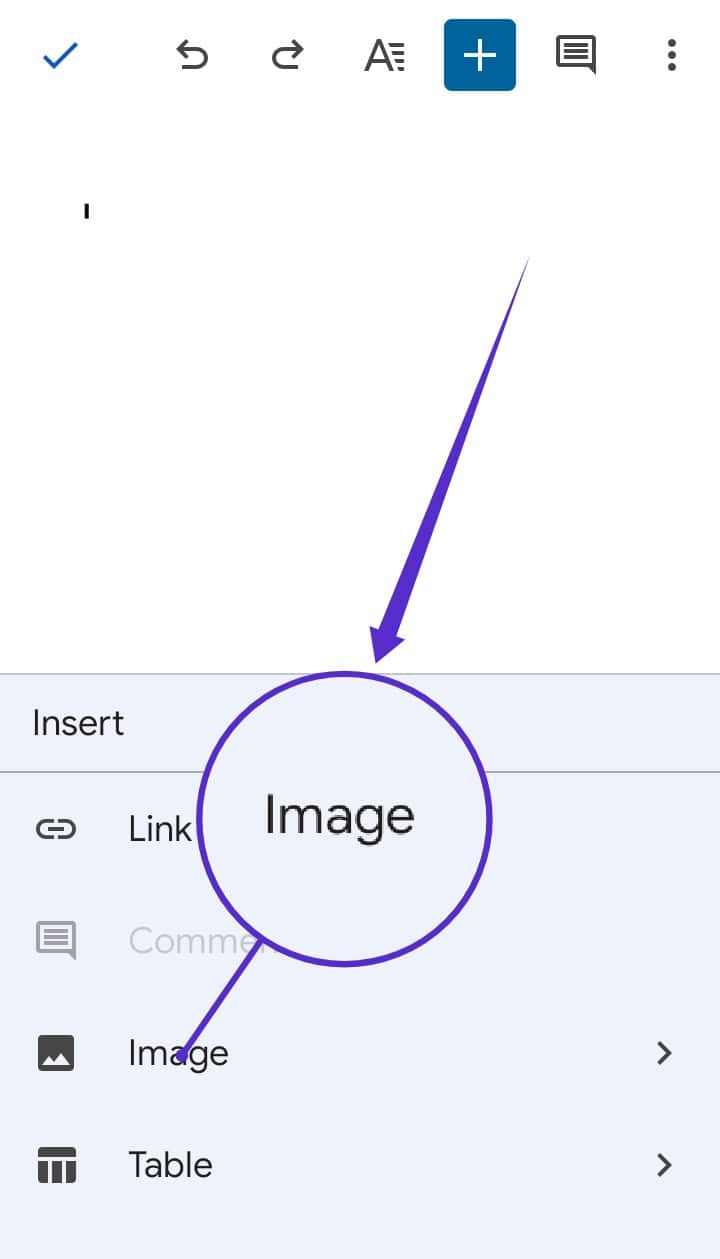
- After that choose Images. Here you will get 3 options.
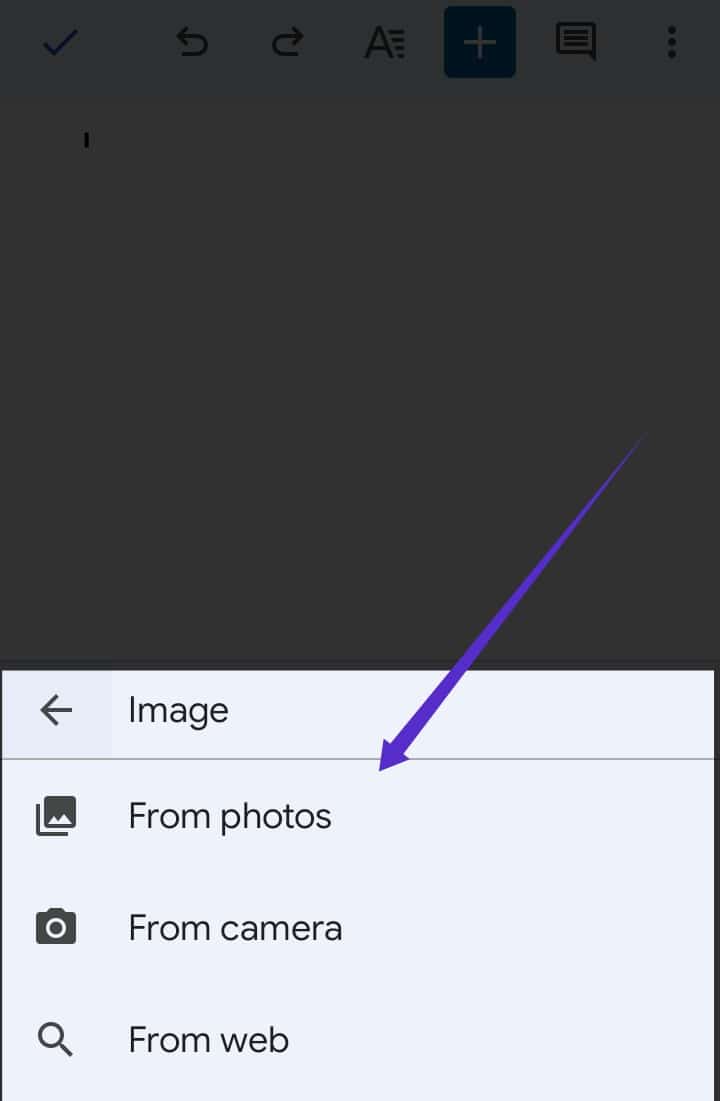
- Now, choose an image from any of these three options. i.e From Photos, from WEB, and camera.
- Now, in the upper-right corner of your screen, you’ll notice a three-dot (”⋮”) menu.
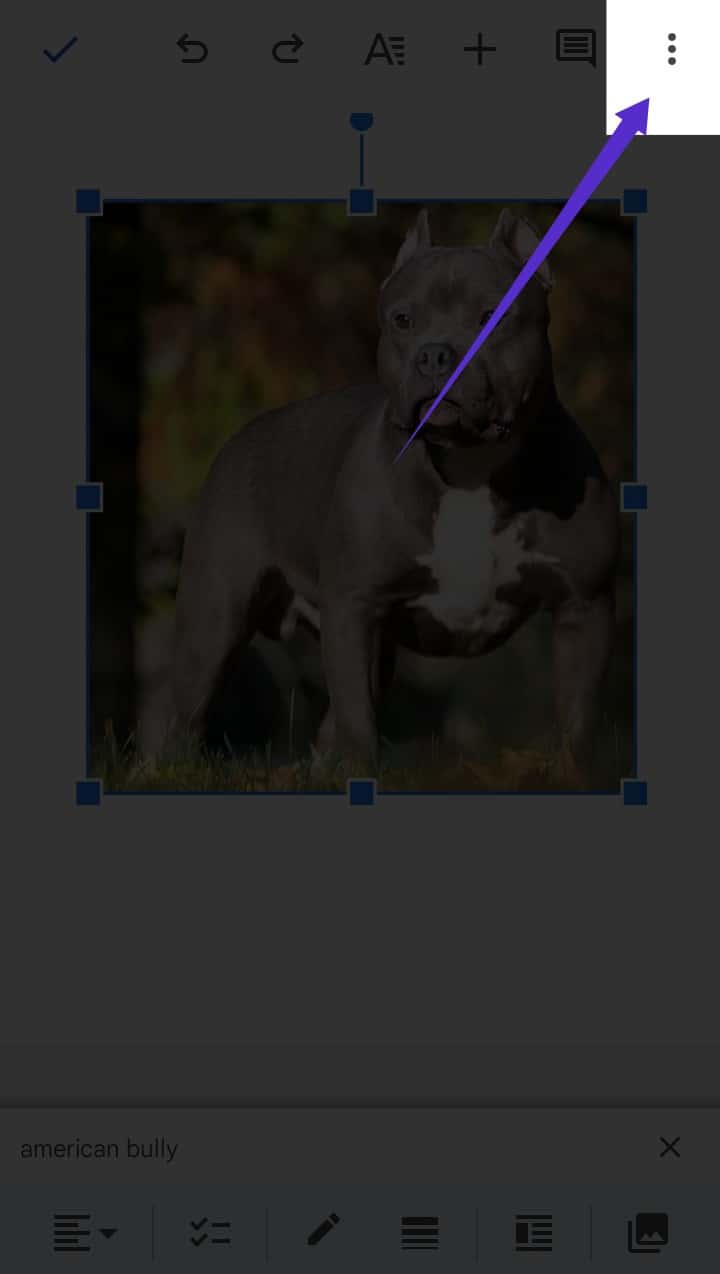
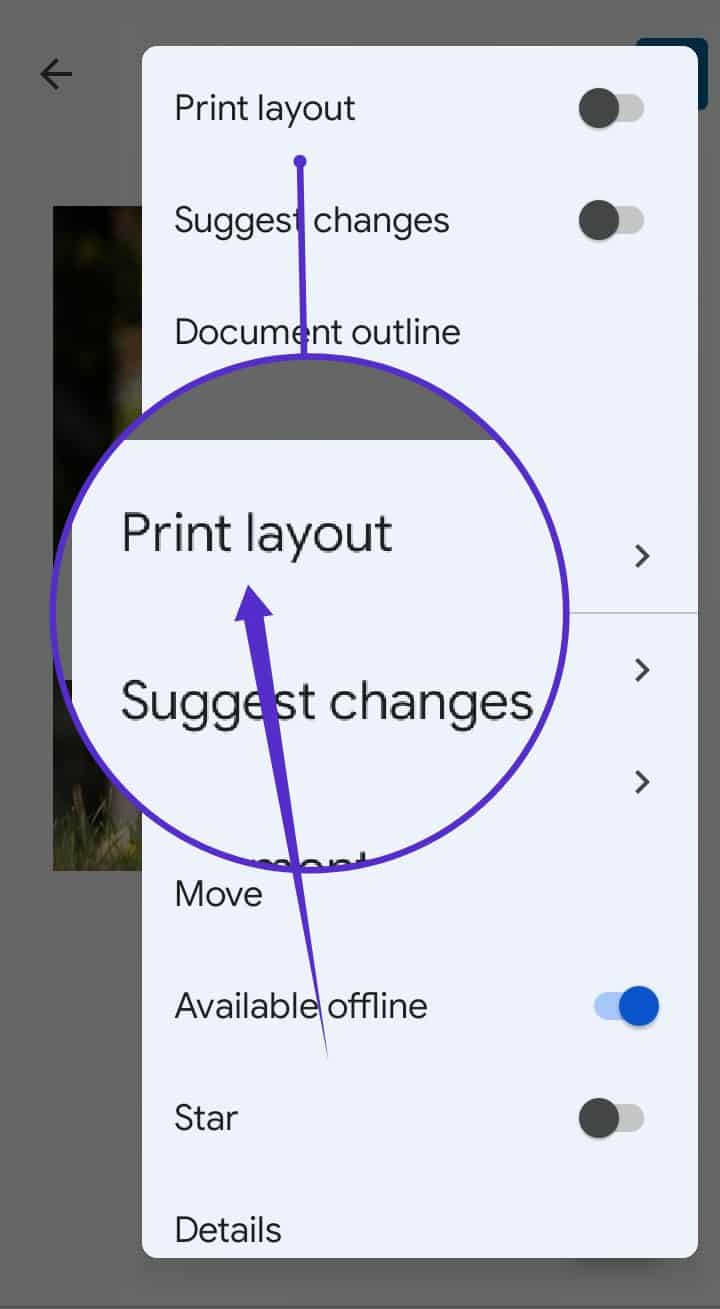
- To alter photos, you must be in “Print Layout,” which can be activated by turning the switch on.
- Return to the image and look to the left-hand upper side for a tick symbol. Click on that.
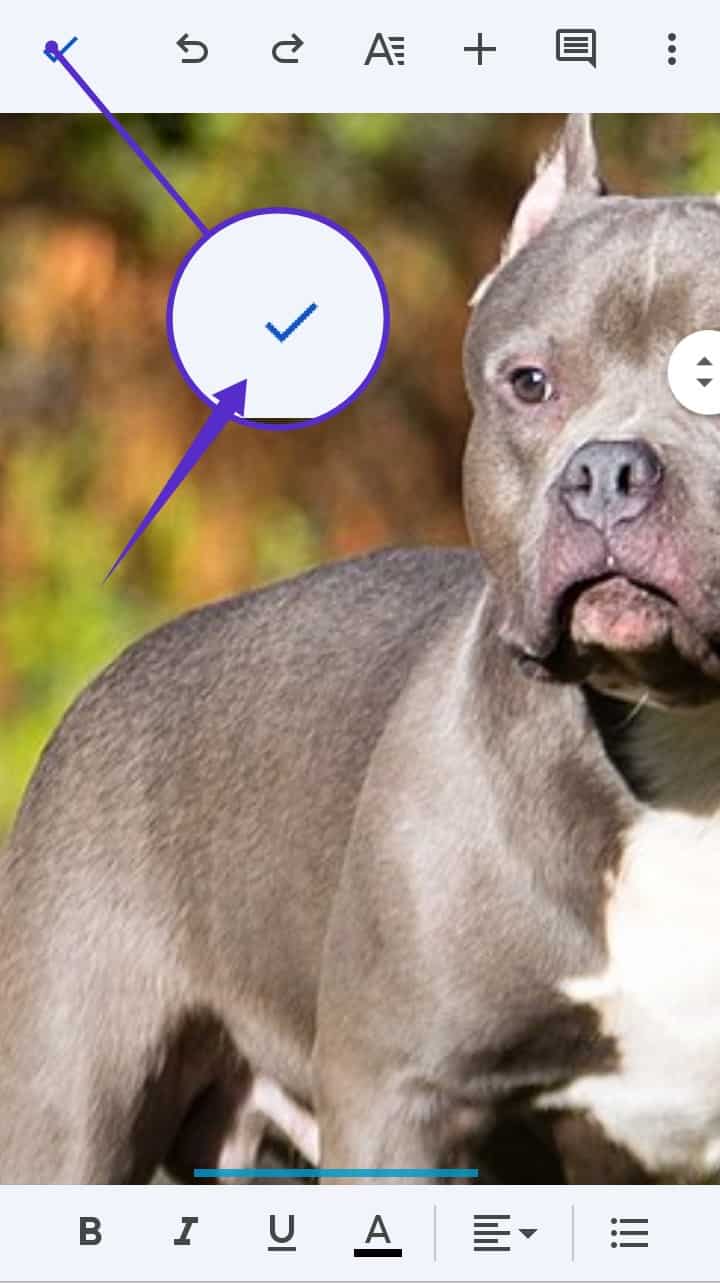
- You can use the mouse to move the photo where you want it.
Read more: How to Compare Documents in Google Docs
Conclusion
When it comes to document management, Google Docs is a popular tool. If you are creating official content, you are likely to encounter a lot of circumstances where you have to format and organize your file so it looks professional. Therefore, this article deals with all the information you need to know about how to move images in google docs using desktop and using mobile.
Leave a Reply