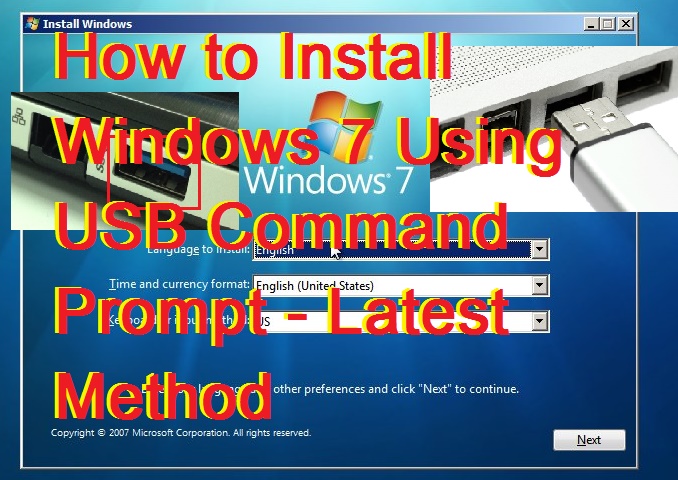
It’s fun to learn new things. What about Install Windows 7 Using USB Command Prompt from USB? It’s faster and more convenient than installing such operating system from optical discs. If you have a computer or laptop that comes without an optical drive. Then, you can use this method to Install Windows 7 Using USB Command Prompt OS. The problem is that you don’t have enough experience to do it. No worries. Here’s how you can do it.
How to Install Windows 7 Using USB Command Prompt – Latest Method
- Open a command prompt by clicking the start button.
- Then, you need to type cmd in the search box.
Don’t forget to press Ctrl + Shift + Enter. - You must type disk part at the command prompt to open the disk part utility.
- Type list disk at the disk part> prompt.
- Type select disk 4.
- Next, you need to type clean to clean the flash drive.
- Write down create partition primary.
- Next, you must type active.
- Write down format fs = fat32 quick. It helps you to format the USB faster.
- Next, you should type assign and exit to leave disk part.
- Write down exit again to close it.
- Last, insert your installation disc into your PC and duplicate all the files to the flash drive.
Well, that’s it! Once the copying has completed, you only need to insert your USB into the PC. Boot it up to start the installation process. Make sure that you have set the USB flash to boot initially. As an alternative, you can press F key to configure the boot options.
Read more: How to Create and USE Recovery Drive in Windows 8, 8.1 and 10 – With and Without USB
Installing Windows 7 from USB flash drive
Thanks to the technology, you can use an all-in-one tool such as gBurner. It helps to create bootable USB so that you can Install Windows 7 Using USB Command Prompt smoothly on your computer. That means you can connect such operating system using an external USB device. It’s a good alternative for command prompt. You only need a Windows PC, the software, and Windows 7 ISO file.
Read more: What is Error 651 and How to Fix Error 651 in Windows 7, 8, 8.1 & 10 – 5 Methods
Create Windows 7 ISO Image on USB
Read more: How To Remove Shortcut Virus From Pendrive Permanently – Easy Method
- First of all, download and install the software on your computer. Run it as well.
- Find the copy option and pick ‘Make Image.’ This way, you can create a standard ISO image from a Windows installation disc.
- Pick the disk and output destination. To start the process, click ‘OK.’ It takes the time to create the ISO image file. You need to be patient. If you have already had a Windows ISO image file, you can skip this step.
- Choose Tools section and pick Write USB option.
- Prepare the USB installer with the software. Don’t forget to run it as administrator.
- Insert the USB drive to the PC and select the input image file position from it.
- Pick ‘Auto’ writing method and choose ‘OK.’
Read more: How to Disable Fast User Switching On Windows 7, 8, 8.1 and 10 – 100% Working
Last Words on How to Install Windows 7 Using USB Command Prompt – Latest Method
The process usually takes 15 minutes. Once it’s completed, the USB drive is ready to go. That means you can Install Windows 7 Using USB Command Prompt directly from that flash drive. If you find problems, you need to call an expert. He can help you to deal with troubleshooting. Overall, your goal is to simplify the installation process. It’s true that some of you don’t even have an optical disc. You can’t install an operating system or programs usually. Both command prompt and the software can help you install the OS using a USB.
Leave a Reply