You can change default download folder Windows 11 PC/laptops. You can change the saving file location and change it to any other folder or even drive. Users can modify the existing default save folder.
With Windows 11, you’ll find that the operating system attempts to save downloaded or saved files to a default downloads folder or a default save location. It’s a good option for most folks, but it can eat up valuable space on their little OS drive for a few. Moreover, It is now possible to change the default download folder Windows 11 place for all imported and newly created data.
Additionally, you can change the location of your downloads and save them in Windows 11 to speed up your workflow. This will also make backing up your files easier. You can store them on a different virtual disk, for example, or in a folder in OneDrive.
Read more: How to Increase Size of Taskbar in Windows 11
Method 1. Change Default Download Folder on Windows 11
Changing the location of your download folder requires you to move the downloads folder in Windows 11. However, it’s not as simple as copying and pasting it somewhere else. Unlike conventional methods of moving files, Windows 11 lets you create shortcuts to folders or duplicate them instead.
Moreover, To change default download folder Windows 11 location is as simple as selecting the Move option within the Download Folder Properties menu.
- On the taskbar at the bottom of the screen, click the File Explorer folder icon to access the File Explorer window. Alternatively, you can hit Windows + E to open File Explorer.
- Select Properties from the pop-up menu for the Downloads folder by right-clicking or tapping and holding on it.
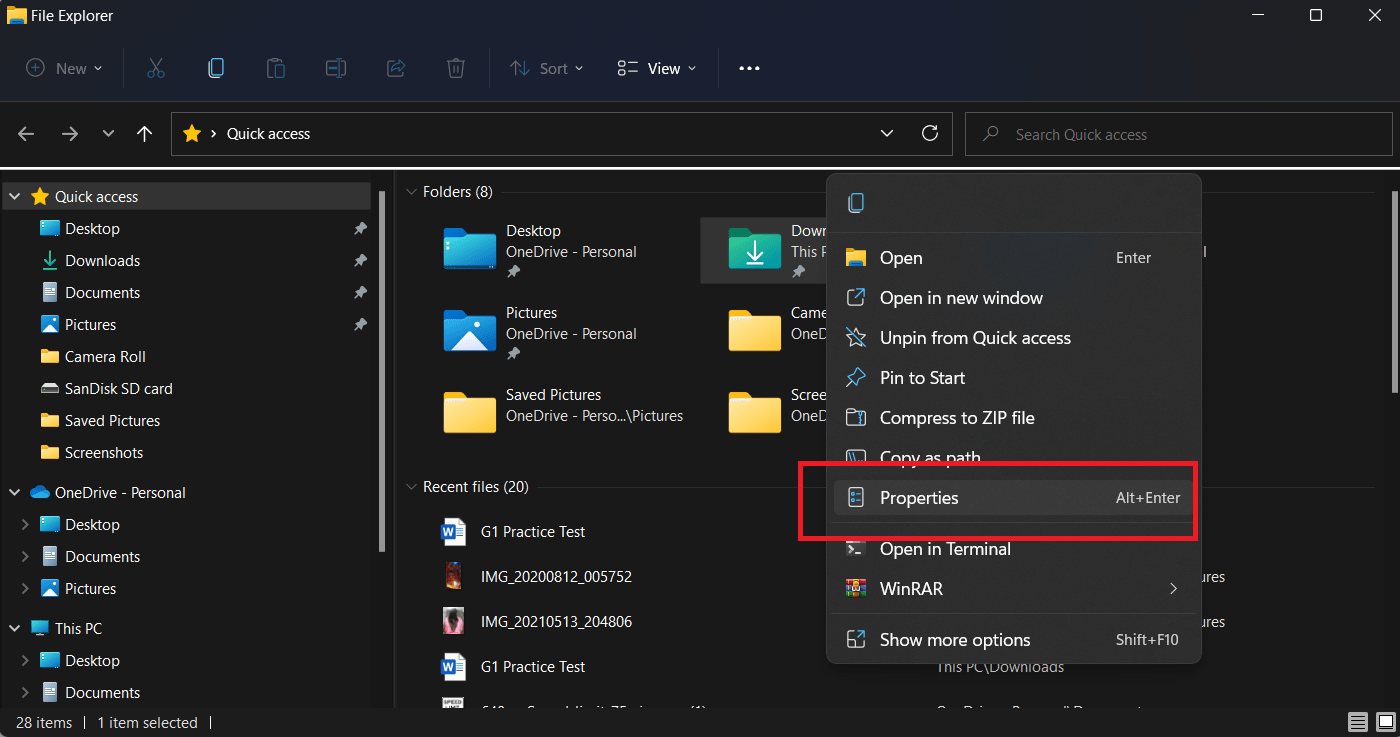
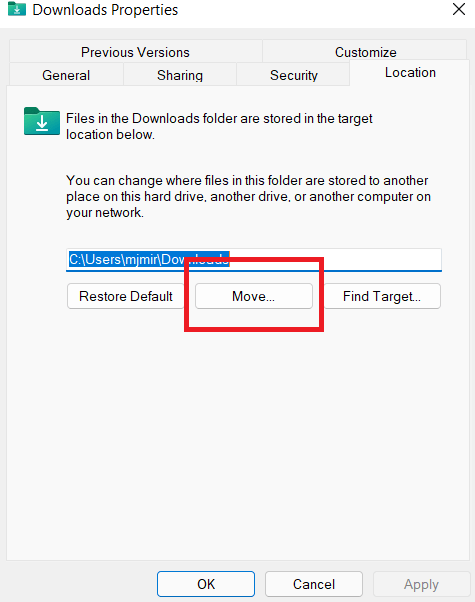
- Choose the Location option, followed by the Move icon.
- In File Explorer, select the location of your choice for your download and then click Select Folder.
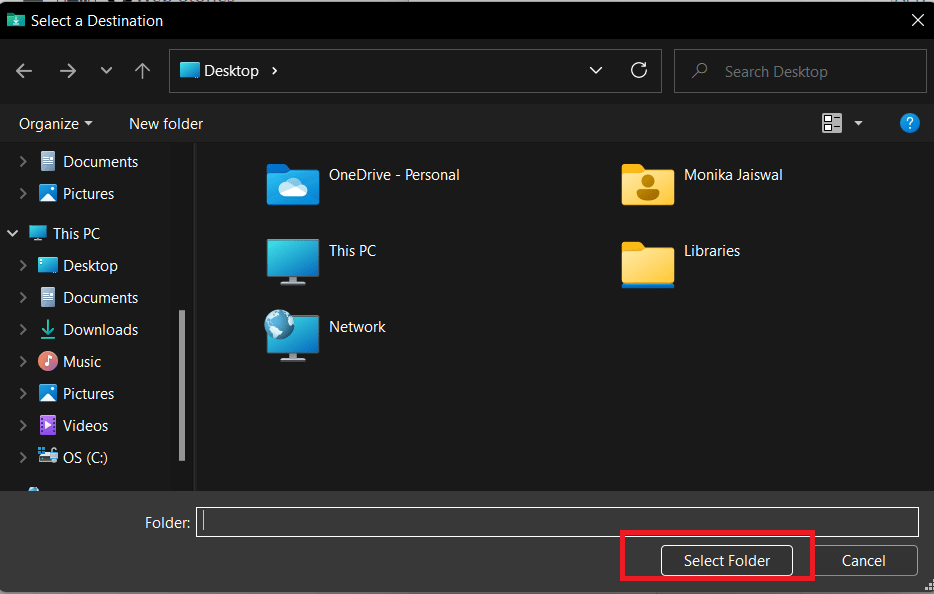
- With your new folder path specified, click “OK.”
- In order to relocate all of your downloaded files to the new place, simply click “Yes” when prompted.
Read more: How to Get Bash on Windows 11
Method 2. Modify Windows 11 Default Save Location
Changing the default save folder in Windows 11 is easy when you follow this advice. Below you’ll find a step-by-step guide for changing the default location of apps, documents, music, videos, images, and maps.
- To open Settings directly, select the Start button, followed by the Settings option. Alternatively, you may use the keyboard shortcut Windows key + I.
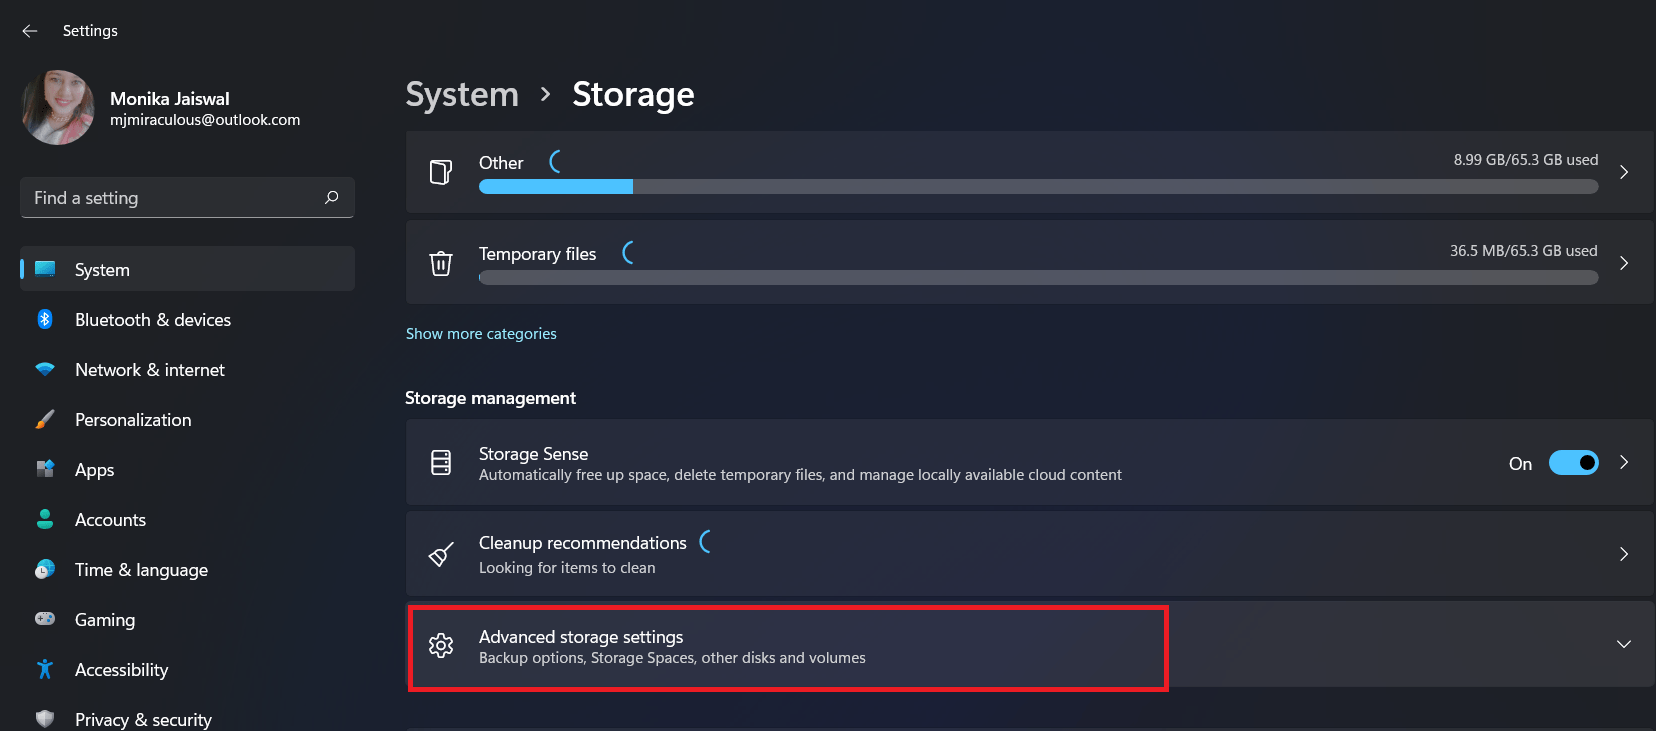
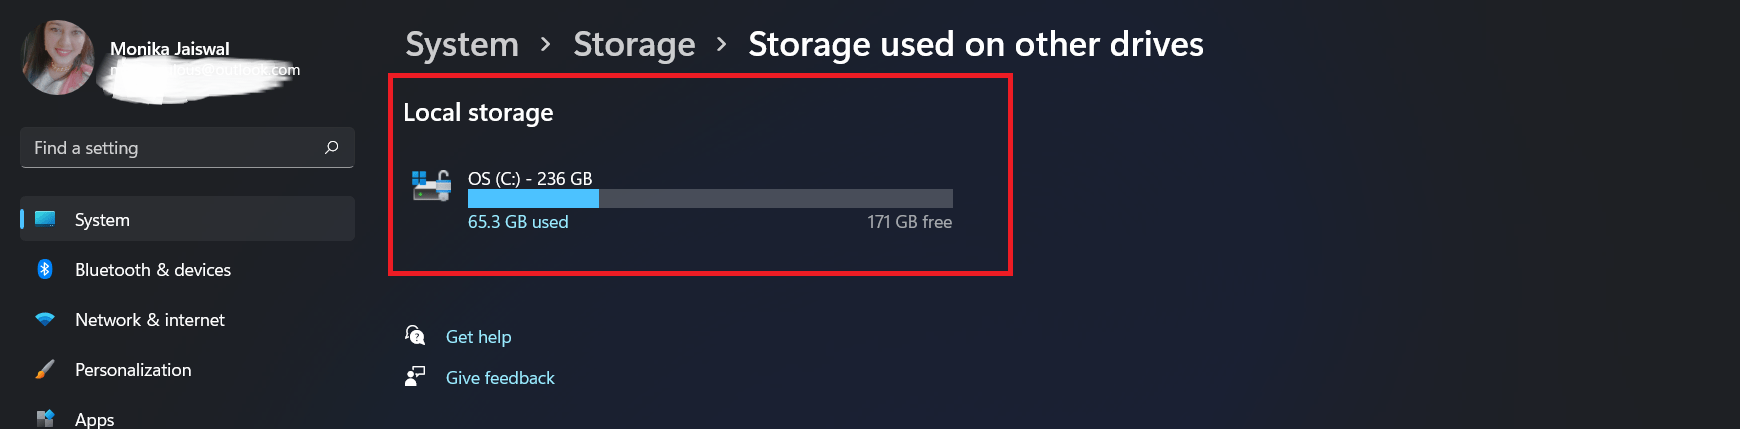
- Select System on the left and Storage on the right to launch Settings.

- Select Where new stuff is saved by clicking on Advanced storage settings. Many things can be changed about the default save locations, including applications, documents, music, images, videos, movies, and television shows.
- All the files listed above are saved automatically to your local drive (C:). Changing the location of your files could not be simpler. Simply choose a new destination from the list that appears beside each item.
- To confirm, press the Apply option.
Upon completion of each task, it will be saved to the drive you have selected for future use. To save and display the files, your PC must be connected to the external drive.
Read more: How to Change Mouse Speed in Windows 11
Method 3. Windows 11 Default Downloads Folder Change
In your Downloads folder, move the files after you download them so that they are isolated from your Windows installation. You might want to move the Downloads folder to an external drive if your local Windows installation drive is running out of space.
- By clicking on the Quick Access folder on the taskbar, you can expand the Quick Access folders in File Explorer.
- Right-click on Downloads, and select Properties.

- When the Downloads Properties page displays, click the Location option.
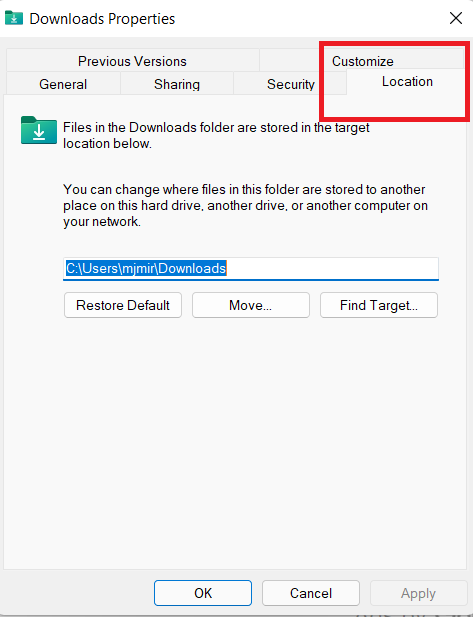
- Now you will be able to access the Downloads folder. The Find Target button will enable you to travel to a new location if you know its location.
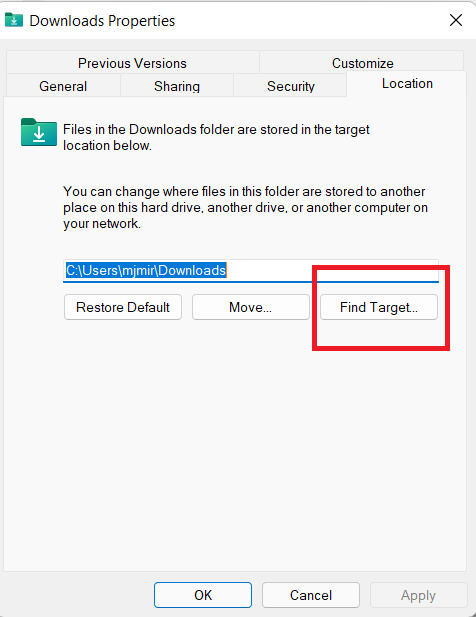
- Choosing a new location for the Downloads folder and clicking Apply are the final steps. Click yes.
- Upon completion of the file transfer, click OK.
Read more: How Much Space Does Windows 11 take on a SSD
Conclusion
In Windows 11, you can manage your disk space by changing the default location where files are saved. Considering your browser will download most of your files, you might want to change the default download folder window 11 to the location of Microsoft Edge downloads, too, in the near future.
Moreover, Most Windows applications, and popular browsers like Chrome, reside in your system’s Downloads folder by default. Furthermore, particular apps frequently allow you to change the default download folder windows 11. Also, check the application’s options if an application does not automatically save files to this folder when you transfer it.
Leave a Reply