You can increase space in Windows 11 by following these two methods. You can free up your SSD by more than 40%. These methods will help you to increase space and clean junk files from your Windows 11.
After upgrading to Windows 11, you may notice a significant increase in the amount of storage space used. The reasons for this are not related to the fact that Windows 10 takes up more storage space than the new operating system rather, the reason is probably due to previous backups that might take up a lot of space.
Read more: How Much Space Does Windows 10 take on a SSD
Well, Windows 11 features a comprehensive set of options for controlling the storage space on your computer. You can delete large, unneeded files, automatically eliminate temporary files, and create a schedule for cleaning out your recycle bin.
How to Increase Space in Windows 11
There are a variety of methods available in order to increase space in Windows 11 PC or Laptop. Here are the two best ways which I’m going to mention.
- Disk Cleanup
- Storage sense
Method 1. Disk Cleanup
Windows 11 still offers the Disk Cleanup program to users who prefer the traditional way of cleaning disks. However, there are two aspects to this feature.
- Eliminate all temporary files
- Eliminate Shadow Copies and System Restore
Read more: How to Increase Size of Taskbar in Windows 11
Eliminate all Temporary Files in Windows 11
To increase space in Windows 11 by eliminating all temporary files are as follows:
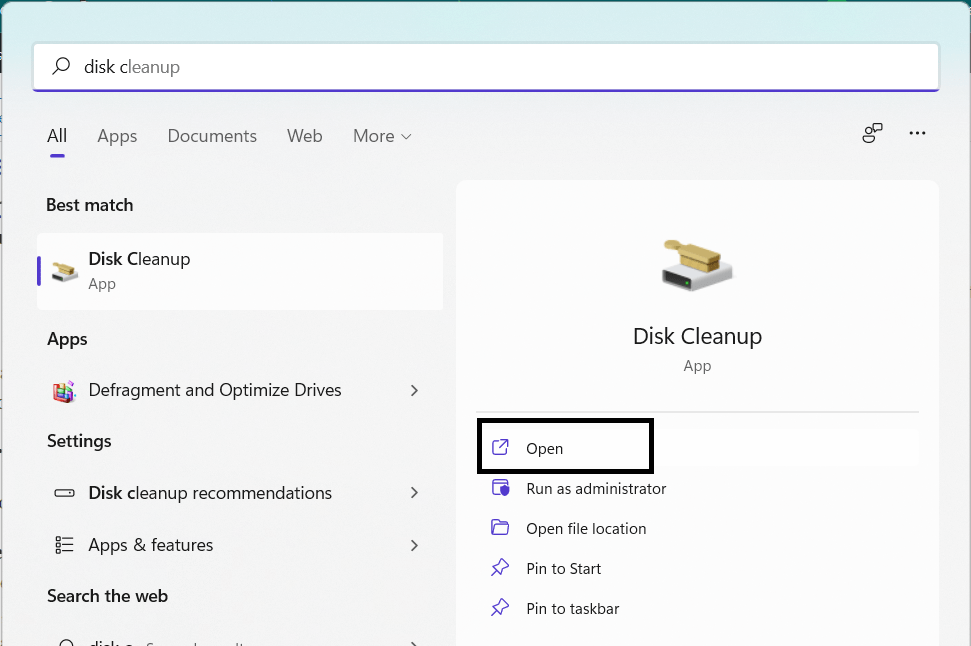
- Search for “Disk cleanup” on your taskbar’s search icon.
- Click “Drives” in the left-hand menu bar and then click “(C:)” (if applicable)
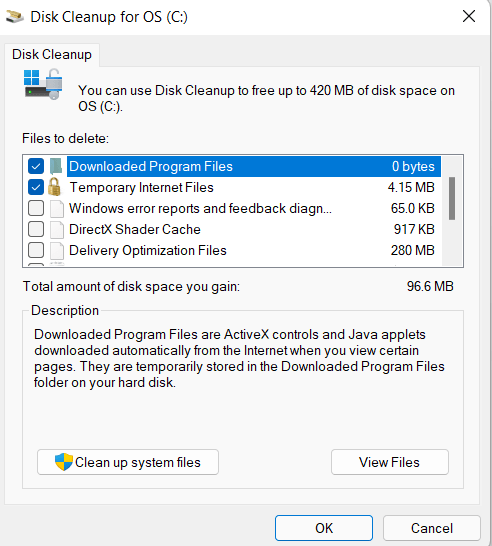
- After clicking “(C:)”, click ok.
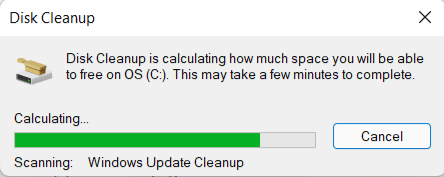
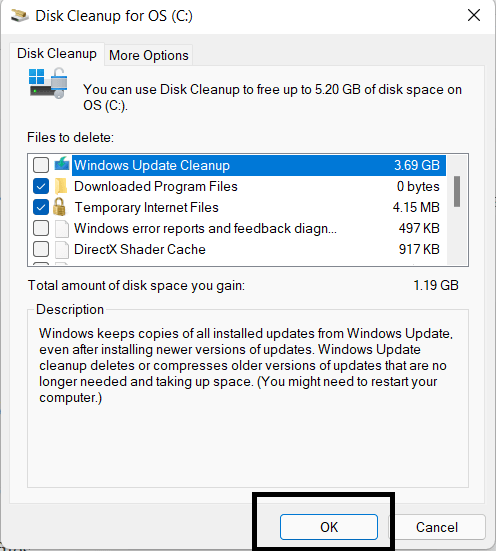
- Now, press the Cleanup system files button to clean up system files.
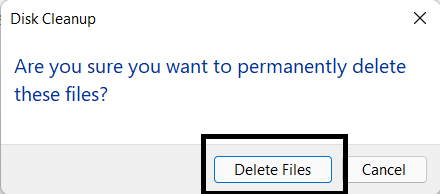
- Examine all of the contents you intend to delete.
- Once checked, click the ok icon.
- Click delete file.
Read more: How to Create a Guest Account on Windows 11
Eliminate Shadow Copies and System Restore
Furthermore, you can also delete system files to free up more space. You can do this to increase space in Windows 11 by using System Restore and the Shadow Copies feature. By following these instructions, you will be able to remove previously created system restore points in Windows 11:
- Click Clean up system files from the Disk Cleanup menu.
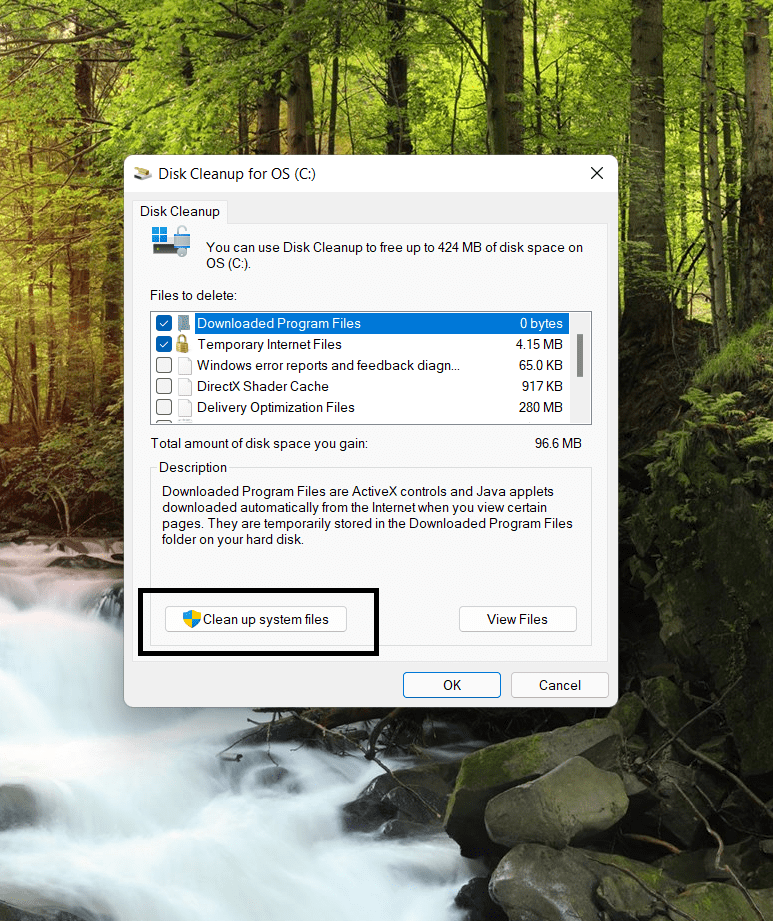
- Select which files to delete.

- Click ok.
- After that, tap the Clean up system files icon.

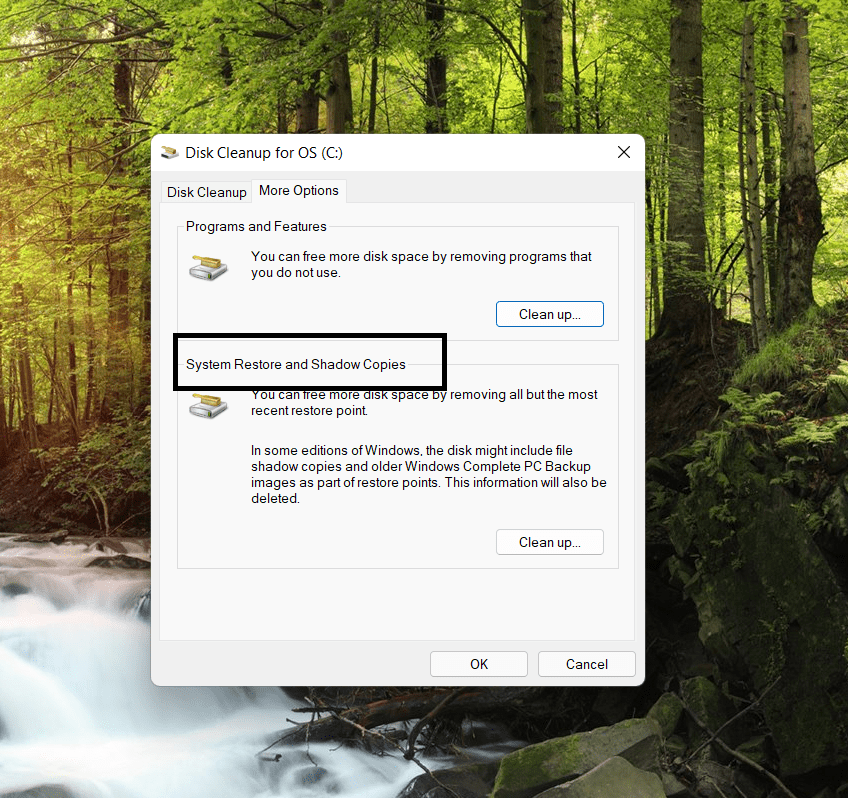
- Select the More Options button.
- After clicking “System Restore and Shadow Copies,” select Cleanup.
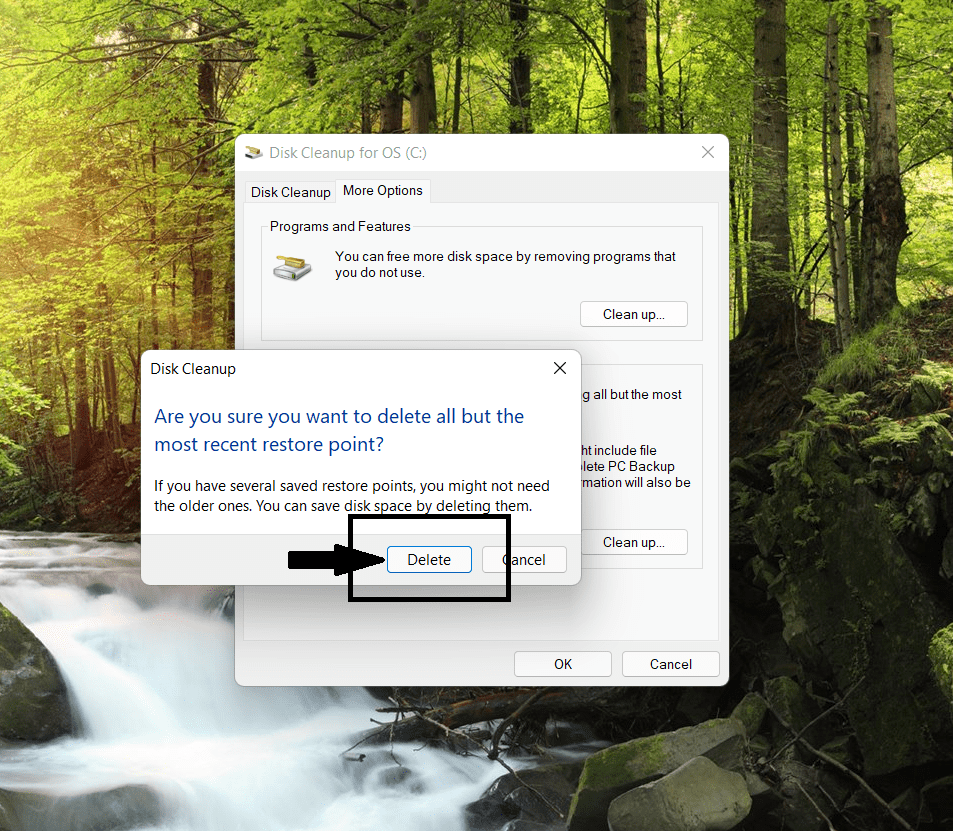
- Then clean on delete option.
Read more: How to Remove Broken Registry Items on Windows 11
Method 2. Storage Sense
You can clear up disc space automatically with Storage Sensing, which removes unnecessary files and folders including temporary files and objects in your Recycle Bin. This feature of Storage Sense allows users to instantly erase a variety of garbage items, such as previous installation files and temporary files from apps, to increase space in Windows 11. This is how you can get Storage Sense to work on Windows 11:
- Open Setting> system > storage.
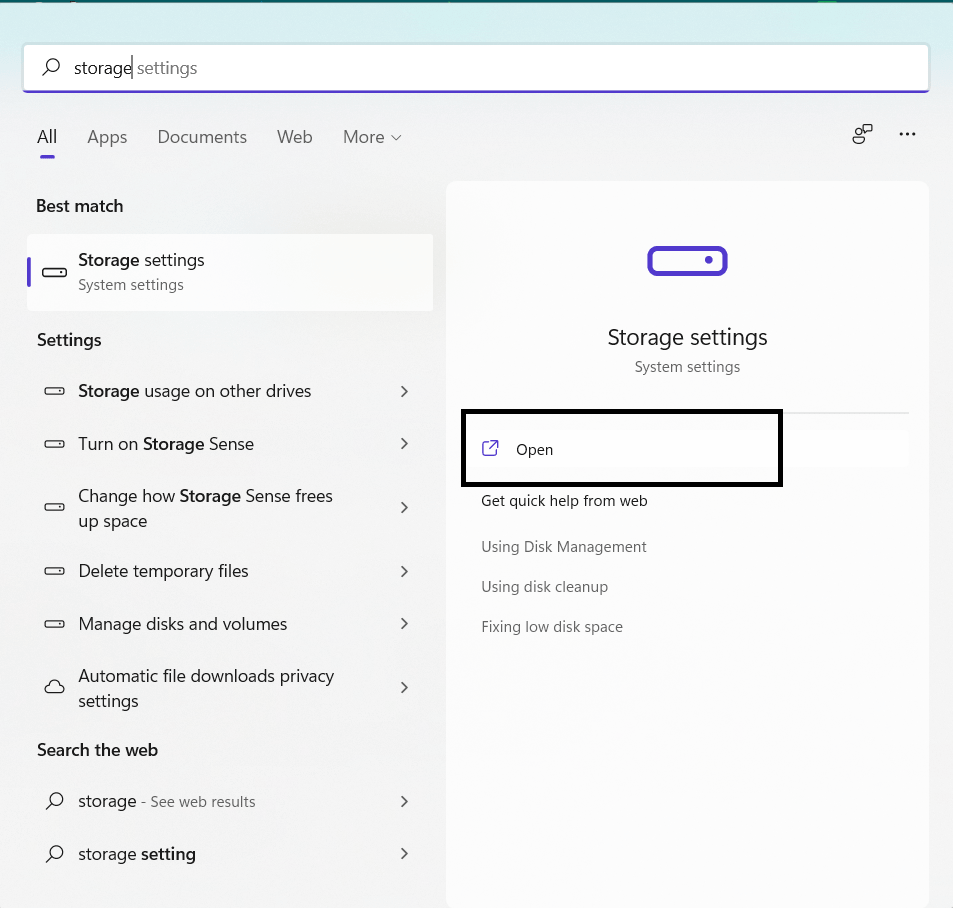
- Select “Storage management” from the drop-down menu and toggle on “Storage Sense.”
- Make use of the Storage Sense option here.

- To allow the system to eliminate trash files as necessary, enable the “Keep Windows running smoothly by automatically clearing up temporary system and app files” option in the “Cleanup of temporary files” section.
- Enable automatic cleanup of user-generated content.
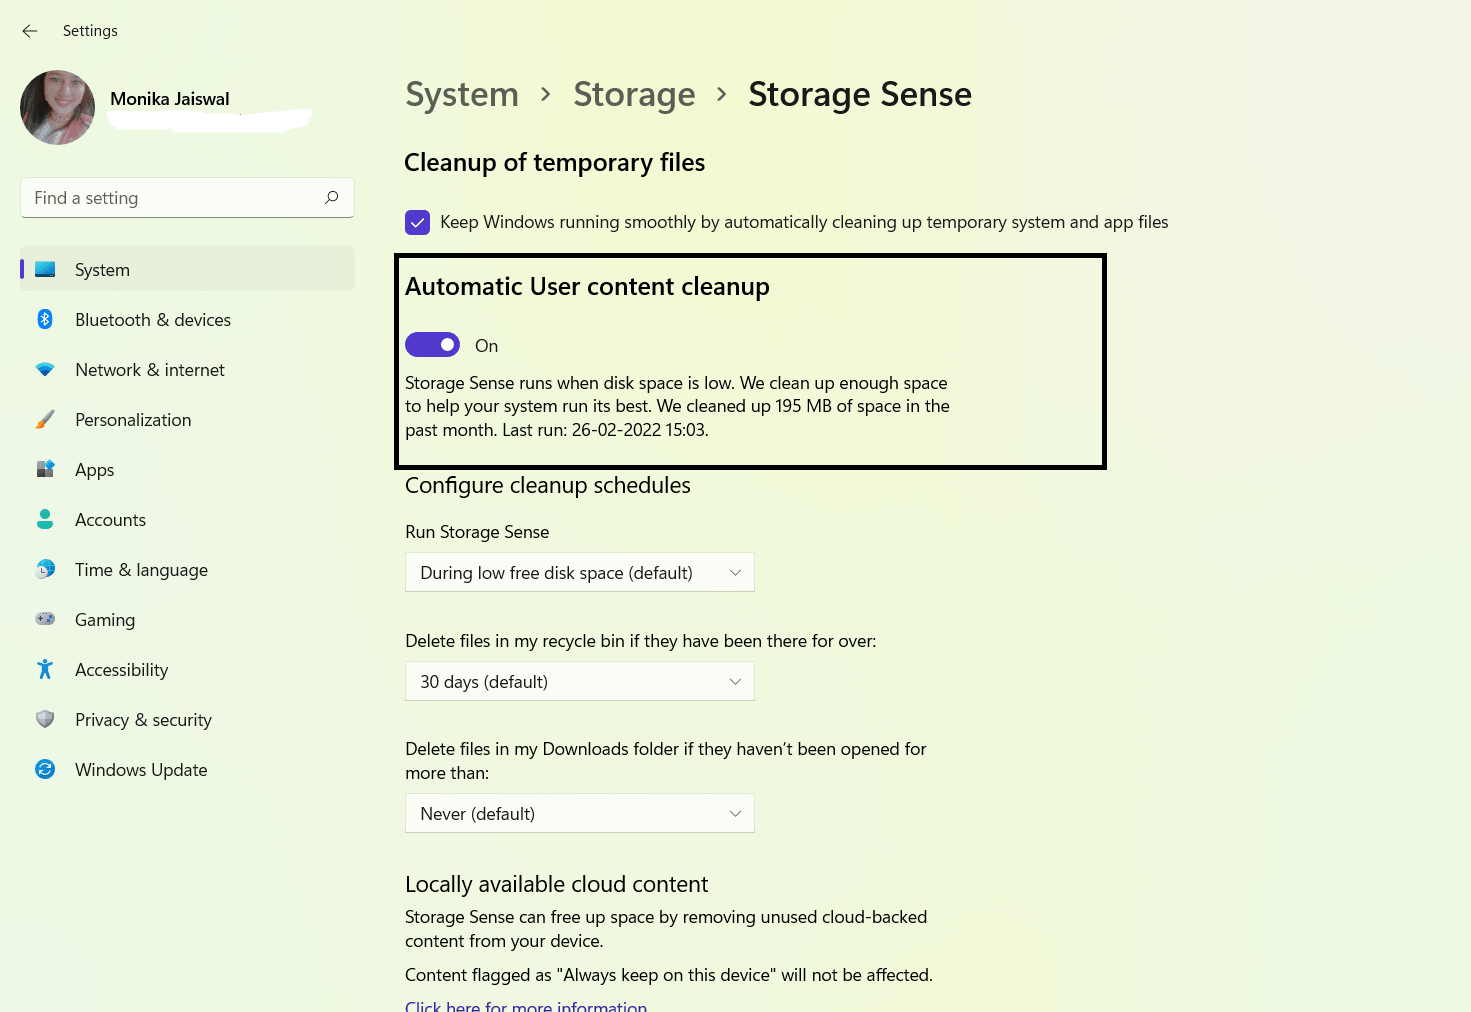
- In the “Configure cleanup schedules” section, select the appropriate cleanup option from the Run Storage Sense.
- After syncing OneDrive content to your device, select “Locally available cloud content” and select how long it will be available online.
- Click on the button that says “Run Storage Sense Now.”
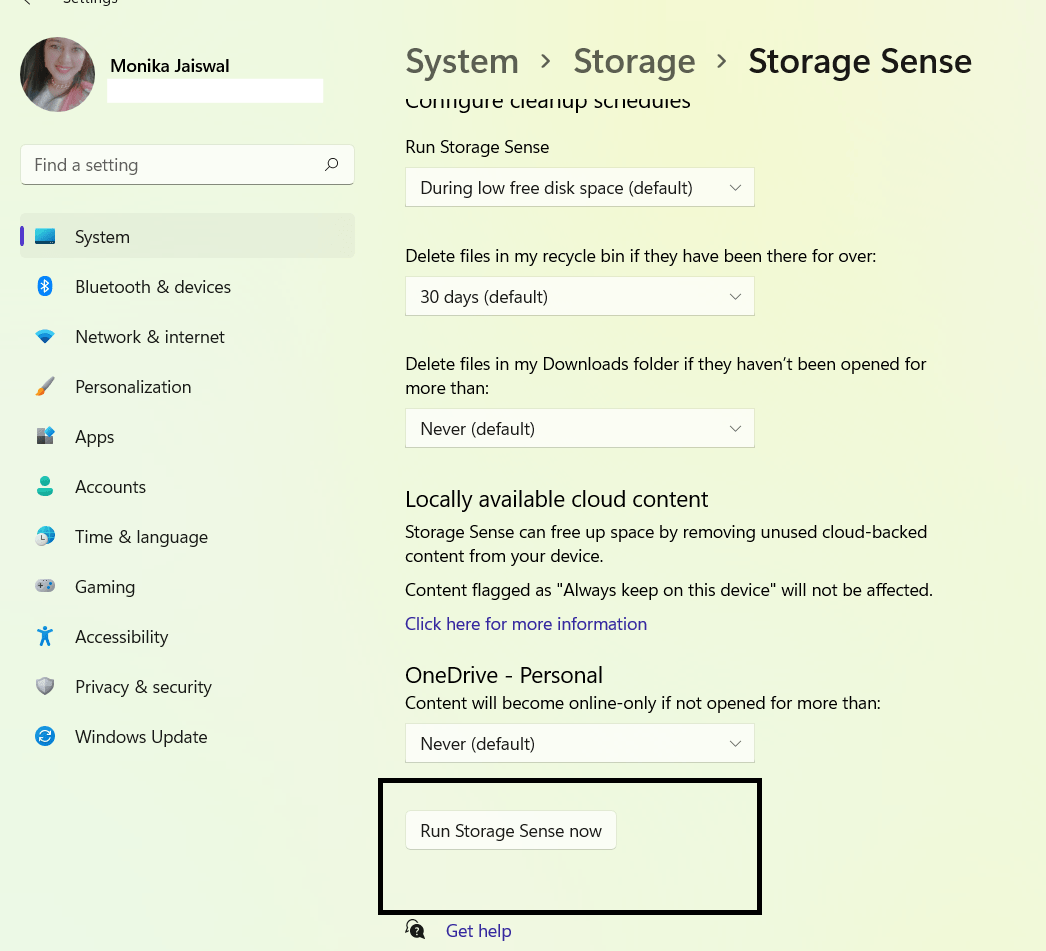
- Choose Delete previous versions of Windows installations from the list that appears.
Once you complete the steps, click the “Run Now” button to have Storage Sense clear the files. Alternatively, the system will wipe away the files when space is needed.
Read more:How to Test Hard Drive Health on Windows 11
Conclusion
Windows 11 may imply that it requires additional disk space in order to install the most recent Windows 11 feature update. You can utilize an external storage device to assist you in completing the upgrade. By also regularly cleaning your computer, you will be able to delete unnecessary files and regain valuable storage space. For system recovery, Windows backup files are essential. But if your upgrade is successful and you are running out of disk space, you can safely remove these files to create room for new ones.
Leave a Reply